How to Compost at Home: A Beginner's Guide to Composting
Learn the basics of home composting: choose a bin, balance greens and browns, manage moisture, and harvest finished compost in 3-6 months.
Composting at home is a straightforward process that turns kitchen scraps and yard waste into a nutrient-rich soil amendment. You can start with a simple pile or a store-bought bin, and with the right balance of materials and moisture, you’ll have usable compost in 3 to 6 months. This guide covers the essential steps, common pitfalls, and answers to frequent questions.
What You Need to Start Composting
Before you begin, gather a few basic items. You don’t need expensive equipment, but these tools make the job easier:
- Compost bin: Options range from a DIY wire cylinder (about $20) to a tumbling composter (around $100 to $200). For most beginners, a stationary bin with a lid, like the Geobin (about $40), works well.
- Pitchfork or compost aerator: A pitchfork costs $25 to $50; a compost aerator tool is $20 to $30.
- Water source: A hose or watering can to moisten dry materials.
- Kitchen pail: A small countertop bin with a lid, $10 to $20, to collect scraps.
You also need two types of materials: greens (nitrogen-rich) and browns (carbon-rich). Aim for a ratio of about 2 to 3 parts browns to 1 part greens by volume. This balance ensures proper decomposition without odors.
Choosing a Compost Bin and Location
Select a bin that suits your space and budget. For a small yard, a tumbling composter is convenient because it makes turning easy. For larger gardens, a three-bin system allows you to have compost at different stages. Place your bin on bare soil, in a spot with good drainage and partial shade. Avoid placing it against a wooden structure, as moisture can cause rot. If you have only a balcony, consider a worm bin (vermicomposting) instead, which uses red wiggler worms to break down scraps indoors.
What to Compost: Greens and Browns
Greens provide nitrogen and include:
- Fruit and vegetable scraps
- Coffee grounds and filters
- Grass clippings (untreated)
- Plant trimmings
- Eggshells (crushed)
Browns provide carbon and include:
- Dry leaves
- Straw or hay
- Shredded cardboard or newspaper
- Wood chips or sawdust (from untreated wood)
- Corn stalks
Avoid composting meat, dairy, oily foods, diseased plants, and pet waste. These can attract pests or introduce pathogens.
Building Your Compost Pile: Step by Step
- Start with a layer of browns: Add 4 to 6 inches of dry leaves or straw at the bottom to allow air circulation.
- Add greens and browns in layers: Alternate 2 to 3 inches of greens with 4 to 6 inches of browns. Keep the pile at least 3 feet wide and 3 feet tall to generate heat.
- Moisten as you build: Each layer should feel like a wrung-out sponge. Add water if it’s dry, but avoid soaking.
- Turn the pile: After a week, use a pitchfork to turn the pile, moving the outer material to the center. Turn every 1 to 2 weeks to aerate and speed decomposition.
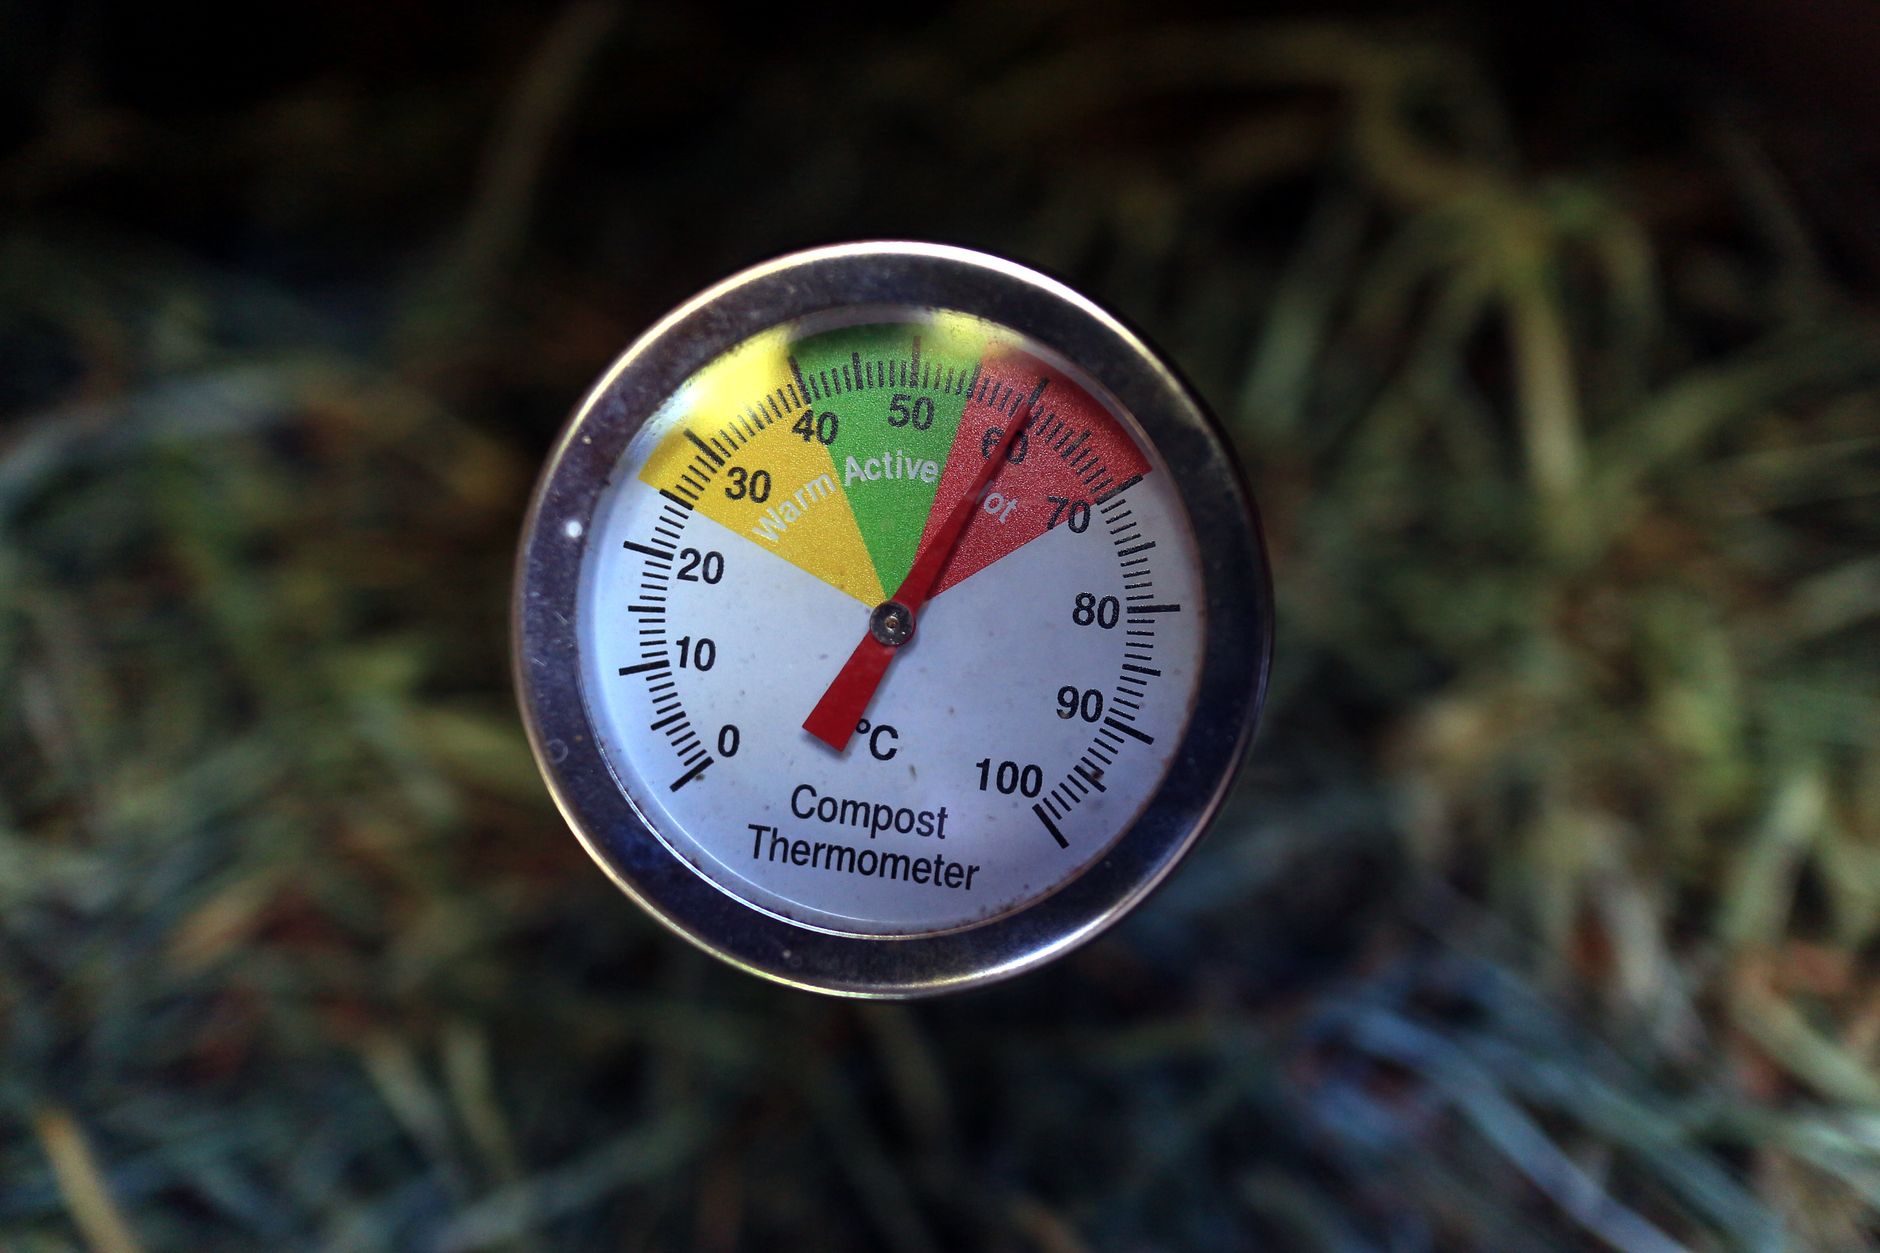
- Monitor temperature: A hot pile reaches 130°F to 160°F within days. Use a compost thermometer ($15 to $30) to check. If it cools, turn it to reactivate.
Maintaining Your Compost: Moisture, Aeration, and Troubleshooting
Check moisture weekly. If the pile is too dry, add water; if it’s soggy, add browns and turn. A foul smell indicates too much green or poor aeration; turn and add browns. If you see flies or ants, bury greens deeper and keep the pile covered. In cold climates, decomposition slows in winter, but the pile will resume in spring. To speed things up, chop materials into smaller pieces before adding.
How Long Until Compost Is Ready?
With regular turning, compost is ready in 3 to 6 months. It will look dark, crumbly, and smell earthy. The original materials should be unrecognizable. To test, place a handful in a plastic bag and seal for 24 hours; if it smells sour, it needs more time. Use finished compost by mixing it into garden soil at a rate of 1 to 2 inches per square foot, or as a top dressing for plants.
Common Composting Mistakes to Avoid
- Too many greens: Causes a smelly, slimy pile. Add more browns.
- Too dry: Decomposition stalls. Water the pile and turn.
- Oversized materials: Large branches or whole vegetables break down slowly. Chop or shred them.
- Neglecting to turn: Without oxygen, the pile becomes anaerobic and stinks. Turn every 1 to 2 weeks.
- Adding weeds with seeds: Heat may not kill all seeds. Avoid or hot-compost at 140°F for 3 days.
FAQ
Q: Can I compost in winter? A: Yes, but activity slows. Insulate the pile with a layer of straw or a tarp, and continue adding materials. It will finish in spring.
Q: How do I keep pests out of my compost? A: Bury greens under a layer of browns, keep the pile covered, and avoid meat or dairy. A bin with a lid and a wire mesh base can deter rodents.
Q: What is the ideal carbon-to-nitrogen ratio? A: Aim for 25 to 30 parts carbon to 1 part nitrogen by weight. In practice, use 2 to 3 parts browns to 1 part greens by volume.
Q: Can I compost citrus and onions? A: Yes, in moderation. They add acidity but break down fine. Avoid large amounts, as they can slow the process.
The Bottom Line
Home composting is a low-cost, high-reward practice. Start with a simple bin, balance greens and browns, keep the pile moist and aerated, and you’ll have finished compost in a few months. It reduces landfill waste and improves your soil naturally. Begin this week by collecting kitchen scraps and dry leaves, and build your first pile. With consistent care, you’ll see results by the next growing season.