Backyard composting for beginners
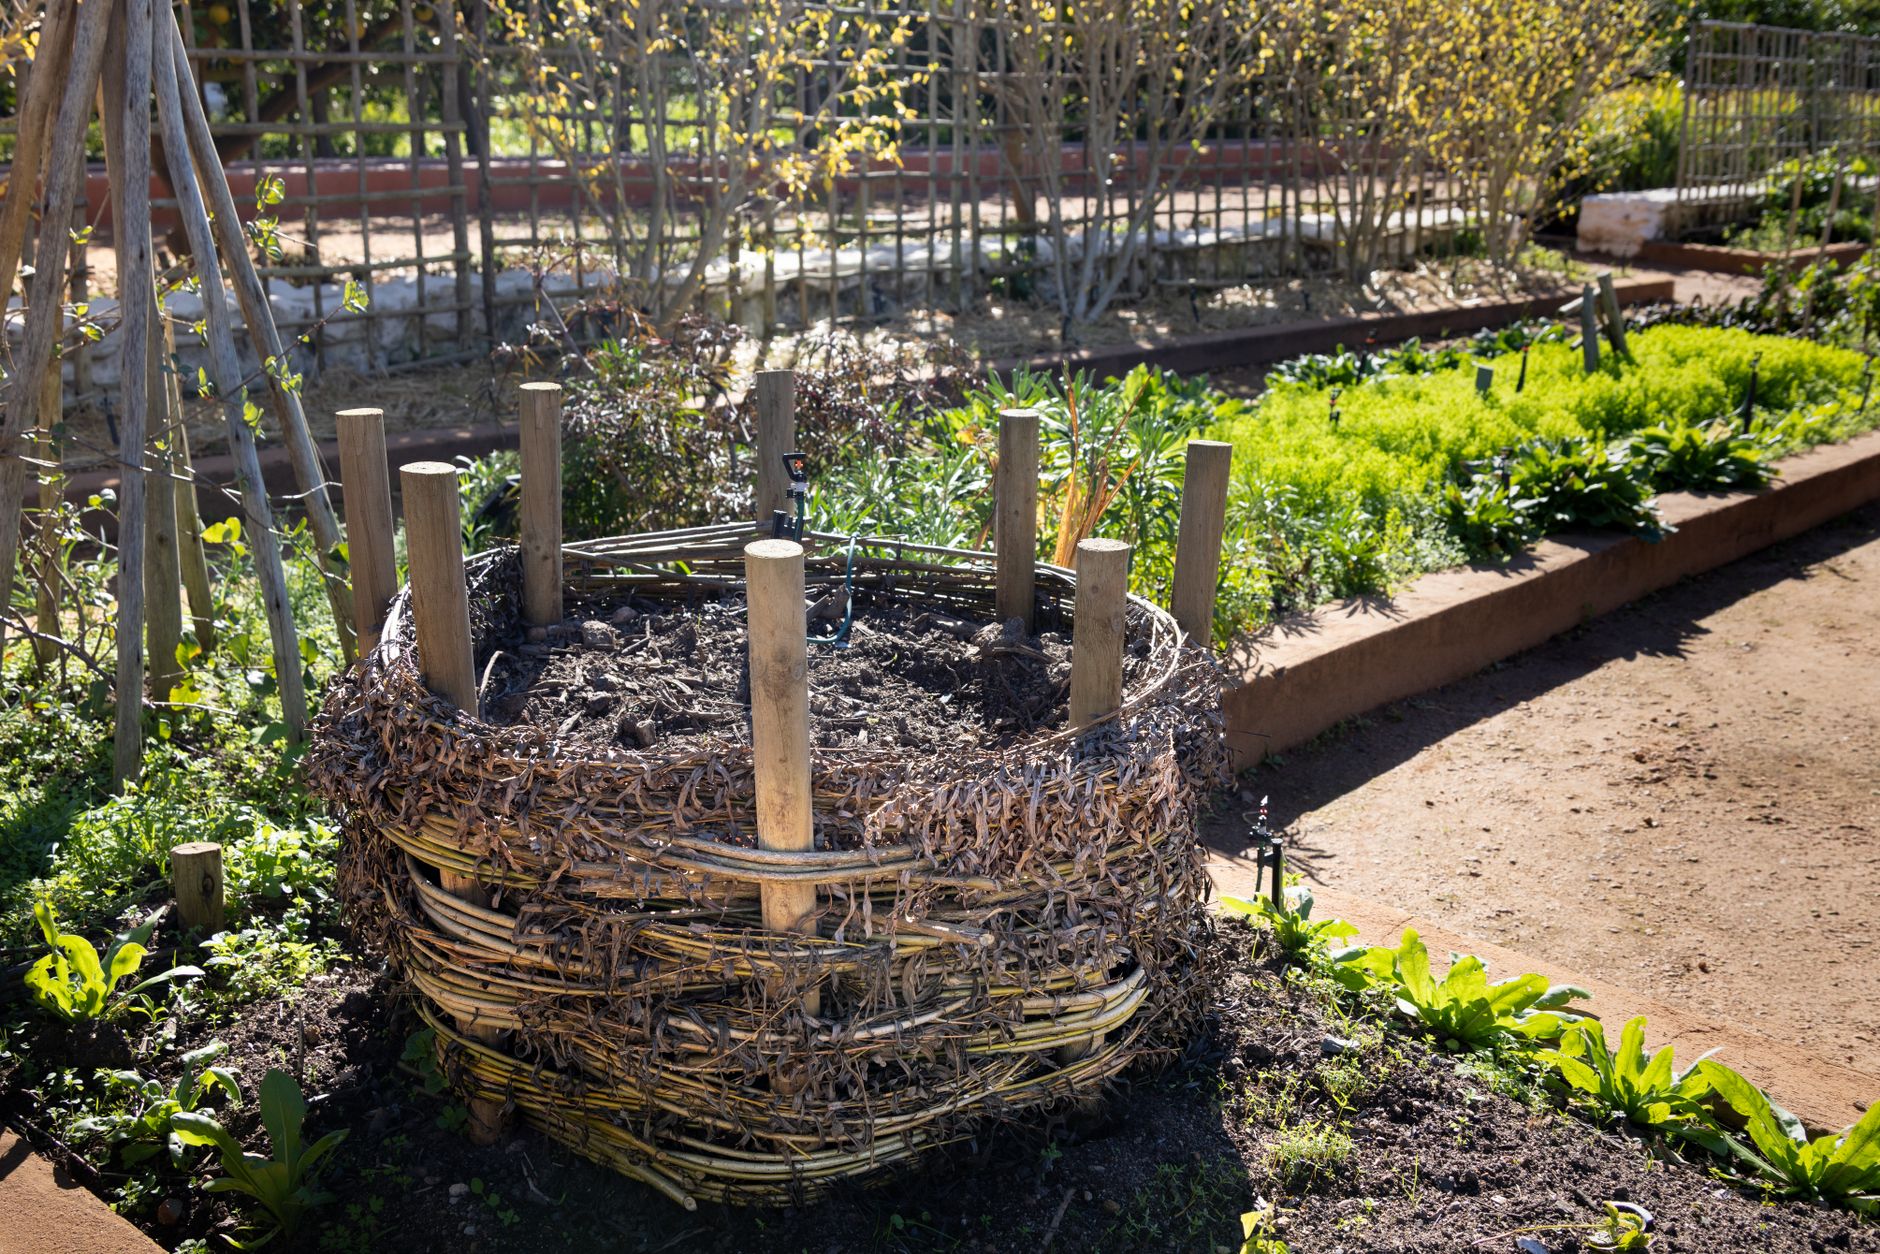
Learn how to start backyard composting in 2026: choose a bin, manage greens and browns, troubleshoot issues, and use finished compost in your garden.
Composting is the simplest way to turn kitchen scraps and yard waste into dark, crumbly soil food. You do not need special equipment or a degree in biology: a bin, a pitchfork, and a little patience will do. Here is how to start this week, avoid the common mistakes, and have usable compost in 3 to 6 months.
What you need to start
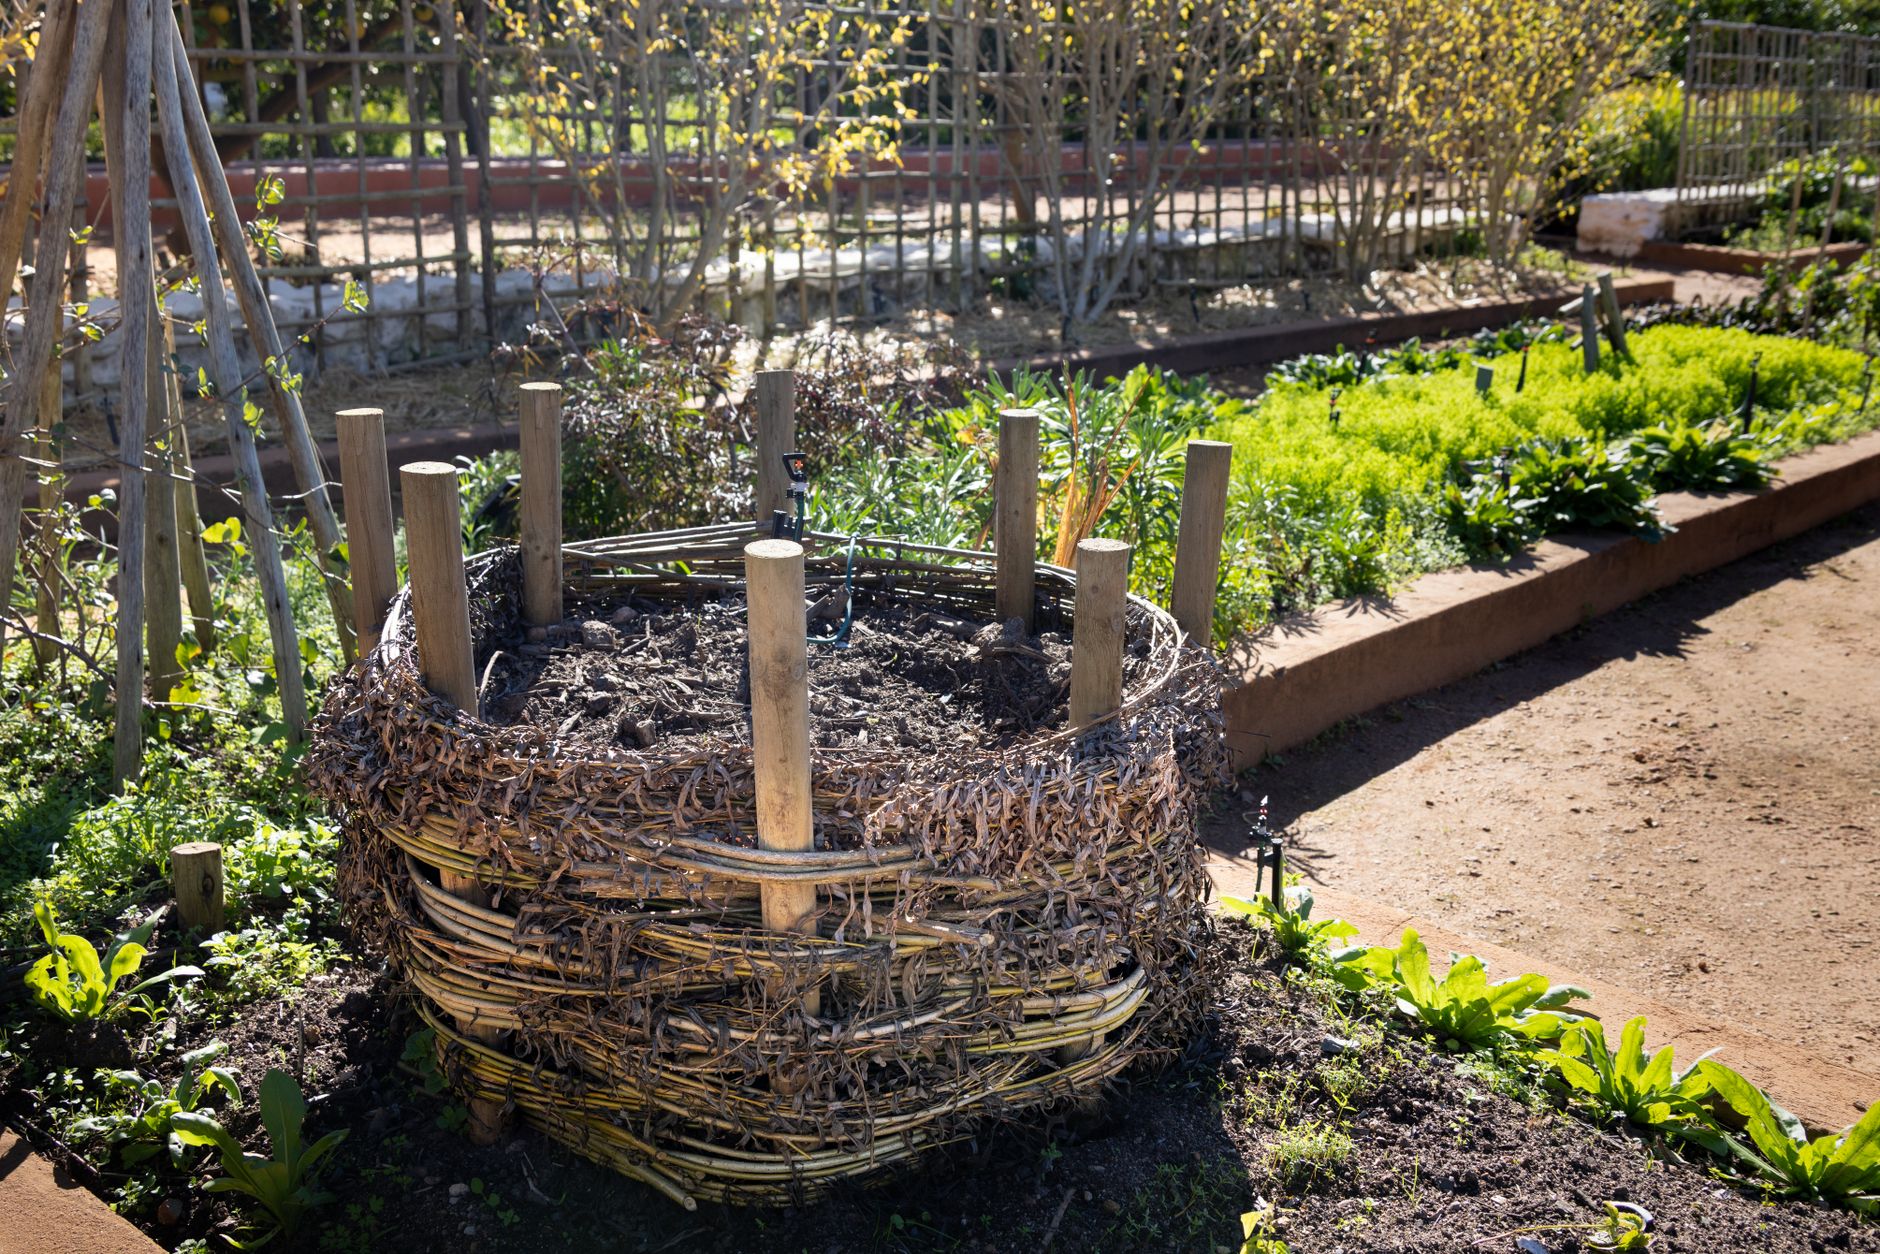
Before you buy anything, decide where your bin will go. Pick a spot that drains well and is close to the garden but not right against the house. You want at least 3 feet of clearance on all sides so you can turn the pile.
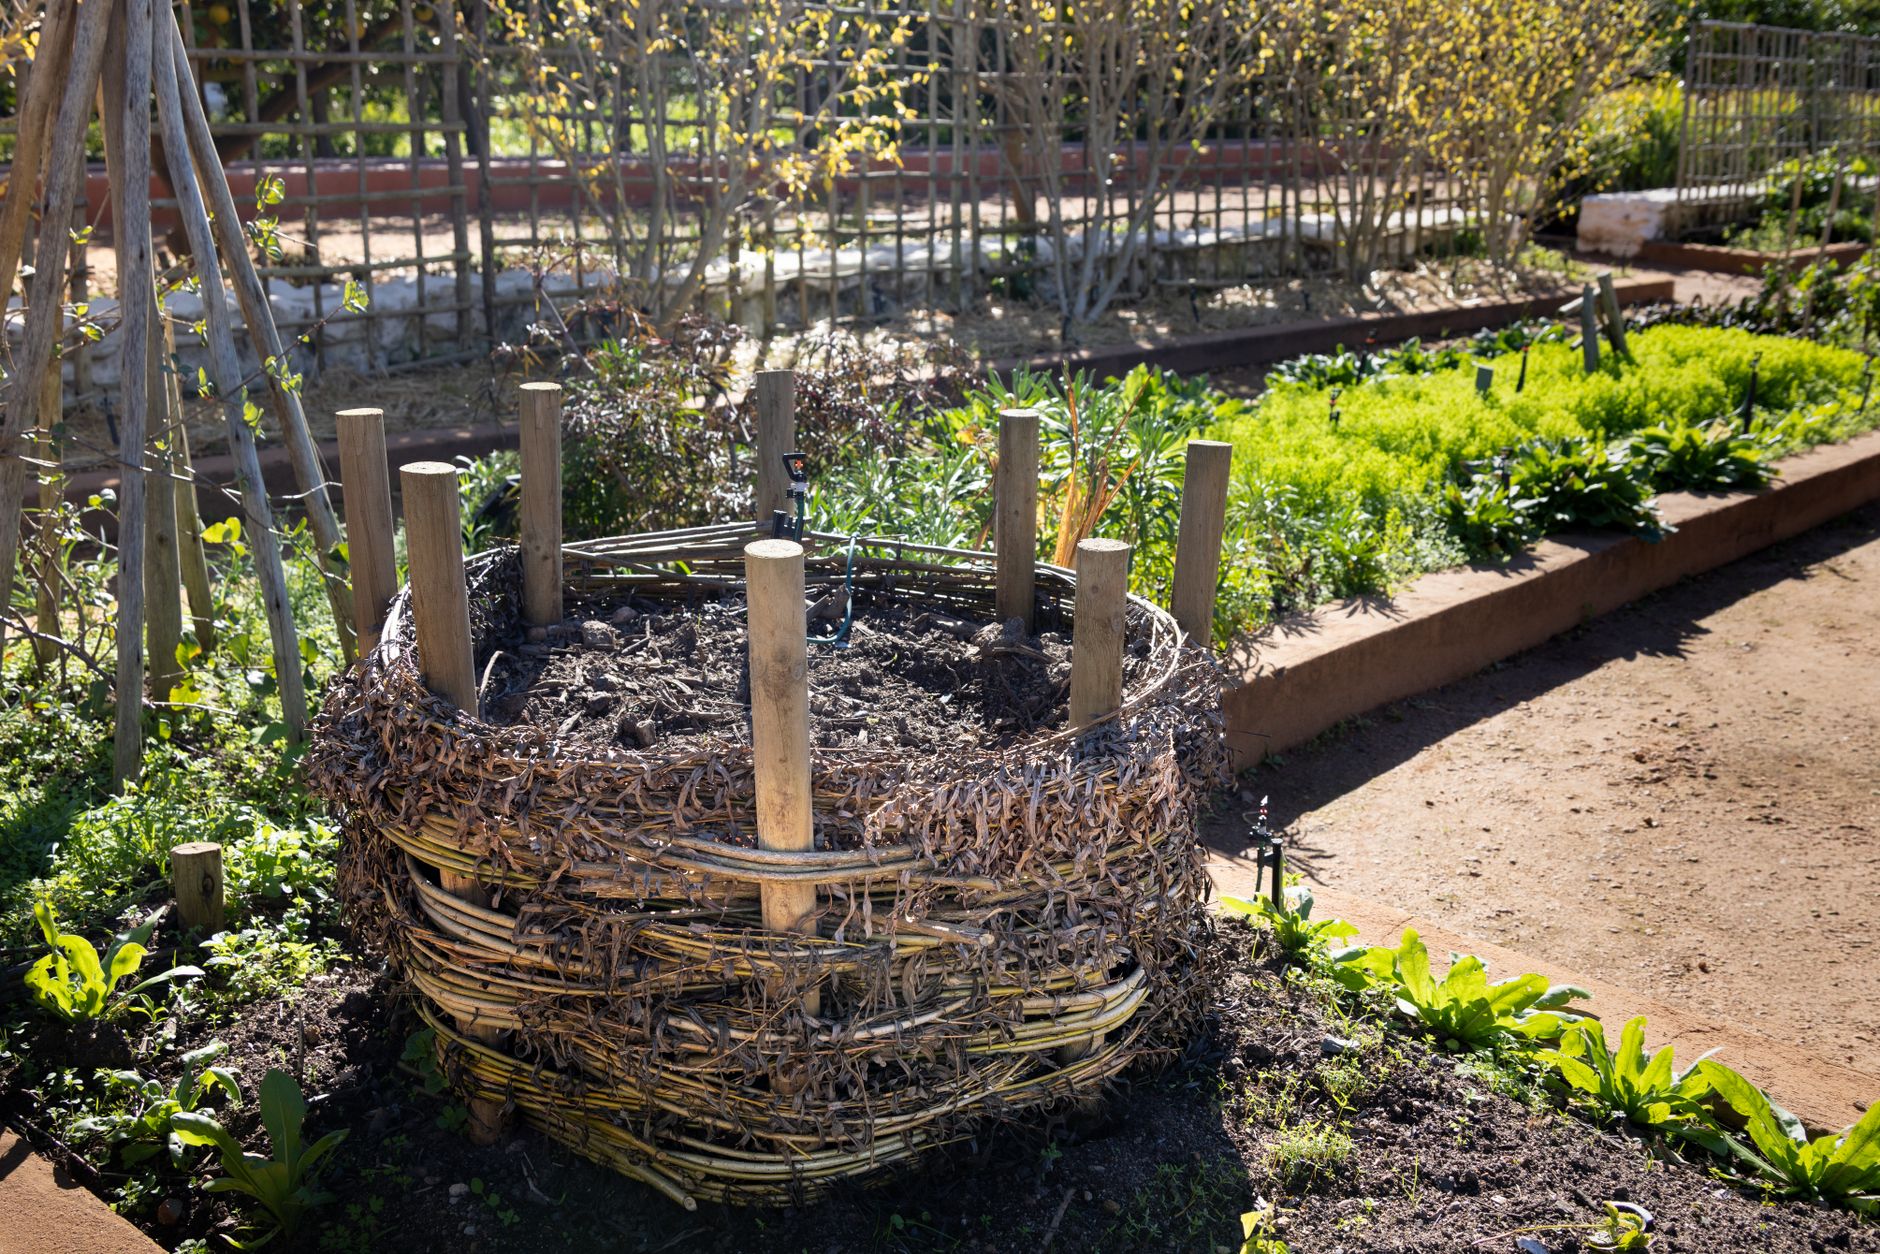
For a beginner, a simple open bin or a tumbling composter works best. Open bins are cheap and hold a lot, but they can attract rodents if you add the wrong things. Tumblers are easier to turn and keep pests out, but they hold less and cost more. A 3-bin system is great if you have space, but it is not necessary.
Realistic prices in 2026: a plastic open bin runs $30 to $60, a tumbling composter $80 to $150, and a DIY pallet bin costs $0 if you can find free pallets. You also need a
 garden fork or a compost aerator ($20 to $40) and a bucket with a lid for kitchen scraps ($10 to $20).
The right mix: greens and browns
Compost needs two types of material: greens (nitrogen-rich) and browns (carbon-rich). Greens include fruit and vegetable scraps, coffee grounds, grass clippings, and fresh plant trimmings. Browns include dry leaves, straw, shredded paper, cardboard, and wood chips.
Aim for a ratio of about 2 parts browns to 1 part greens by volume. Too many greens makes the pile slimy and smelly. Too many browns makes it dry and slow. If you are not sure, err on the side of more browns.
Here is a quick reference:
| Greens (nitrogen) | Browns (carbon) |
|---|---|
| Fruit and veggie scraps | Dry leaves |
| Coffee grounds | Straw or hay |
| Grass clippings | Shredded paper |
| Fresh weeds (no seeds) | Cardboard |
| Manure from herbivores | Wood chips |
Do not add meat, dairy, oily foods, diseased plants, or pet waste. These attract pests and can harbor pathogens.
Building your pile: step by step
- Start with a layer of browns. Put 4 to 6 inches of dry leaves or straw at the bottom. This helps with drainage and airflow.
- Add greens and browns in layers. As you collect kitchen scraps, add them to the bin and cover with a layer of browns. Think of it like a lasagna: a few inches of greens, then a few inches of browns.
- Water as you go. The pile should feel like a wrung-out sponge. If it is too dry, add water. If it is soggy, add more browns.
- Turn the pile every 1 to 2 weeks. Use a garden fork to move the outside material to the center. This adds oxygen, which speeds up decomposition.
- Wait. In warm weather (above 60°F), a well-managed pile can be ready in 3 to 4 months. In cooler weather, it may take 6 months or more.
What to do this week
If you have not started yet, here is your plan:
- Day 1: Choose a bin and set it up. If you are handy, build a simple 3-bin pallet system. Otherwise, order a tumbling composter online or pick up a plastic bin at a garden center.
- Day 2: Start collecting kitchen scraps in a countertop bucket. Empty it into the bin every day or two.
- Day 3: Gather browns. Rake up dry leaves, shred junk mail, or ask a neighbor for straw. Keep a pile of browns next to your bin so you can cover each addition.
- Day 4: Build your first layer. Add 4 inches of browns, then start adding greens and browns in roughly equal amounts.
- Day 5 and beyond: Keep adding, keep it moist, and turn every 1 to 2 weeks.
Troubleshooting common problems
- Smells like rotten eggs: Too much green material and not enough air. Turn the pile and add more browns.
- Pile is dry and not breaking down: Add water and turn. Also check that you have enough greens.
- Pile is attracting flies or rodents: Bury food scraps under a layer of browns. Do not add meat or dairy.
- Pile is not heating up: It may be too small (less than 3 cubic feet) or too dry. Add more greens and water, and turn it.
Using your compost
Finished compost is dark, crumbly, and smells like earth. It should not look like the original materials. To harvest, stop adding new material and let it cure for 2 to 4 weeks. Then sift out any large pieces with a hardware cloth screen (1/2 inch mesh) and use the fine compost.
Apply compost in spring or fall. Spread 1 to 2 inches over your garden beds and work it into the top 6 inches of soil. For potted plants, mix 1 part compost with 3 parts potting soil. Compost is not a fertilizer; it is a soil amendment that improves structure and feeds beneficial microbes. You will still need to fertilize, but less often.
A typical backyard pile (about 3x3x3 feet) yields 5 to 10 cubic feet of finished compost per season, depending on how much you add. That is enough for a 100 to 200 square foot garden.
FAQ
How long does it take to make compost?
With regular turning and the right mix, you can have usable compost in 3 to 4 months in warm weather. In cooler climates or with less attention, expect 6 months to a year.
Can I compost in winter?
Yes, but the pile slows down. Keep adding materials, and it will start again in spring. If you live in a cold zone (USDA 5 and below), insulate the pile with straw bales or a thick layer of leaves.
Do I need to add compost activator?
No. A healthy mix of greens and browns is enough. Commercial activators are mostly nitrogen, which you can get from grass clippings or coffee grounds for free.
What if I do not have space for a pile?
Try a worm bin (vermicomposting) indoors or on a balcony. A 10-gallon bin with red wiggler worms can process about 1 pound of scraps per week. Worms and bin kits cost $30 to $60.
Related guides
The bottom line
Backyard composting is a low-cost, high-reward habit that any gardener can start this weekend. Choose a bin that fits your space, keep the greens and browns balanced, keep it moist and aerated, and you will have rich compost in a few months. Start small, learn as you go, and do not stress about perfection. Your garden will thank you.