Best compost bin for beginners
Find the best compost bin for beginners with our hands-on guide. Compare tumbling, stationary, and DIY options, plus real prices and tips for success.
If you are new to composting, the best bin is one that fits your space, budget, and how much effort you want to put in. For most beginners, a tumbling composter is the easiest to manage because it speeds up decomposition and makes turning simple. But a stationary bin or a simple DIY pile can work just as well if you have the room and patience. Here is what you need to know to choose and start using your first compost bin this week.
Types of compost bins: pros and cons
Tumbling composters
Tumblers are enclosed drums mounted on a frame that you rotate to mix the contents. They are popular for beginners because they make turning effortless and keep pests out. They also produce compost faster, often in 4 to 8 weeks in warm weather, because the constant mixing aerates the pile.
Pros: Easy to turn, neat appearance, less pest trouble, faster decomposition. Cons: More expensive, smaller capacity (usually 7 to 12 cubic feet), can be hard to turn when full, and you may need two chambers to have a continuous supply.
Price range: $80 to $200 for a decent 7 to 10 cubic foot model. Expect to pay around $120 for a reliable one from brands like FCMP or Miracle-Gro.
Stationary bins
These are open-bottomed containers, often made of plastic or wire mesh, that sit directly on the ground. You add materials from the top and harvest finished compost from a door or by lifting the bin. They are the most affordable and can hold a lot of material.
Pros: Cheap (often $50 to $100), large capacity, simple to use, no turning required if you layer properly. Cons: Slower (3 to 6 months), can attract rodents if not managed well, may need a pitchfork to turn if you want speed.
Price range: $50 to $150 for a plastic bin like the Geobin or a wire mesh enclosure. You can also build one from pallets for free.
DIY options
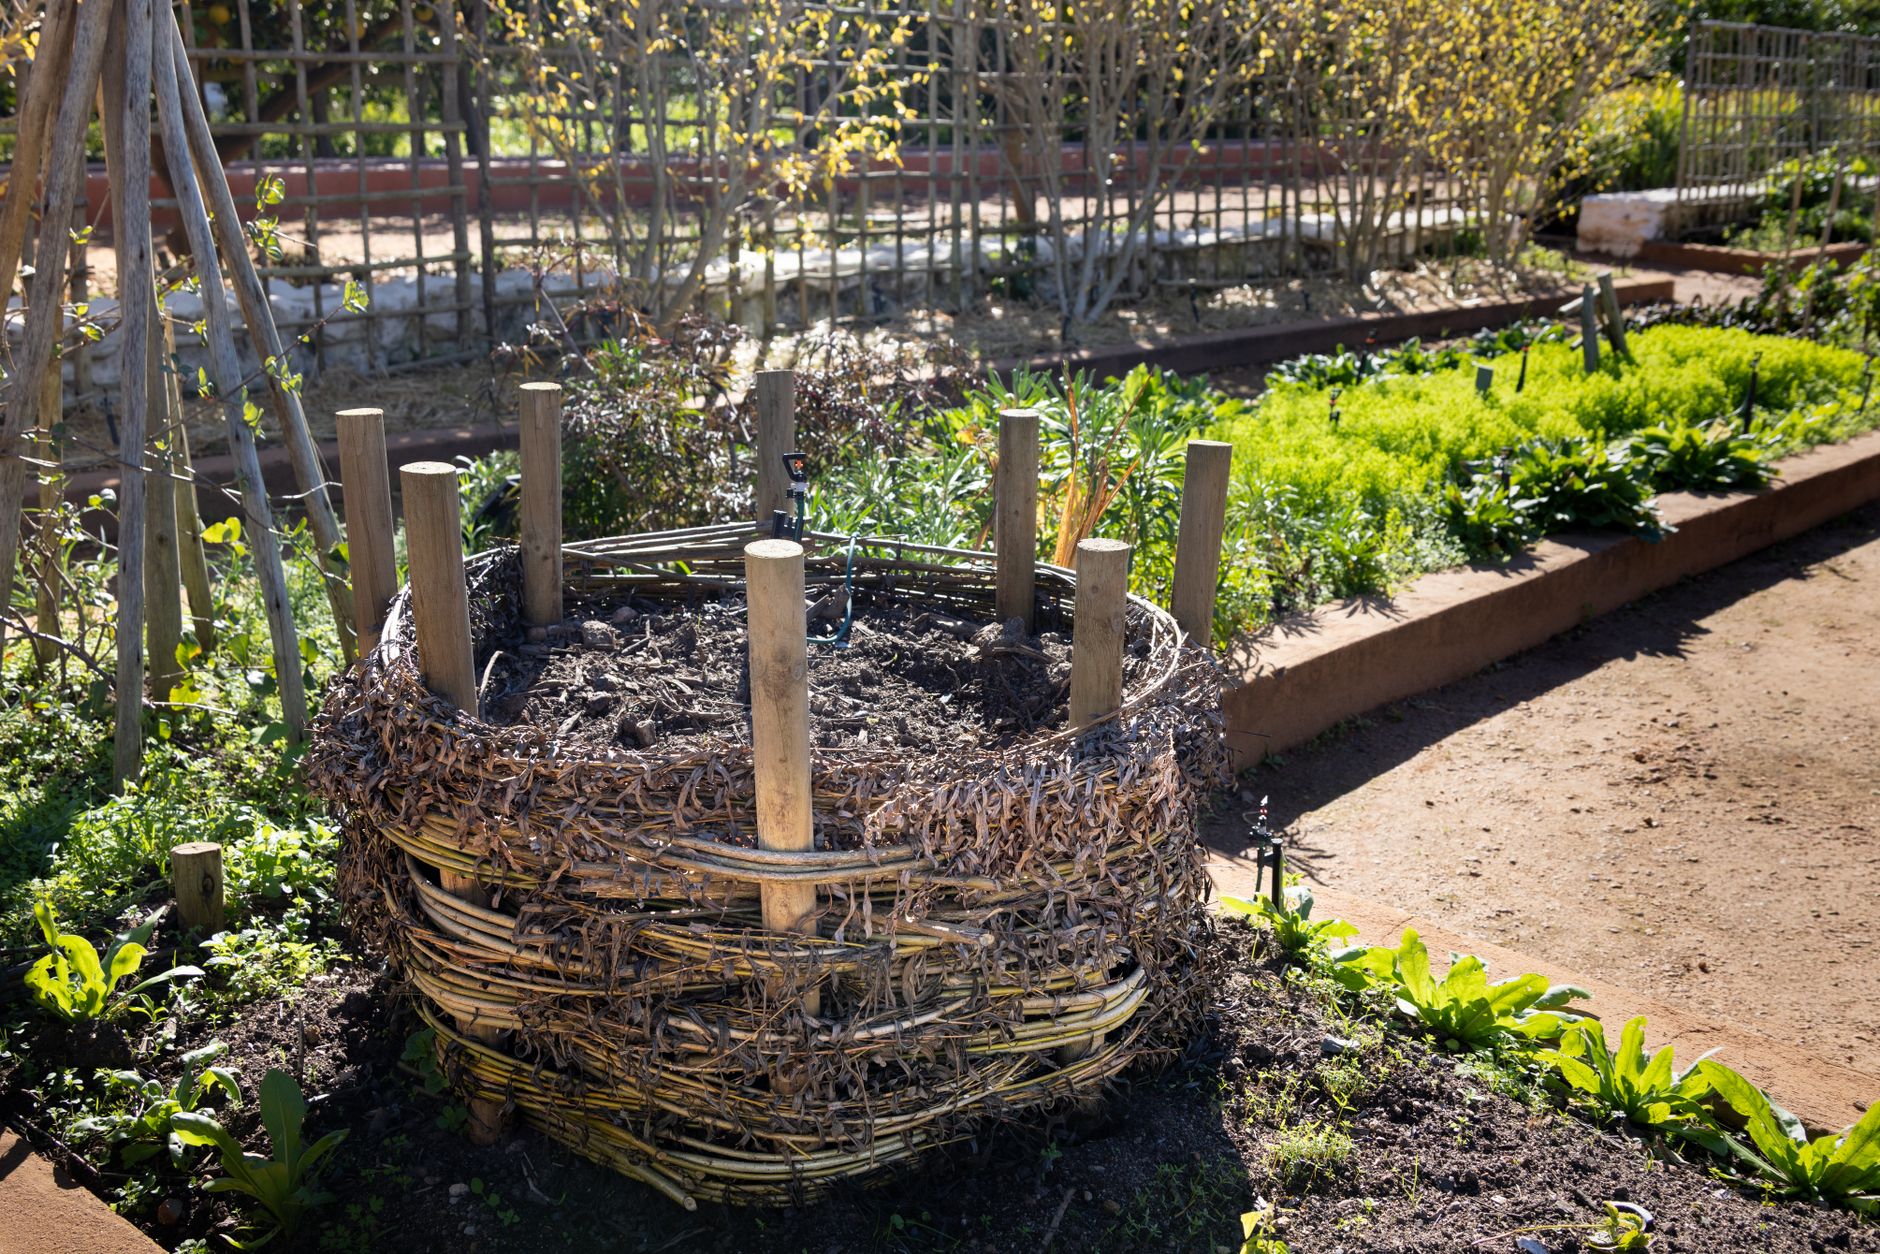
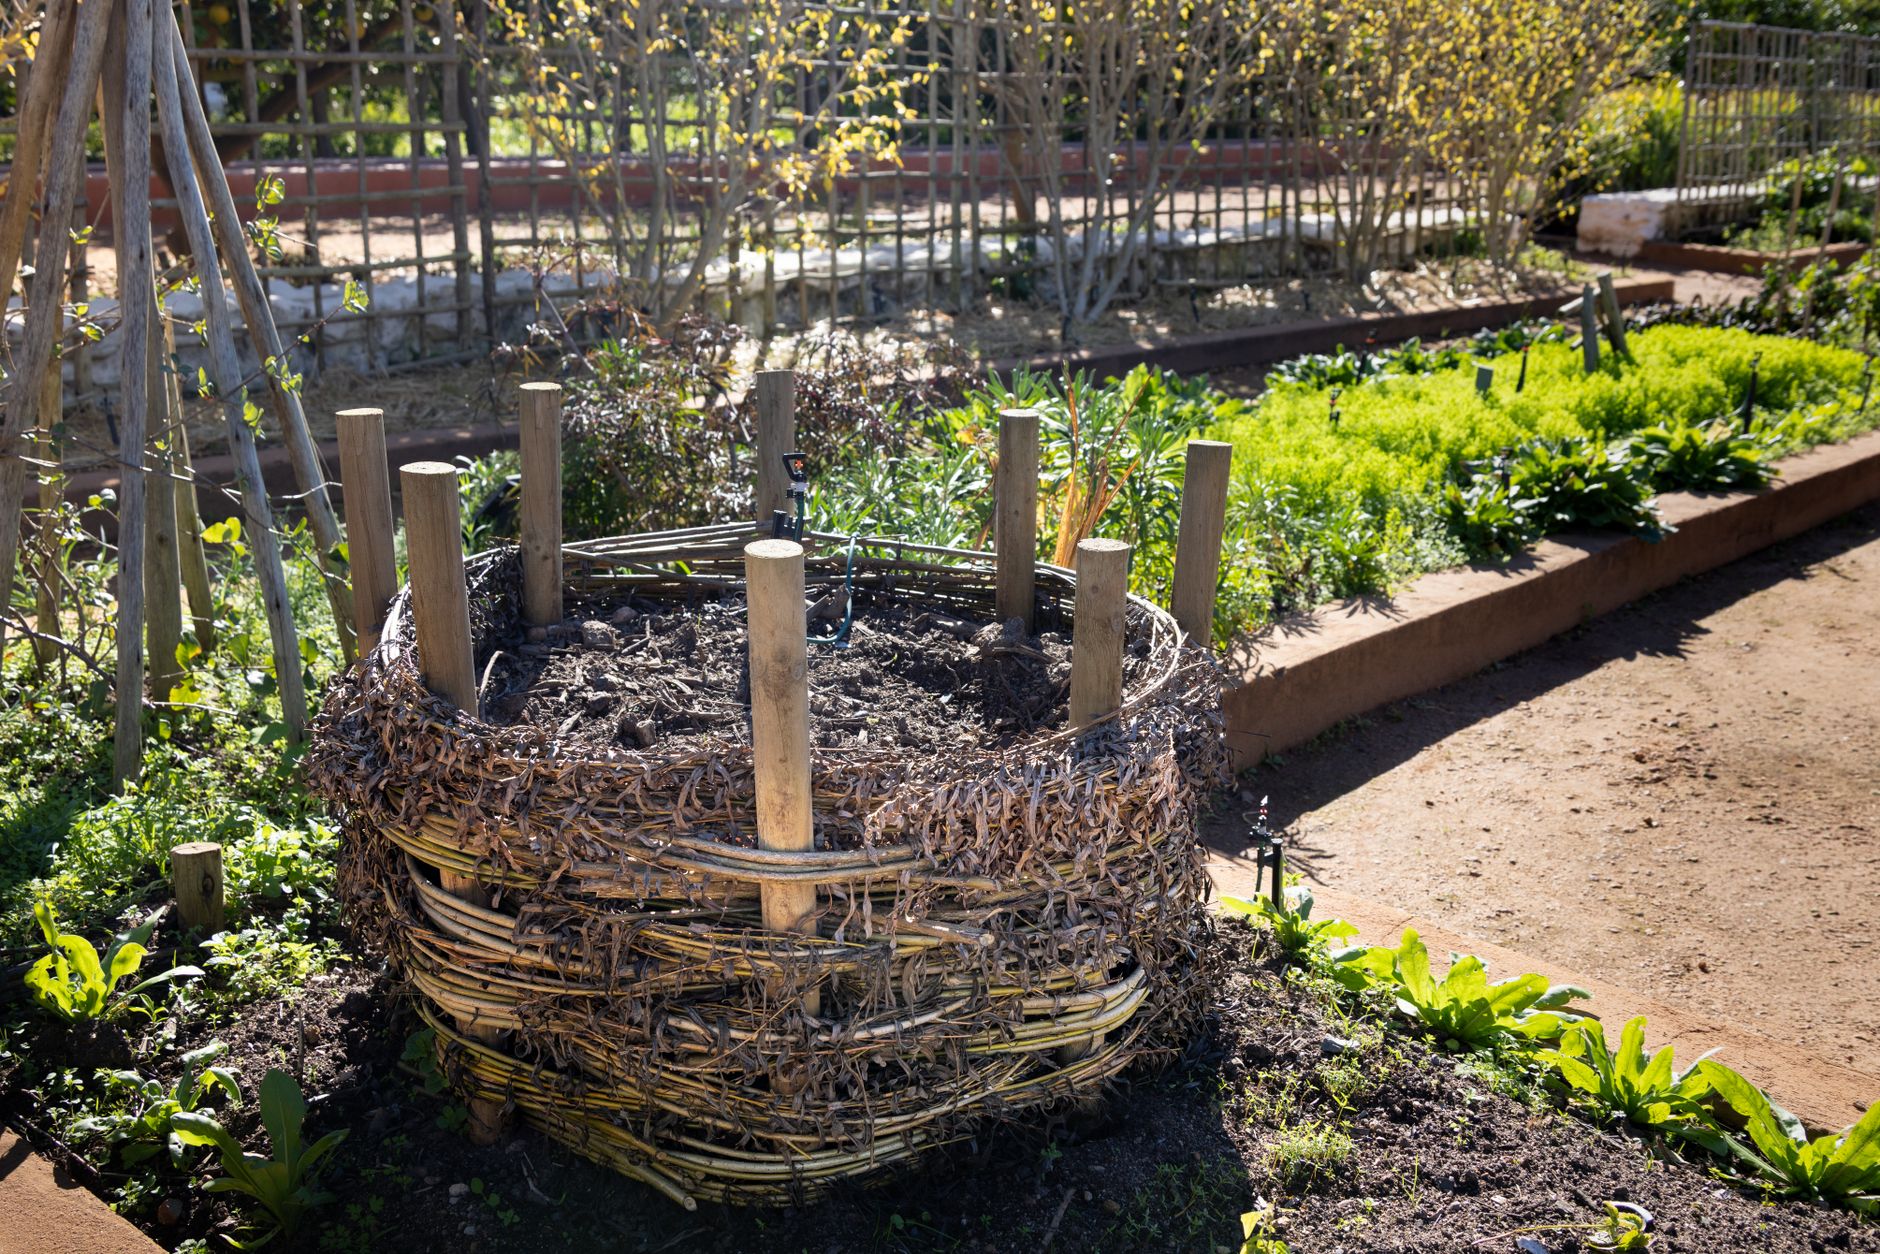
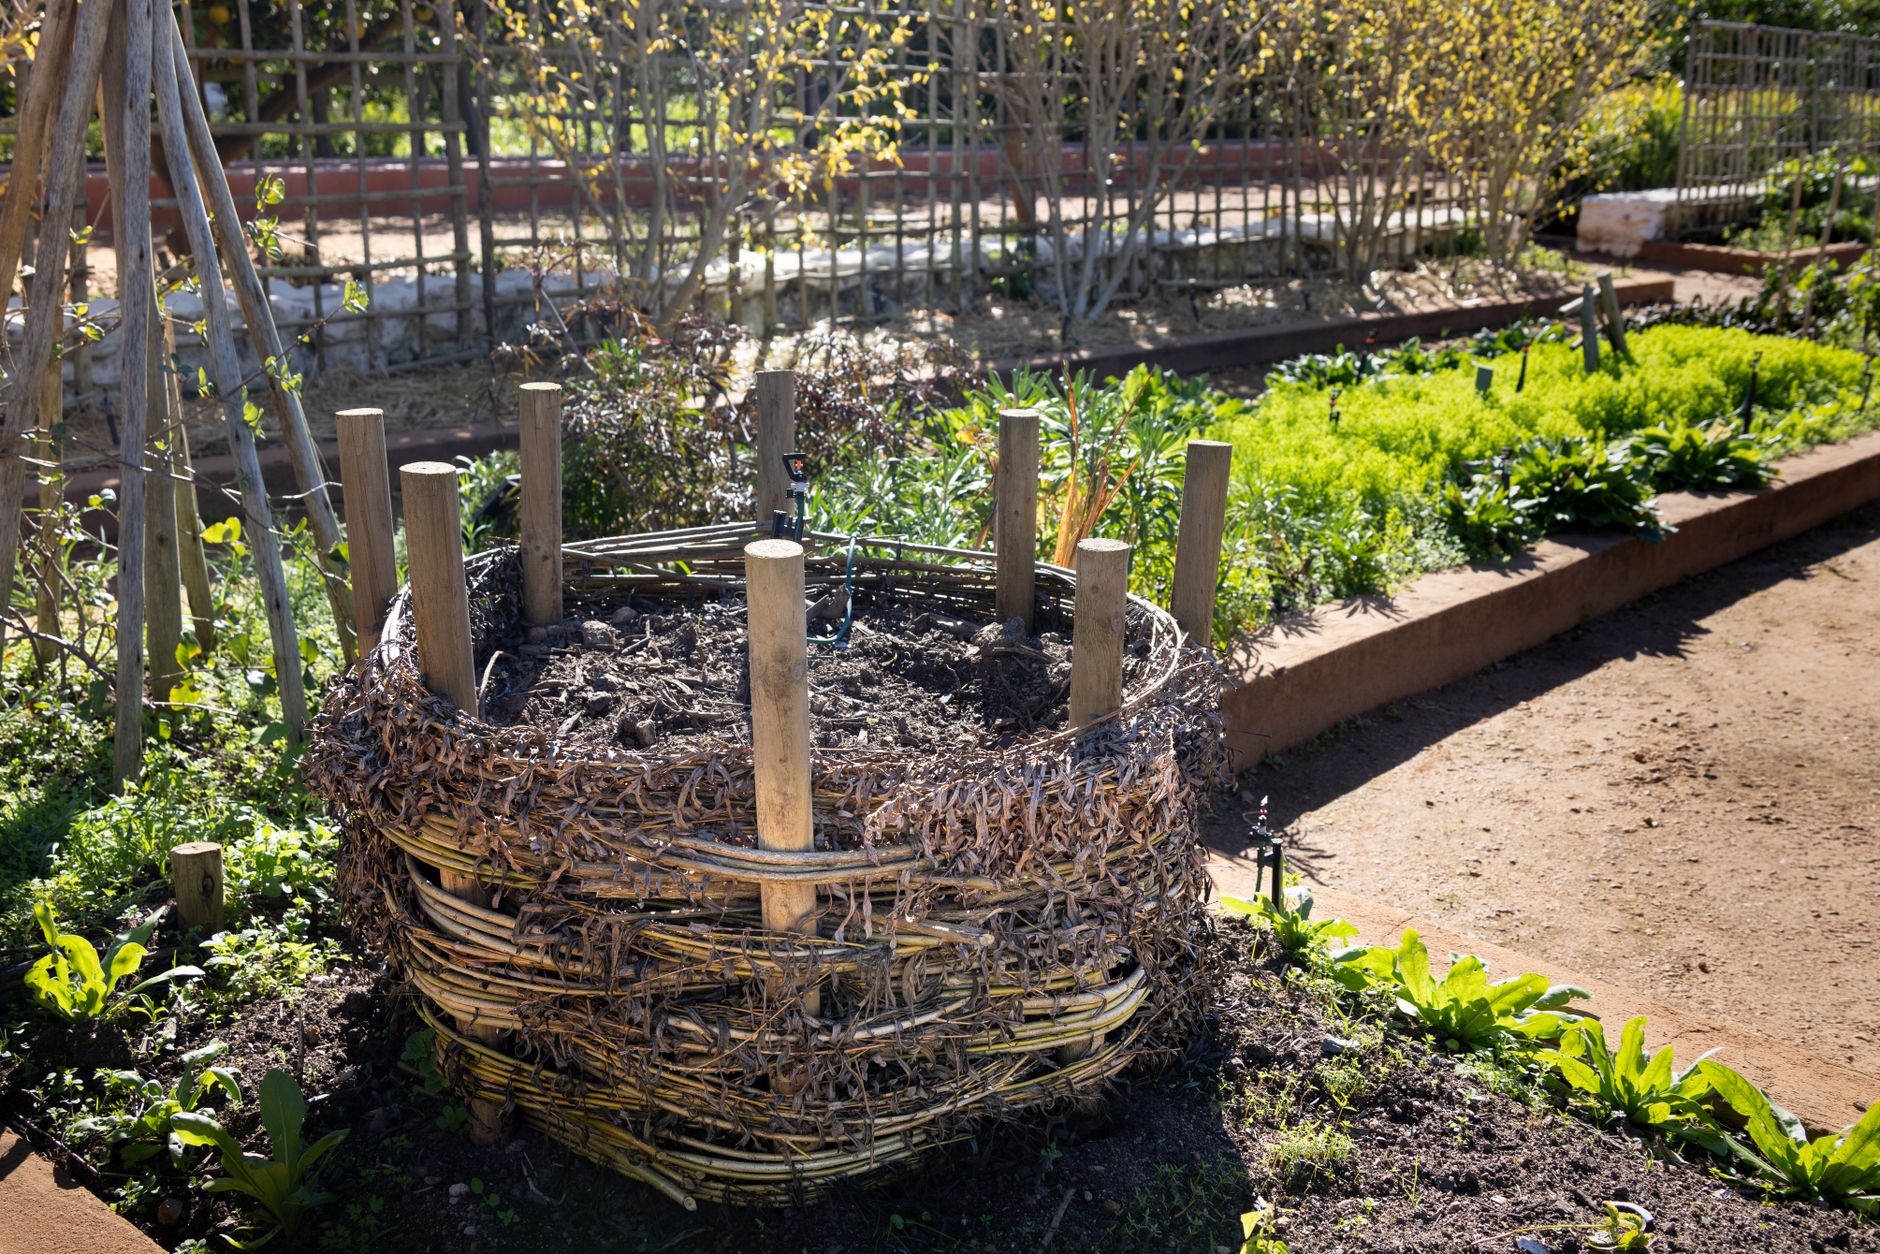
If you are handy or want to save money, you can make a compost bin from wood pallets, wire fencing, or even a trash can. A simple three-bin system is a classic for serious gardeners, but for beginners, a single bin is enough.
Pros: Very cheap or free, customizable size, uses materials you may already have.
Cons: More work to set up, may not look as tidy, can be harder to turn unl
 ess you build multiple bays.
Price range: $0 to $50 if you buy hardware like hinges or wire.
What to look for in a beginner compost bin
When you are starting out, focus on these features:
- Size: Aim for at least 3 feet by 3 feet by 3 feet (1 cubic yard) if you have the space. That volume heats up enough to break down quickly. For a tumbler, look for 7 cubic feet or more.
- Access: You want easy access to add materials and remove finished compost. A door at the bottom or a removable lid is key.
- Aeration: Good airflow speeds decomposition. Tumblers have holes, stationary bins often have open sides or aeration pipes.
- Pest resistance: If you live in an area with raccoons or rodents, a closed bin with a tight lid is safer. Tumblers are best for this.
- Durability: Plastic bins can crack in cold weather, so look for UV-stabilized plastic or metal. Wood rots over time but can last 5 to 10 years if treated.
How to start composting this week
Once you have your bin, follow these steps to get your pile going:
- Choose a location: Place your bin on bare soil if possible, in a spot with partial sun. Good drainage helps.
- Add browns and greens: You need a mix of carbon-rich “browns” (dry leaves, straw, shredded paper) and nitrogen-rich “greens” (grass clippings, vegetable scraps, coffee grounds). Aim for roughly 2 to 3 parts browns to 1 part greens by volume.
- Start with a layer of browns: Put 4 to 6 inches of browns at the bottom to absorb moisture and encourage airflow.
- Add greens and browns in layers: As you collect kitchen scraps, add them and cover with a handful of browns. This prevents odors and flies.
- Keep it moist: The pile should feel like a wrung-out sponge. Water it if it is dry, or add more browns if it is too wet.
- Turn or mix: For a tumbler, rotate every 2 to 3 days. For a stationary bin, use a pitchfork to turn the pile every week or two. This adds oxygen and speeds up decomposition.
- Wait and harvest: In warm weather, a tumbler can produce compost in 4 to 8 weeks. A stationary bin takes 3 to 6 months. You will know it is done when it is dark, crumbly, and smells like earth.
Realistic expectations and troubleshooting
Composting is not instant. In cooler climates or during winter, decomposition slows dramatically. Do not expect finished compost in a month unless you have a hot pile and turn it often. Here are common issues and fixes:
- Bad odor: Too many greens or too wet. Add more browns and turn the pile.
- Pests: Do not add meat, dairy, or oily foods. Use a closed bin and bury food scraps under browns.
- Pile not heating up: Not enough greens or too small. Add grass clippings or manure, and make sure the pile is at least 3 cubic feet.
- Dry and crumbly: Add water or more greens.
Recommended bins for beginners
Here are three solid choices you can buy in 2026, with realistic prices:
| Bin | Type | Capacity | Price | Best for |
|---|---|---|---|---|
| FCMP Outdoor Tumbling Composter (dual chamber) | Tumbler | 9.5 cu ft | $120-$150 | Small yards, easy turning |
| Geobin 216 gallon | Stationary | 216 gallons (about 29 cu ft) | $50-$70 | Large gardens, budget |
| Miracle-Gro Single Chamber Tumbler | Tumbler | 7 cu ft | $80-$100 | Beginners on a budget |
If you want to spend nothing, build a simple bin from four wooden pallets tied together with zip ties. It works as well as any store-bought bin.
FAQ
Q: How long does it take to make compost? A: With a tumbler and regular turning, you can have compost in 4 to 8 weeks during warm weather. A stationary bin takes 3 to 6 months. In winter, it can take longer.
Q: Can I compost in a small space like a balcony? A: Yes, use a small tumbler or a worm bin (vermicomposting). A 7 cubic foot tumbler fits on a balcony and can handle kitchen scraps for one or two people.
Q: What should I not put in my compost bin? A: Avoid meat, dairy, fish, bones, oily foods, and pet waste. These attract pests and can cause odors. Also skip diseased plants and weeds with seeds.
Q: Do I need to add compost starter? A: No, you do not need commercial starters. A handful of garden soil or finished compost adds beneficial microbes. Grass clippings and manure work as natural activators.
The bottom line
For most beginners, a tumbling composter is the best choice because it takes the guesswork out of turning and produces compost faster. If you have a larger garden and want to save money, a stationary bin like the Geobin is a great option. Whichever you choose, start small, keep a balance of browns and greens, and be patient. Your garden will thank you with richer soil and less waste going to the landfill.