Canning 101 for beginners
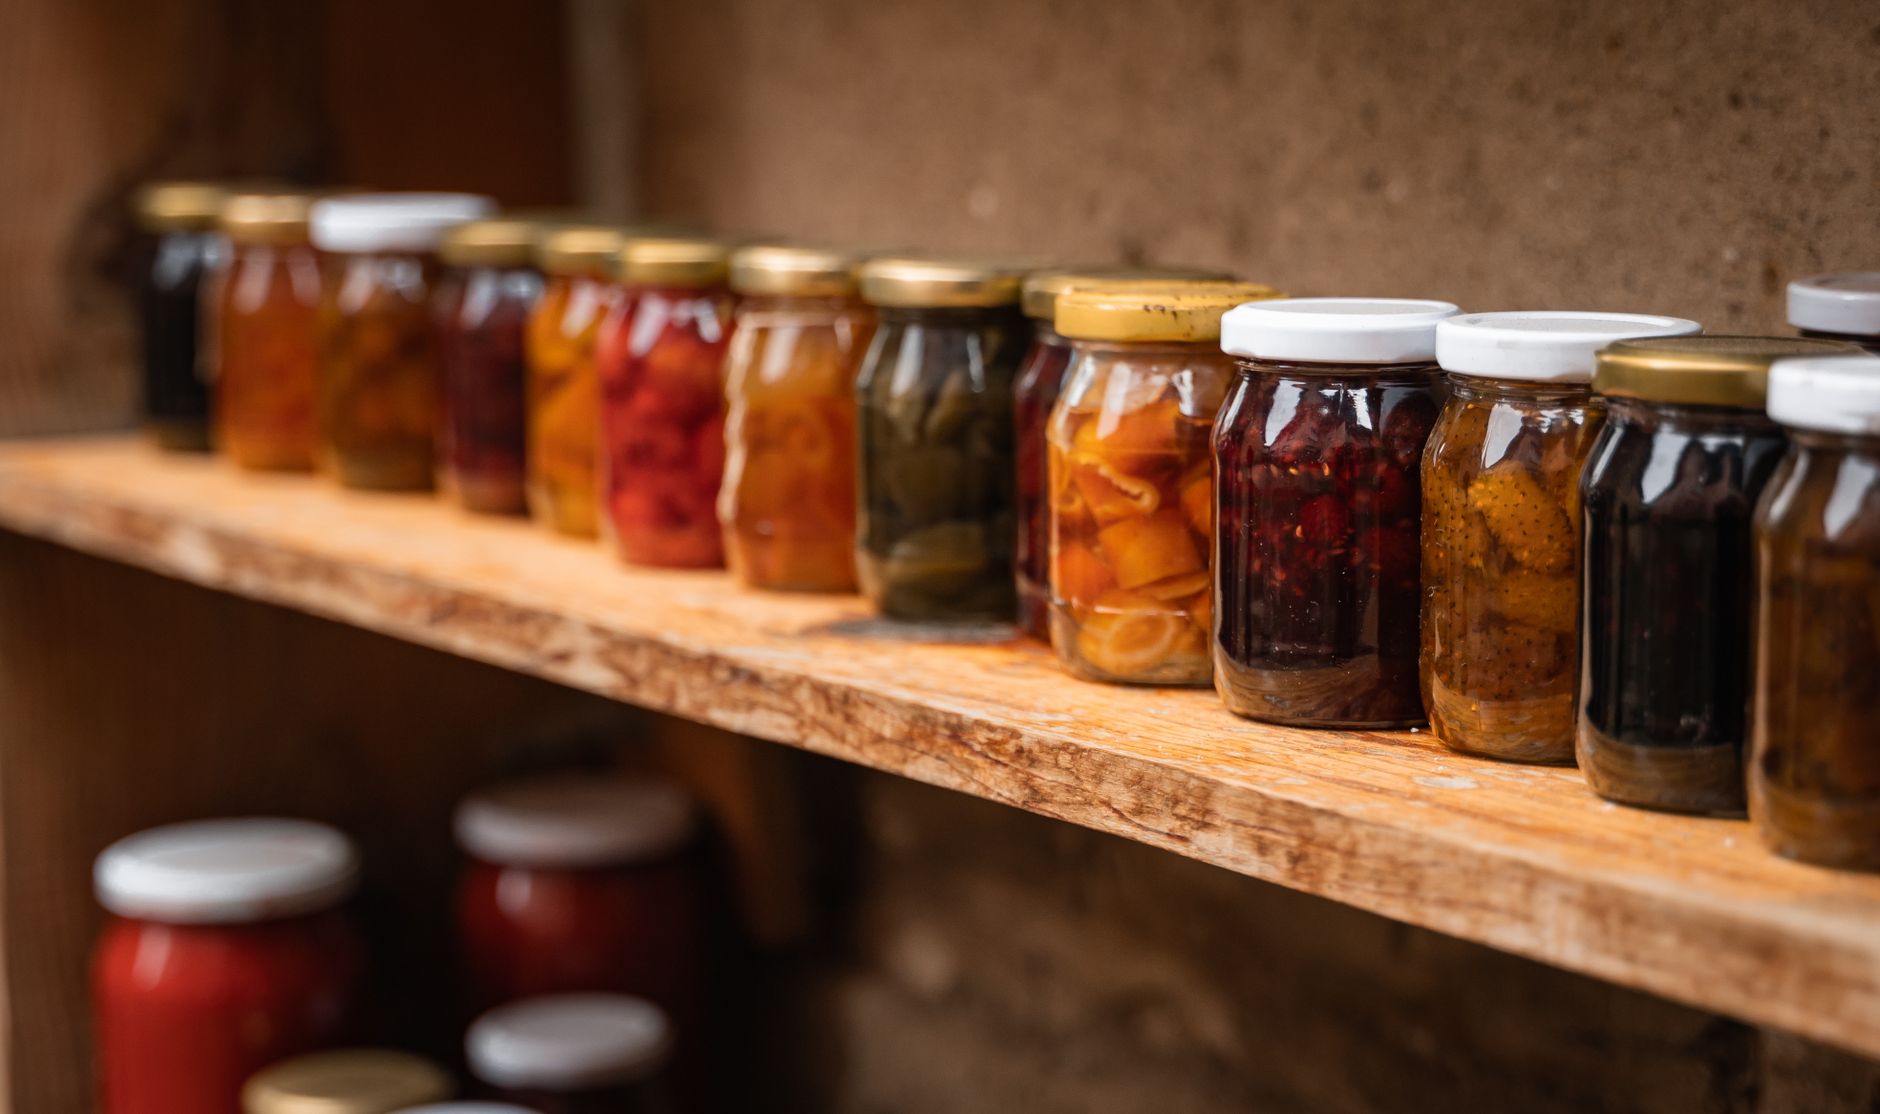
Learn water bath and pressure canning basics: equipment, step-by-step process, safety rules, and costs. Start preserving your garden harvest this week.
Canning is a reliable way to preserve your garden harvest, and you can start this week with a water bath canner for high-acid foods like tomatoes, pickles, and jams. For low-acid vegetables and meats, you need a pressure canner. This guide walks you through the equipment, the process, and the safety rules, with real prices and steps you can follow today.
What you need to start canning
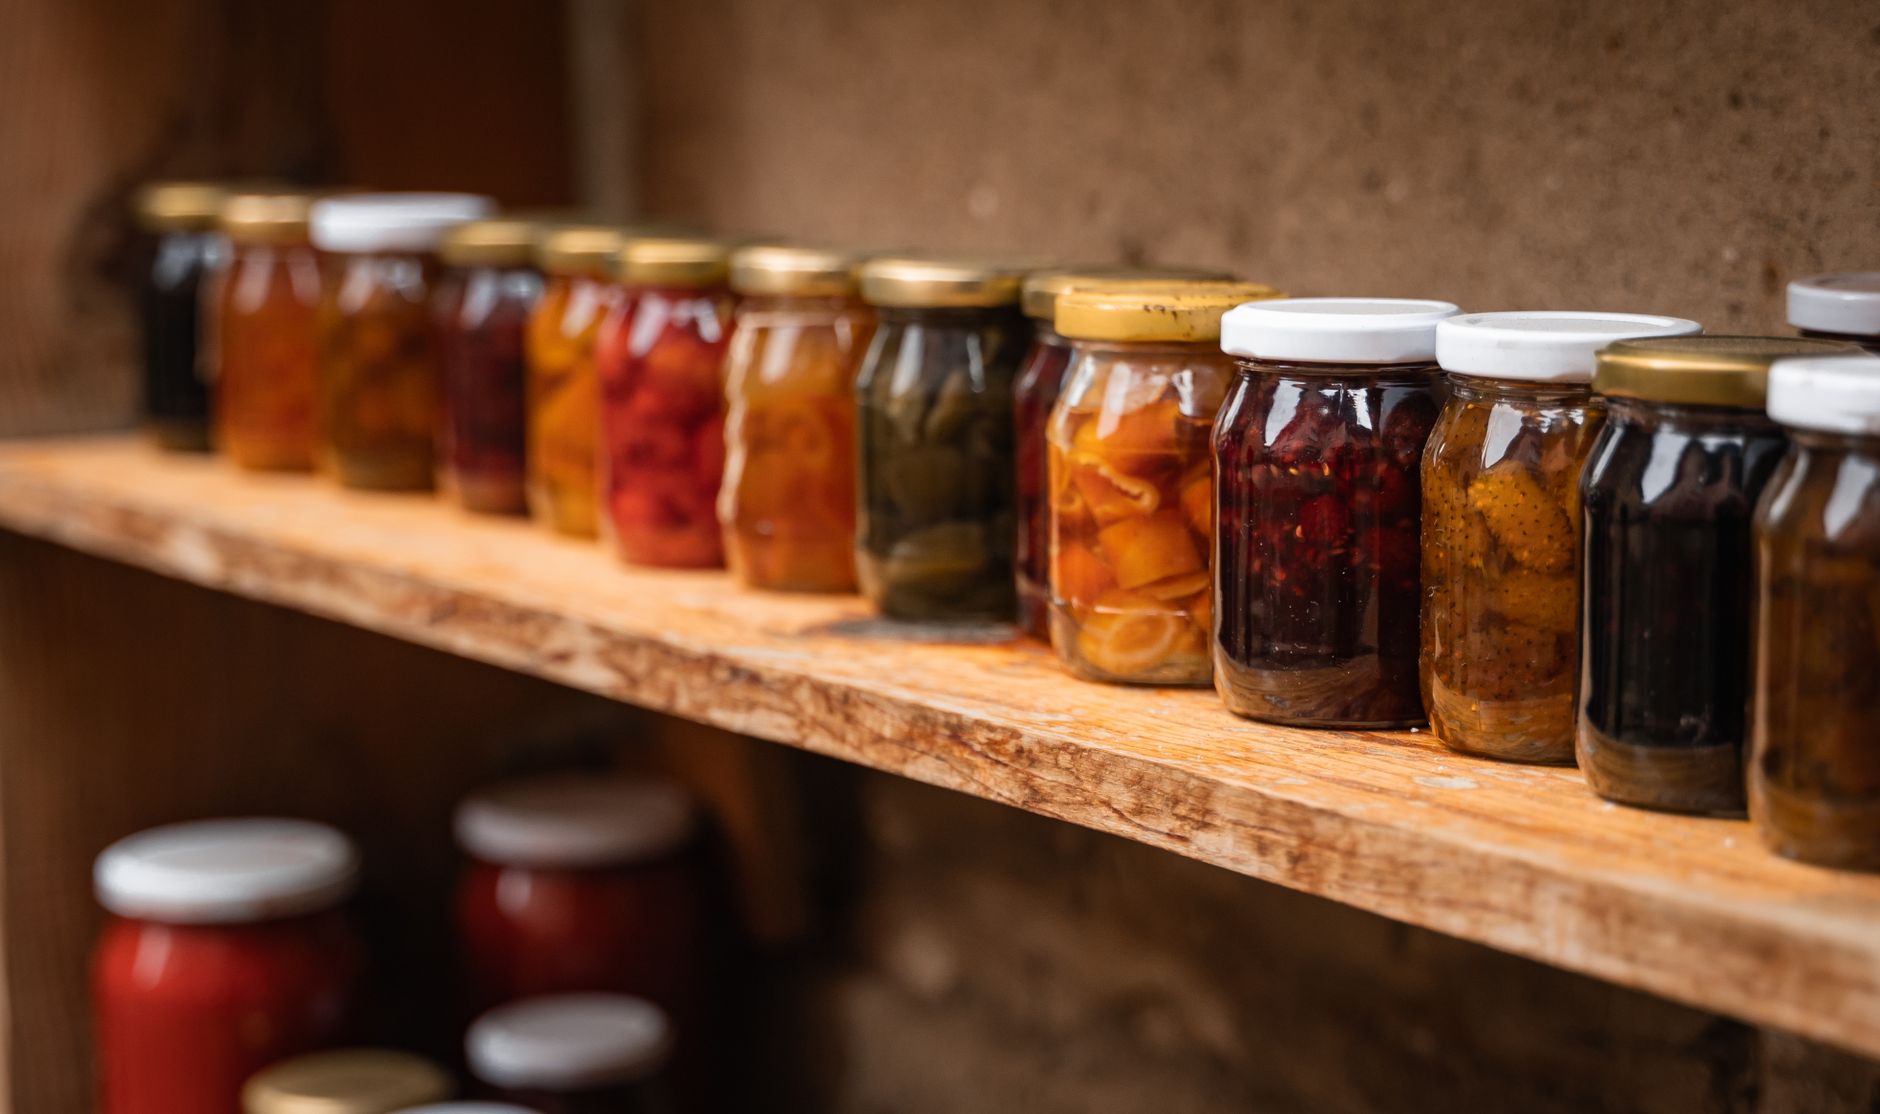
Before your first batch, gather these tools. You likely have some already.
- Water bath canner: A large pot with a rack, holds 7 to 9 quart jars. Price: $30 to $50 new, or use a deep stockpot with a rack. Must be deep enough to cover jars with 1 to 2 inches of water.
- Pressure canner: For low-acid foods. A 23-quart model with a dial or weighted gauge costs $100 to $150. This is a one-time investment that lasts decades.
- Glass jars: Mason jars in sizes from half-pint to quart. A case of 12 quart jars runs $15 to $20. Reuse jars from store-bought foods only if they are Mason brand; other jars may crack.
- Lids and bands: New lids each use, about $3 to $4 per dozen. Bands are reusable.
- Canning tools: Jar lifter, funnel, bubble remover, and magnetic lid lifter. A starter kit costs $15 to $25.
- Optional but helpful: Kitchen scale, timer, and a notebook for tracking batches.
Total startup cos
 t: $60 to $120 if you buy everything new, less if you already have a stockpot and jars.
Water bath canning step by step
Water bath canning is for high-acid foods: fruits, pickles, jams, and tomatoes with added acid. The boiling water kills bacteria and creates a vacuum seal.
- Prepare your jars: Wash jars in hot soapy water, rinse, and keep them hot in the canner or oven (200°F) until filling.
- Prepare your recipe: Use a tested recipe from a reliable source like the USDA or Ball Blue Book. Do not alter vinegar, sugar, or acid proportions.
- Fill jars: Leave headspace as specified, usually 1/4 inch for jams, 1/2 inch for pickles. Remove air bubbles with a bubble remover.
- Wipe rims: Use a clean, damp cloth to remove any food residue. This is critical for sealing.
- Apply lids: Center the lid on the jar, screw the band on fingertip tight (not too tight).
- Process: Place jars in the canner with boiling water, cover, and bring back to a rolling boil. Start timing once boiling. Process for the time in your recipe.
- Cool and check seals: Remove jars and cool on a towel for 12 to 24 hours. Press the center of each lid; it should not flex. Refrigerate any unsealed jars and use within a week.
For example, a basic dill pickle recipe with cucumbers, vinegar, and salt processes for 10 minutes in a boiling water bath at altitudes below 1,000 feet. Adjust time for higher altitudes: add 1 minute per 1,000 feet above sea level.
Pressure canning basics
For low-acid foods like green beans, carrots, corn, and meats, you must use a pressure canner. The high temperature (240°F) kills botulism spores that boiling water cannot.
- Add water: Put 2 to 3 inches of hot water in the canner.
- Load jars: Place filled jars on the rack, leaving space between them.
- Lock the lid: Follow your canner’s manual. Heat until steam escapes steadily, then vent for 10 minutes.
- Pressurize: Close the vent or place the weighted gauge. Bring to the required pressure: 10 to 11 psi for most foods at sea level.
- Process: Start timing once pressure is reached. Keep pressure steady. For example, pint jars of green beans process for 20 minutes at 10 psi.
- Cool naturally: Turn off heat and let pressure drop to zero. Do not force-cool. Wait 2 to 3 minutes, then open the lid away from your face.
Always check your altitude and adjust pressure: add 1 psi for every 2,000 feet above 1,000 feet for dial gauges, or use the next weight setting for weighted gauges.
Safety rules you cannot skip
- Use tested recipes only: No old family recipes unless they match current USDA guidelines. Acid levels change with variety and ripeness.
- Check jar seals: Unsealed jars go in the fridge.
- Boil before tasting: If you have any doubt, boil low-acid canned food for 10 minutes before eating.
- Store properly: Remove bands, wipe jars, and store in a cool, dark place. Use within 12 months for best quality.
- Discard if spoiled: Bulging lids, leaks, off-odors, or mold mean toss it. Do not taste.
What to can first: easy wins for beginners
Start with high-acid foods that are forgiving and quick.
| Food | Type | Processing time (pints) | Difficulty |
|---|---|---|---|
| Strawberry jam | Water bath | 10 minutes | Easy |
| Dill pickles | Water bath | 10 minutes | Easy |
| Tomato sauce | Water bath (add lemon juice) | 35 minutes | Moderate |
| Green beans | Pressure canner | 20 minutes at 10 psi | Moderate |
For your first batch, try a simple jam. Use 4 cups crushed strawberries, 2 cups sugar, and 1 packet of pectin. You will get about 4 half-pint jars. It takes 30 minutes of prep and 10 minutes of processing.
Costs and yields in 2026
Here are realistic numbers to plan your budget.
- Jars: $10 to $15 per dozen for quart jars, $8 to $12 for pints.
- Lids: $3 to $5 per dozen.
- Produce: If you grow your own, cost is seeds and water. If buying, expect $2 to $4 per pound for organic produce.
- Yield: A bushel of tomatoes (53 pounds) yields about 18 to 20 quarts of canned tomatoes. A pound of green beans yields about 1 pint canned.
FAQ
Can I reuse store-bought jars like spaghetti sauce jars?
Only if they are Mason jars. Other jars may not withstand heat and can crack. Check the bottom for the Mason logo.
How long do canned goods last?
Best quality within 12 months, but they are safe indefinitely if seals remain intact. After a year, texture and color may decline.
Do I need a pressure canner for tomatoes?
No, if you add acid. Add 1 tablespoon of bottled lemon juice or 1/4 teaspoon citric acid per pint, then water bath process. This is safe and tested.
What if my jars don’t seal?
Refrigerate and use within a week, or reprocess within 24 hours with new lids. Check for nicks on the jar rim and clean thoroughly.
The bottom line
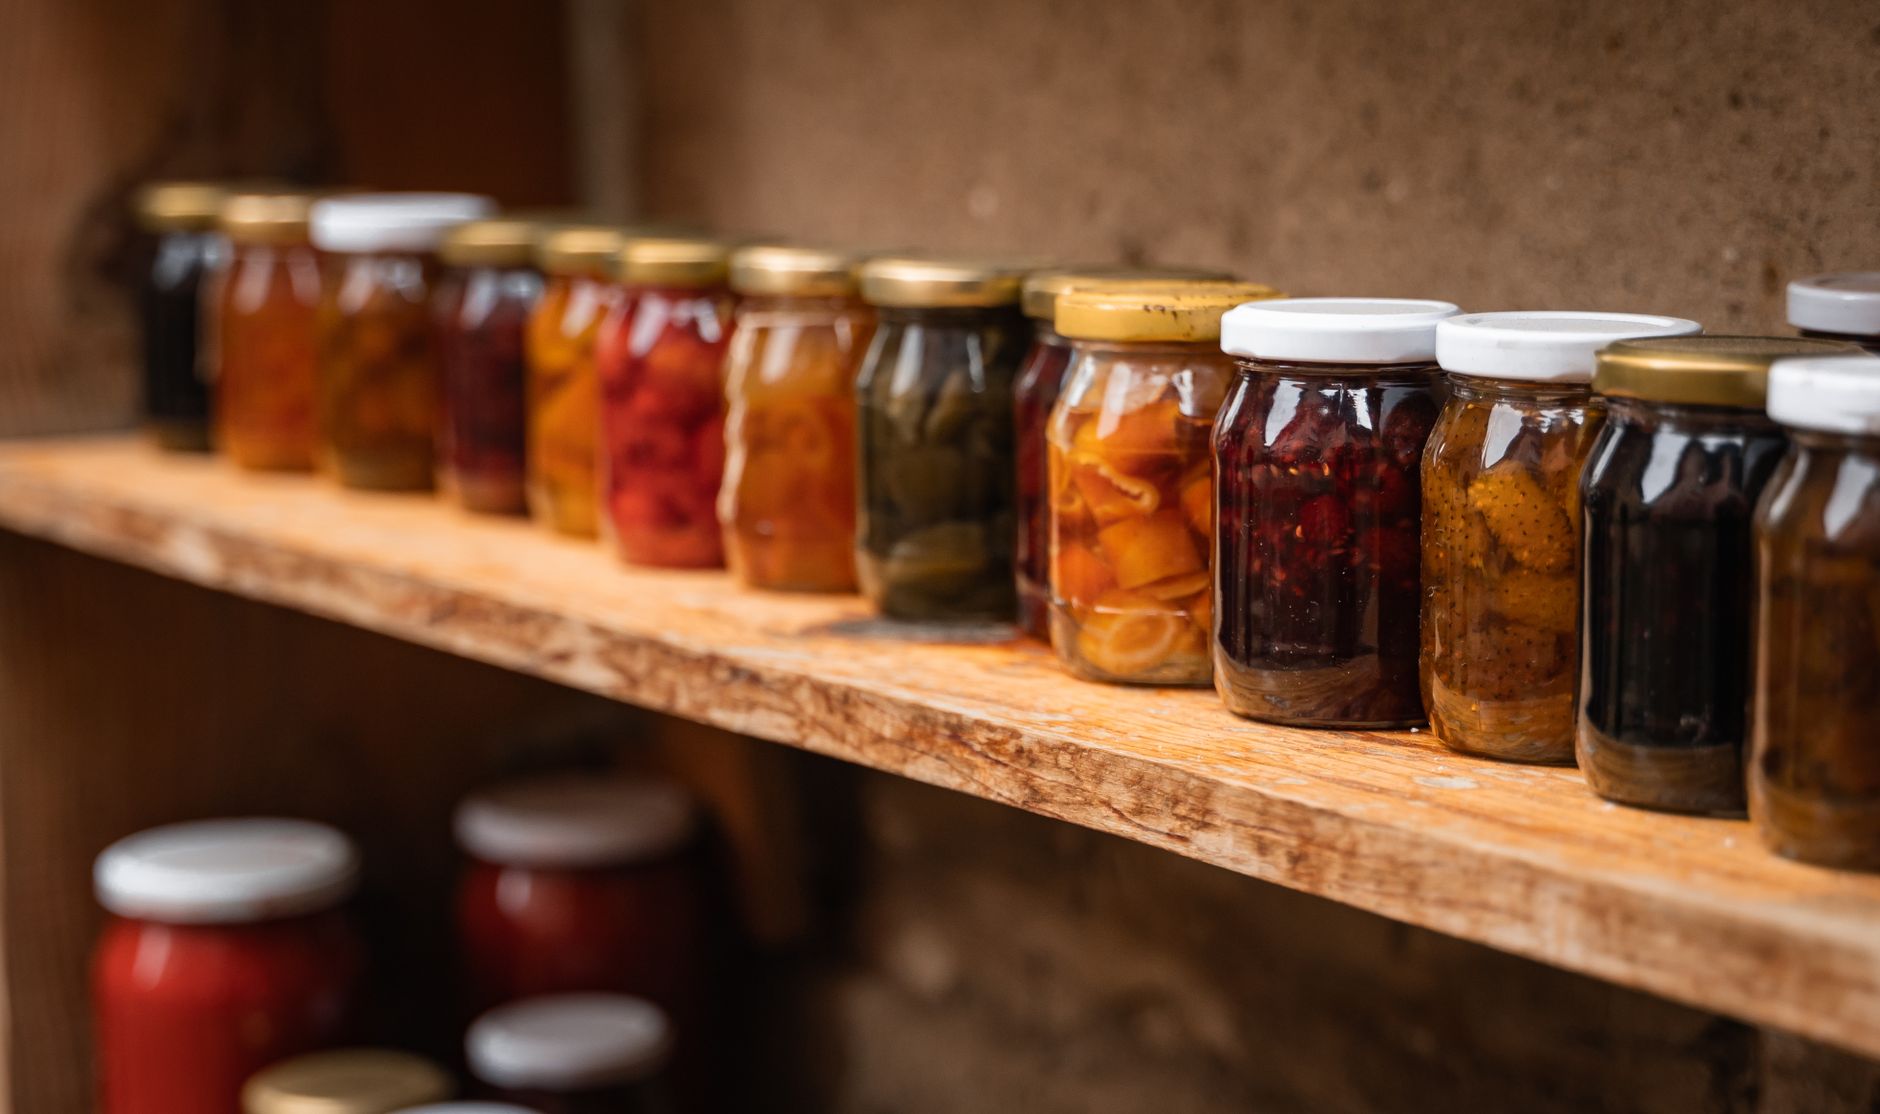
Canning is a practical skill that saves money and gives you shelf-stable food from your garden. Start with a water bath canner and a simple jam or pickle recipe. Follow tested recipes and safety rules exactly. Once you master the basics, expand to pressure canning for low-acid foods. Your first batch will take a few hours, but the payoff is a pantry full of your own harvest.