Best canning supplies for beginners
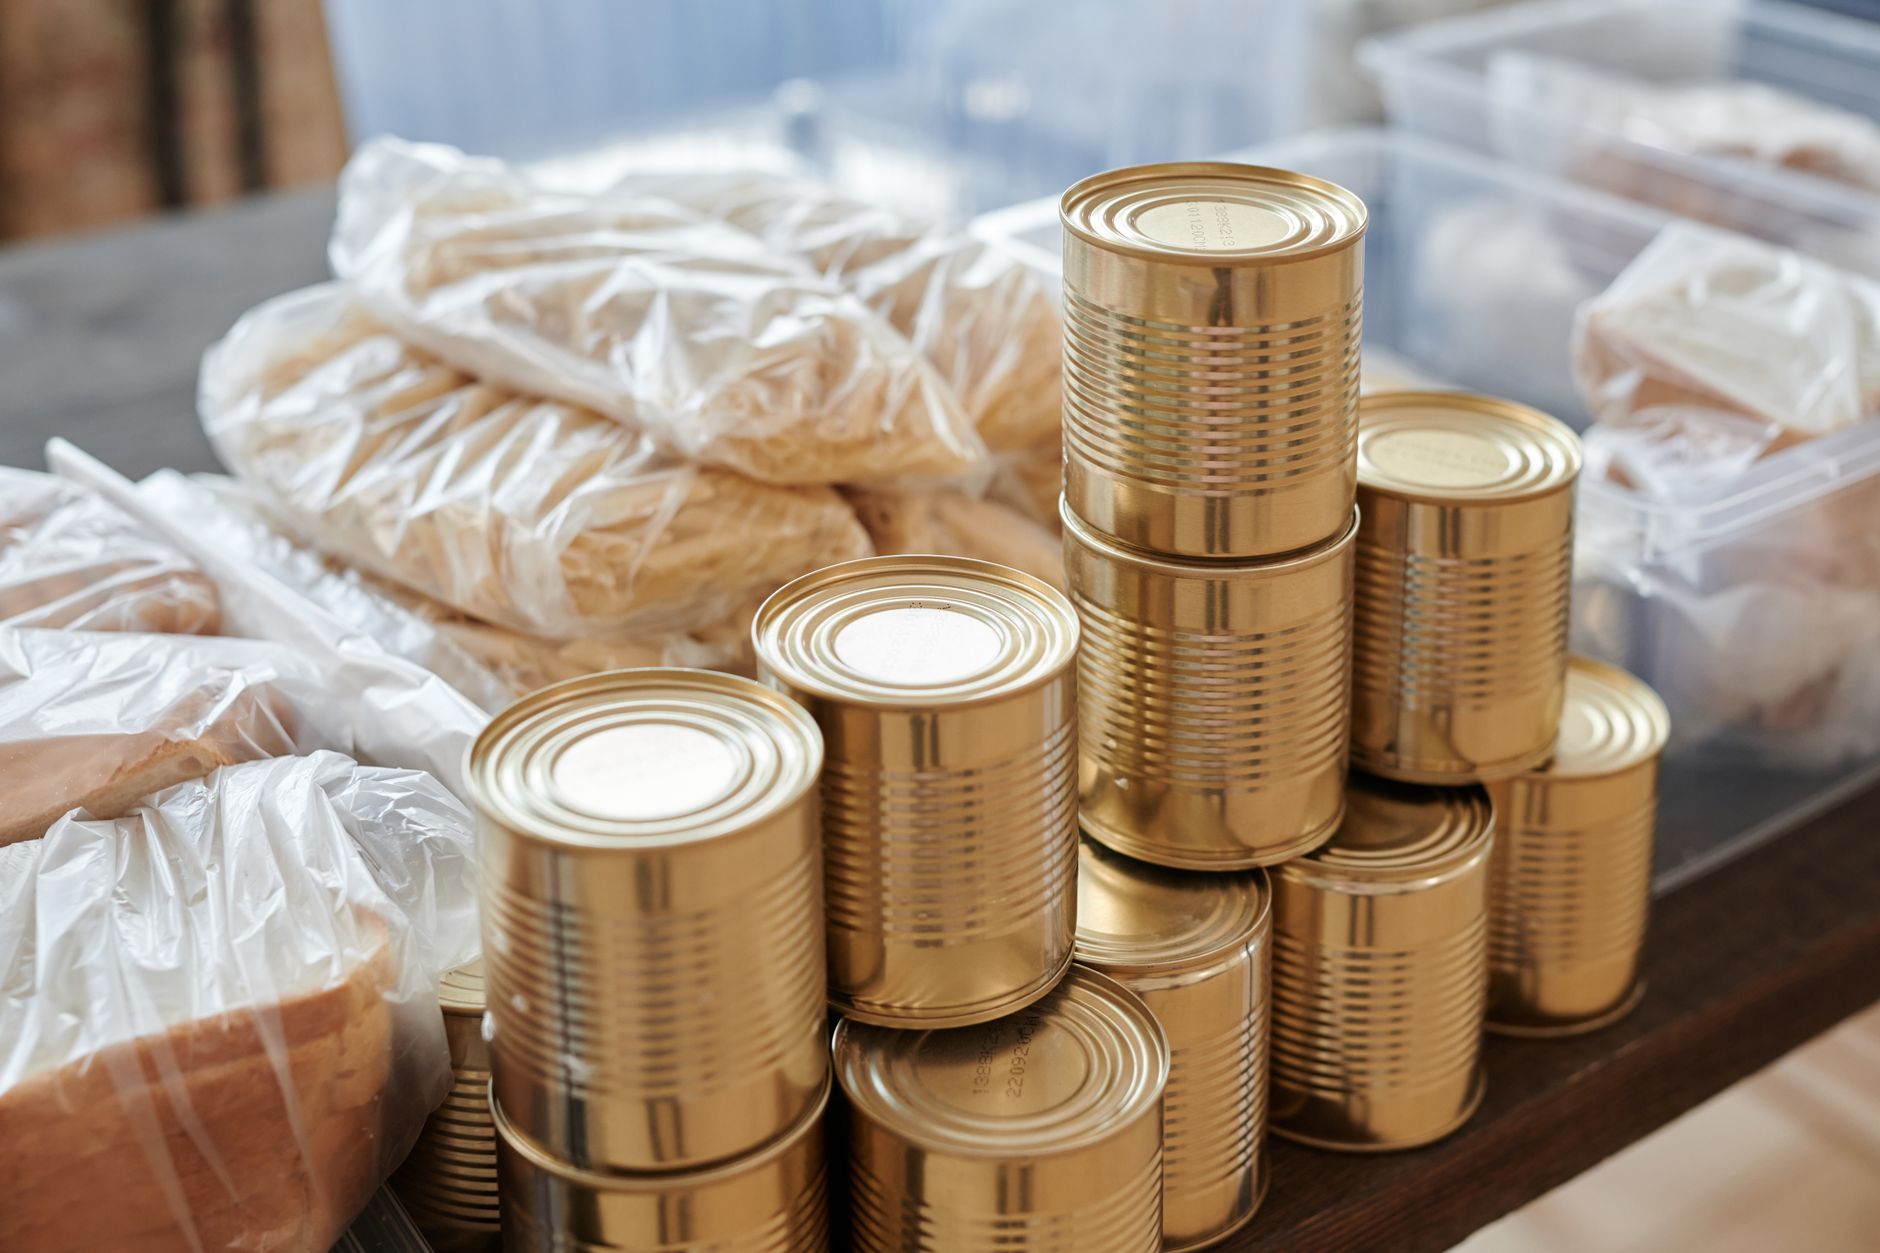
Discover the essential canning supplies for beginners, with real prices, step-by-step guidance, and practical tips to start preserving your harvest safely.
If you’re new to canning, you need a water bath canner, a set of jars, lids, and a few basic tools. That’s it. You don’t need a pressure canner until you start canning low-acid foods like vegetables or meats. Here’s exactly what to buy, what it costs, and how to use it this week.
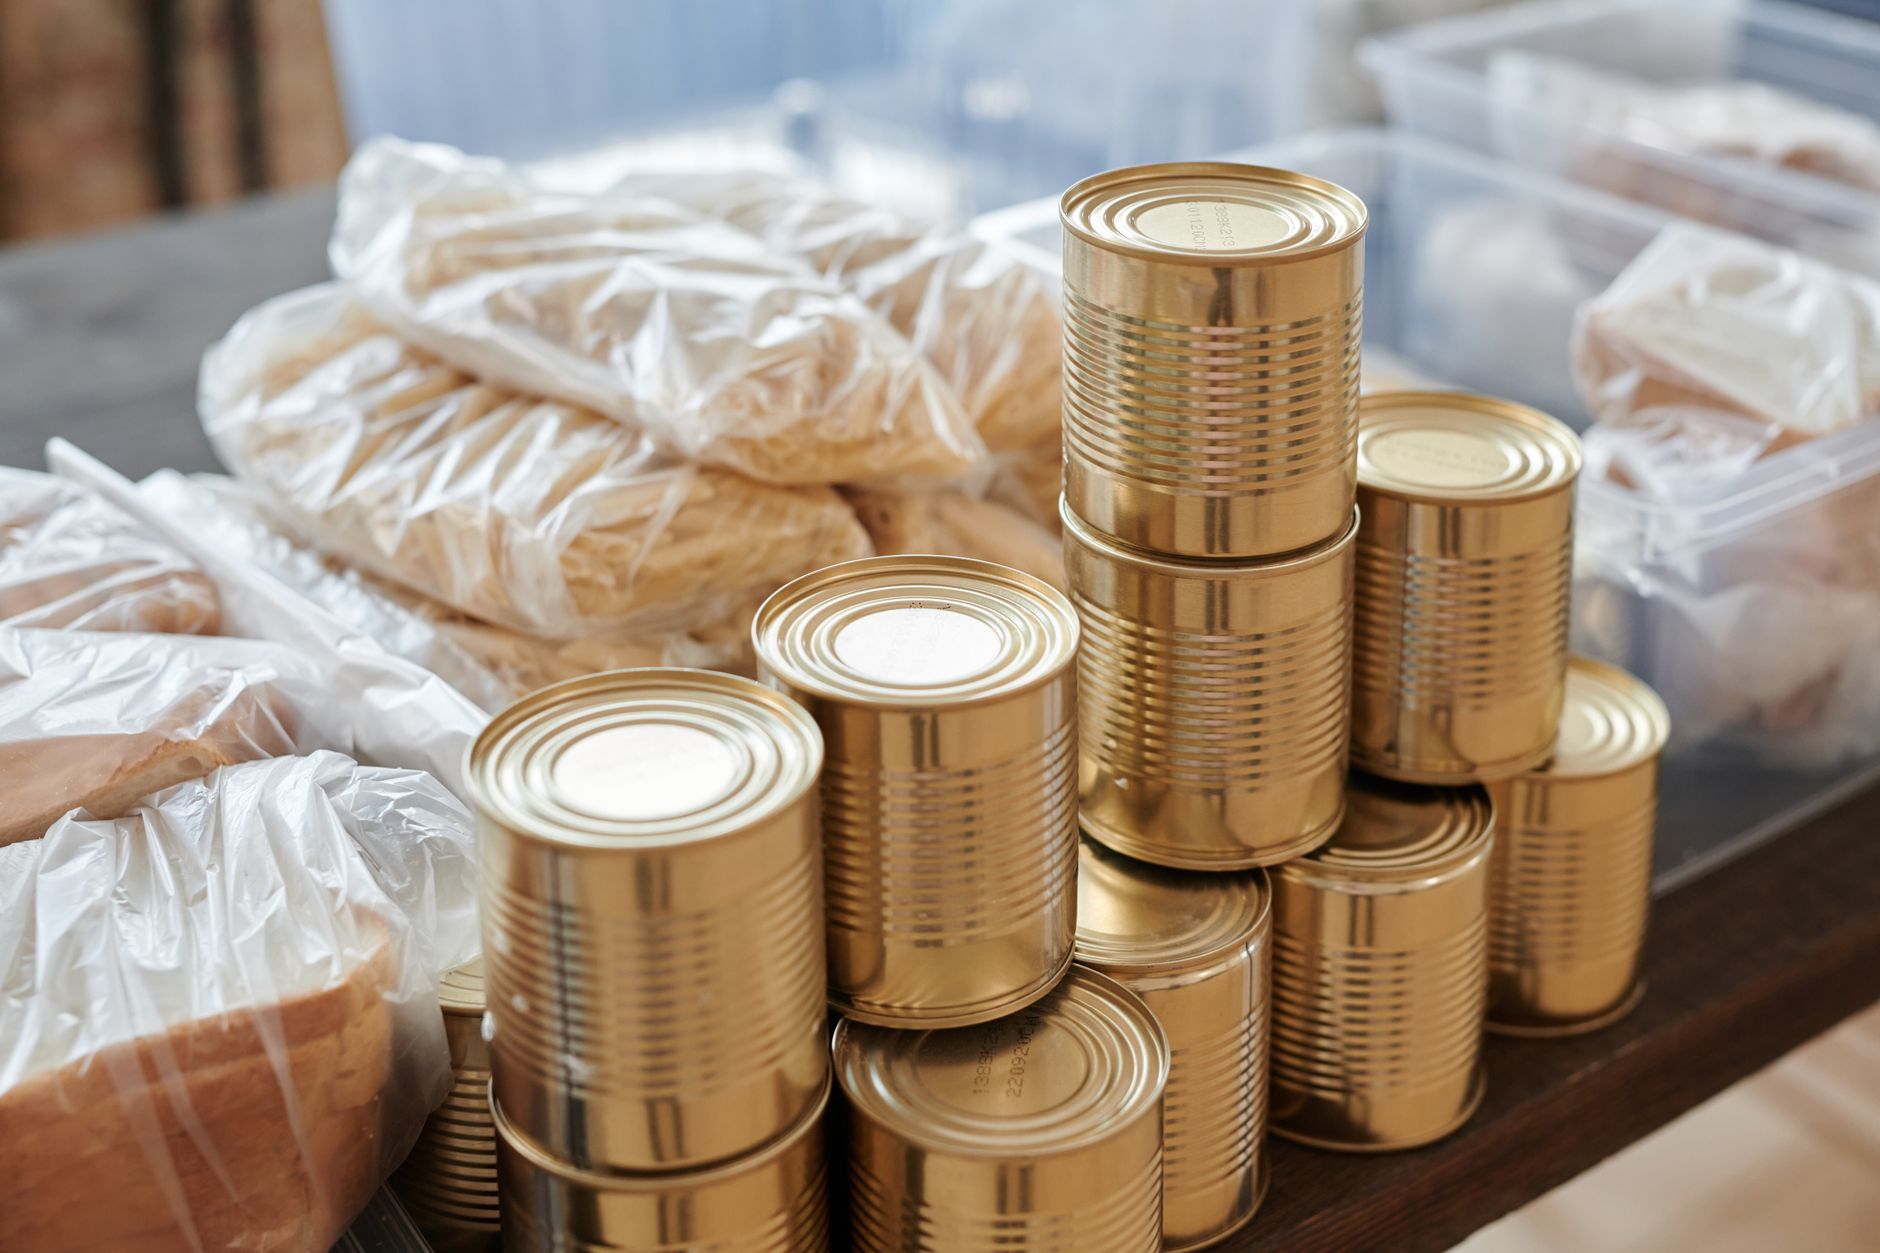
The Essential Supplies
Start with these items, all available at hardware stores or online. Expect to spend $60 to $100 for a complete beginner setup.
Water Bath Canner
A water bath canner is a large pot with a rack. It’s used for high-acid foods like jams, jellies, pickles, and tomatoes (with added acid). Look for an 21-quart capacity, which fits 7 quart jars or 9 pint jars. The Granite Ware 21-quart canner costs about $40 to $50. It’s lightweight and heats evenly. Avoid thin aluminum pots; they can scorch.
Jars and Lids
Use Mason jars made for canning. Ball and Kerr are the most common brands. A case of 12 pint jars costs $12 to $15. Quart jars are slightly more, $15 to $18. You need new lids each time, but bands and jars are reusable. A box of 12 lids costs $3 to $4. Buy extra lids; they’re cheap and you’ll need them.
Essential Tools
- Jar lifter: $10 to $15. This grips jars safely in boiling water. Don’t skip it; tongs will slip.
- Canning funnel: $5 to $8. Wide-mouth funnel prevents spills and keeps jar rims clean.
- Bubble remover and headspace tool: $5 to $7. Plastic stick with markings to measure headspace and release air bubbles.
- Magnetic lid lifter: $5 to $8. Picks lids out of hot water without burning your fingers.
- Kitchen towels: Use clean cotton towels to dry jars and handle hot jars.
Optional but Useful
- Jar wrench: $5. Helps tighten bands without over-tightening.
- Canning rack: Often included with the canner, but
 if not, buy one separately for $10.
 - Timer: Your phone works, but a dedicated kitchen timer is handy.
Step-by-Step: Your First Batch
This week, make a simple batch of strawberry jam. It’s forgiving and teaches the basics.
- Prepare jars: Wash jars in hot soapy water, rinse, and keep warm in a 200°F oven or simmering water. Do not boil empty jars; they can crack.
- Prepare lids: Simmer lids in a small saucepan at 180°F (not boiling) for 10 minutes to soften the sealant.
- Make jam: Use a tested recipe. For strawberry jam, combine 4 cups crushed strawberries with 2 cups sugar and 1 packet of pectin. Bring to a rolling boil, stirring constantly, for 1 minute.
- Fill jars: Place funnel on jar, ladle jam into jars, leaving 1/4 inch headspace. Use the bubble remover to release air bubbles.
- Wipe rims: Damp cloth to clean rims, then place lid and band, tightening fingertip-tight.
- Process: Place jars in canner with warm water (not boiling) covering jars by 1 to 2 inches. Bring to a rolling boil, then process for 10 minutes (adjust for altitude).
- Cool: Turn off heat, remove lid, let jars sit in water 5 minutes, then lift out and place on towel. Let cool 12 to 24 hours. Check seals: lids should be concave and not pop when pressed.
Choosing the Right Canner for Your Needs
If you plan to can vegetables, soups, or meats, you’ll need a pressure canner. A pressure canner costs $80 to $150 for a 23-quart model like the Presto 23-quart. It’s a bigger investment, but it’s essential for low-acid foods. For beginners, start with water bath canning; you can always add a pressure canner later.
Common Mistakes to Avoid
- Using non-canning jars: Mayonnaise jars or old pasta sauce jars are not tempered for canning and can shatter.
- Overfilling jars: Headspace is critical for sealing. Too little headspace can cause siphoning or seal failure.
- Tightening bands too much: Fingertip-tight is enough. Over-tightening can prevent air from escaping during processing, leading to buckled lids.
- Skipping altitude adjustments: At altitudes above 1,000 feet, processing times must be increased. Check a reliable altitude chart.
Cost Breakdown and Budget Tips
Here’s a realistic budget for a beginner setup:
| Item | Price Range |
|---|---|
| Water bath canner | $40 - $50 |
| Jar lifter | $10 - $15 |
| Canning funnel | $5 - $8 |
| Bubble remover/headspace tool | $5 - $7 |
| Magnetic lid lifter | $5 - $8 |
| 12 pint jars | $12 - $15 |
| Lids (box of 12) | $3 - $4 |
| Total | $80 - $107 |
To save money, buy jars at thrift stores (but inspect for chips), and reuse bands. Buy lids in bulk online; 12 dozen lids cost about $25.
FAQ
Can I reuse lids?
No. Lids are single-use. The sealing compound only works once. Bands and jars are reusable, but always use new lids for a proper seal.
How long do canned goods last?
Properly canned foods are safe indefinitely, but quality declines after 1 year. For best flavor, use within 12 months. Always check seals before storing and before eating.
Do I need a pressure canner for tomatoes?
Tomatoes are borderline. If you add lemon juice or citric acid, they can be water bath canned. Otherwise, use a pressure canner. For safety, follow a tested recipe.
What if my jars don’t seal?
If a jar doesn’t seal within 24 hours, refrigerate and use within a few days, or reprocess with a new lid within 24 hours. Don’t force it; just use it soon.
The Bottom Line
Start with a water bath canner, jars, and basic tools. You’ll spend under $100 and be ready to preserve jams, pickles, and tomato sauces. Follow tested recipes, keep your equipment clean, and always adjust for altitude. Canning is a skill that pays off in flavor and self-sufficiency. Get your first batch going this week, and you’ll be hooked.