Best canning kit for beginners
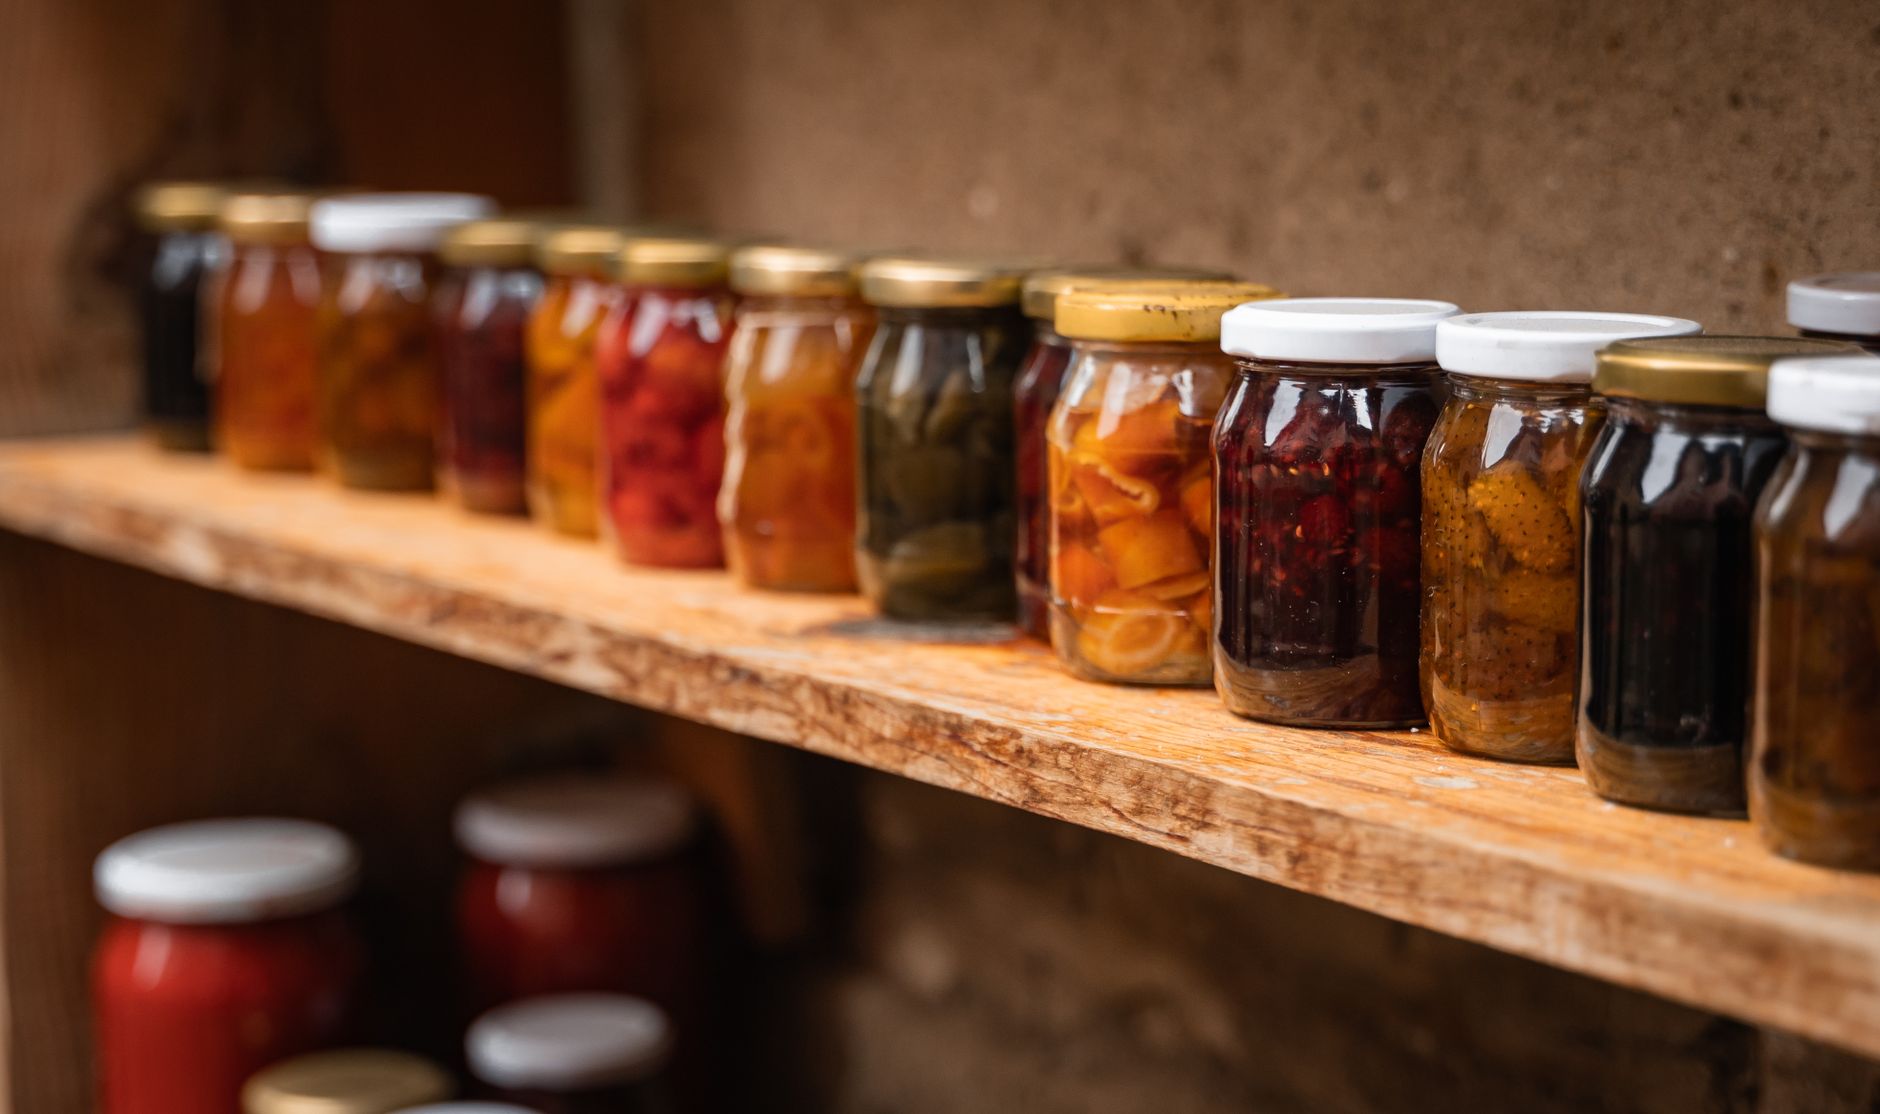
Find the best canning kit for beginners with our practical guide. Compare kits, prices, and essential tools for water bath and pressure canning.
If you are new to canning, the best kit is one that includes a large water bath canner, a jar lifter, a funnel, a bubble remover, and a magnetic lid lifter, all for under $60. You do not need a pressure canner on day one unless you plan to can low-acid vegetables or meats, so start with a water bath kit and add a pressure canner later if needed.
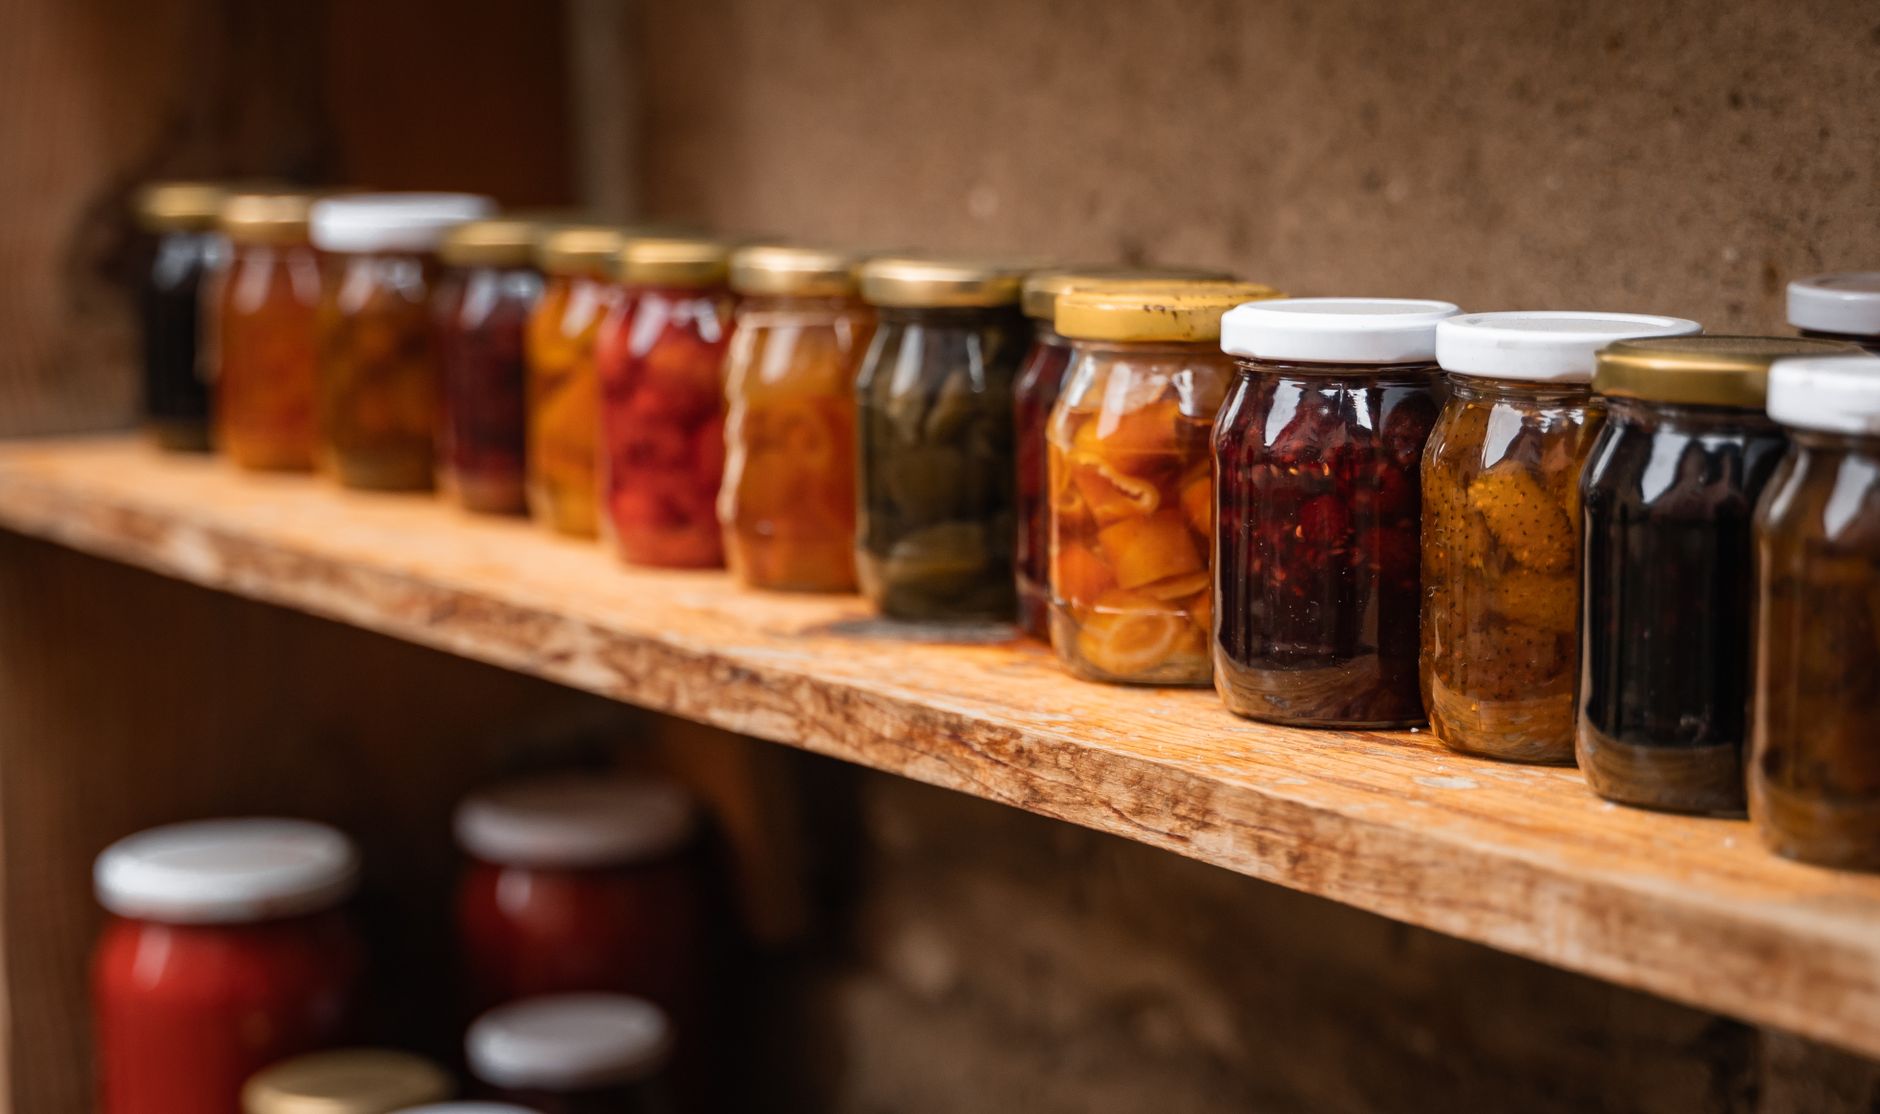
What to Look for in a Beginner Canning Kit
A good beginner kit covers the basics without extras you will not use. Look for these essentials:
- Water bath canner: A 21-quart pot with a rack, enough for 7 quart jars or 9 pint jars. Expect to pay $30 to $50 for a quality one.
- Jar lifter: Rubber-coated tongs that grip jars securely. A must-have; never use kitchen tongs.
- Canning funnel: Wide-mouth funnel with a strainer, fits both regular and wide-mouth jars. $5 to $10.
- Bubble remover and headspace tool: Plastic stick with measurements, helps remove air bubbles and measure headspace. $3 to $6.
- Magnetic lid lifter: Picks up lids from hot water without burning your fingers. $4 to $8.
Some kits also include a ja
 r wrench, a jar brush, and a cookbook. You can buy these separately, but a kit often saves money.
Top Beginner Canning Kits in 2026
Here are three kits that work well for beginners, with realistic prices and what you get.
1. Ball Fresh Preserving Kit (Complete)
- Price: $55 to $65
- Includes: 21.5-quart water bath canner with rack, jar lifter, funnel, bubble remover, magnetic lid lifter, jar wrench, and recipe book.
- Pros: All-in-one, trusted brand, easy to find in stores or online.
- Cons: Canner is aluminum, which can discolor if not dried immediately.
2. Norpro Stainless Steel Canning Set
- Price: $70 to $85
- Includes: 21-quart stainless steel canner, rack, jar lifter, funnel, bubble remover, lid lifter.
- Pros: Stainless steel is durable and won’t react with acidic foods.
- Cons: Pricier, and the pot is heavier when full.
3. Utopia Kitchen Water Bath Canner with Accessories
- Price: $40 to $50
- Includes: 21-quart pot, rack, jar lifter, funnel, lid lifter, and a basic guide.
- Pros: Budget-friendly, good for occasional canning.
- Cons: Pot is thinner, may heat unevenly on some stoves.
Water Bath vs. Pressure Canning: Which Kit Do You Need?
Water bath canning is for high-acid foods: fruits, jams, jellies, pickles, tomatoes with added acid. It uses boiling water to process jars. A pressure canner is for low-acid foods: vegetables, meats, soups, and stews. It reaches 240°F to kill botulism spores.
For a beginner, start with a water bath kit. It is simpler, cheaper, and covers most garden produce like cucumbers, berries, and peaches. If you plan to can green beans or chicken, buy a pressure canner later. A good pressure canner costs $80 to $150 for a 23-quart model, but you can find used ones at farm auctions for less.
How to Use Your Canning Kit (Step-by-Step)
Here is a simple process for your first water bath canning session. Use this with a tested recipe, like Ball’s Strawberry Jam.
- Sterilize jars: Wash jars in hot soapy water, then keep them hot in the canner or oven (200°F) until filling.
- Prepare recipe: Follow a tested recipe exactly. Do not alter proportions of acid, sugar, or liquid.
- Fill jars: Use the funnel to fill jars, leaving the headspace the recipe says (usually 1/4 inch for jams).
- Remove bubbles: Slide the bubble remover down the sides of the jar to release air, then adjust headspace.
- Wipe rims: Use a clean damp cloth to wipe jar rims. Any food residue can break the seal.
- Apply lids: Use the magnetic lid lifter to place lids on jars, then screw on bands fingertip-tight.
- Process: Place jars in the canner rack, lower into boiling water, cover, and bring back to a rolling boil. Start timing when water boils.
- Cool: After processing, turn off heat, remove jars with the jar lifter, and place on a towel to cool for 12 to 24 hours.
- Check seals: Press the center of each lid. If it does not pop, the jar is sealed. Store without bands.
What to Buy Separately (and What to Skip)
You do not need everything in a big kit. Here is what to add and what to skip.
Buy separately:
- Jars: Start with a case of 12 half-pint or pint jars, $10 to $15. Use only Mason jars, not recycled pasta sauce jars.
- Lids and bands: Lids are one-use; bands can be reused. A box of 12 lids costs $3 to $5.
- Kitchen scale: For precise recipes, $15 to $25.
- Timer: Your phone works, but a dedicated timer is handy.
Skip:
- Jar rack for the sink: Not necessary; use a dish rack.
- Special pot for melting paraffin: You will not use paraffin; modern recipes use lids.
- Expensive digital pH meter: Not needed for beginners; follow tested recipes.
Canning Safety Basics for Beginners
Safety is non-negotiable. Follow these rules:
- Use tested recipes only: From Ball, Bernardin, USDA, or university extension. Do not invent your own ratios.
- Adjust for altitude: If you live above 1,000 feet, increase processing time. Check a reliable chart.
- Check for spoilage: Before eating, inspect jars for bulging lids, leaks, or off odors. When in doubt, throw it out.
- Never taste unprocessed food: If a jar did not seal, refrigerate and use within a week.
FAQ
Do I need a pressure canner to start?
No. Start with a water bath canner for high-acid foods like jams and pickles. Add a pressure canner later if you want to can low-acid vegetables or meats.
Can I use a regular stockpot instead of a canner?
You can, but it must be deep enough to cover jars with 1 to 2 inches of water and have a rack to keep jars off the bottom. A dedicated canner is safer and easier.
How much does a beginner canning kit cost?
A complete water bath kit costs $40 to $85. Add jars and lids, and your total is around $60 to $100 for your first batch.
Where can I find tested canning recipes?
Use the Ball Blue Book, the USDA Complete Guide to Home Canning, or your local university extension website. These are free or low-cost and reliable.
The Bottom Line
For most beginners, the best canning kit is a water bath canner with the basic tools, priced between $40 and $65. Buy a kit from a trusted brand like Ball or Norpro, add a case of jars, and start with a simple recipe like strawberry jam or dill pickles. You will learn the process without a big investment, and you can expand to a pressure canner once you are comfortable. Canning is a skill that pays off in shelf-stable food and the satisfaction of filling your pantry with your own harvest.