100 canning tips for beginners
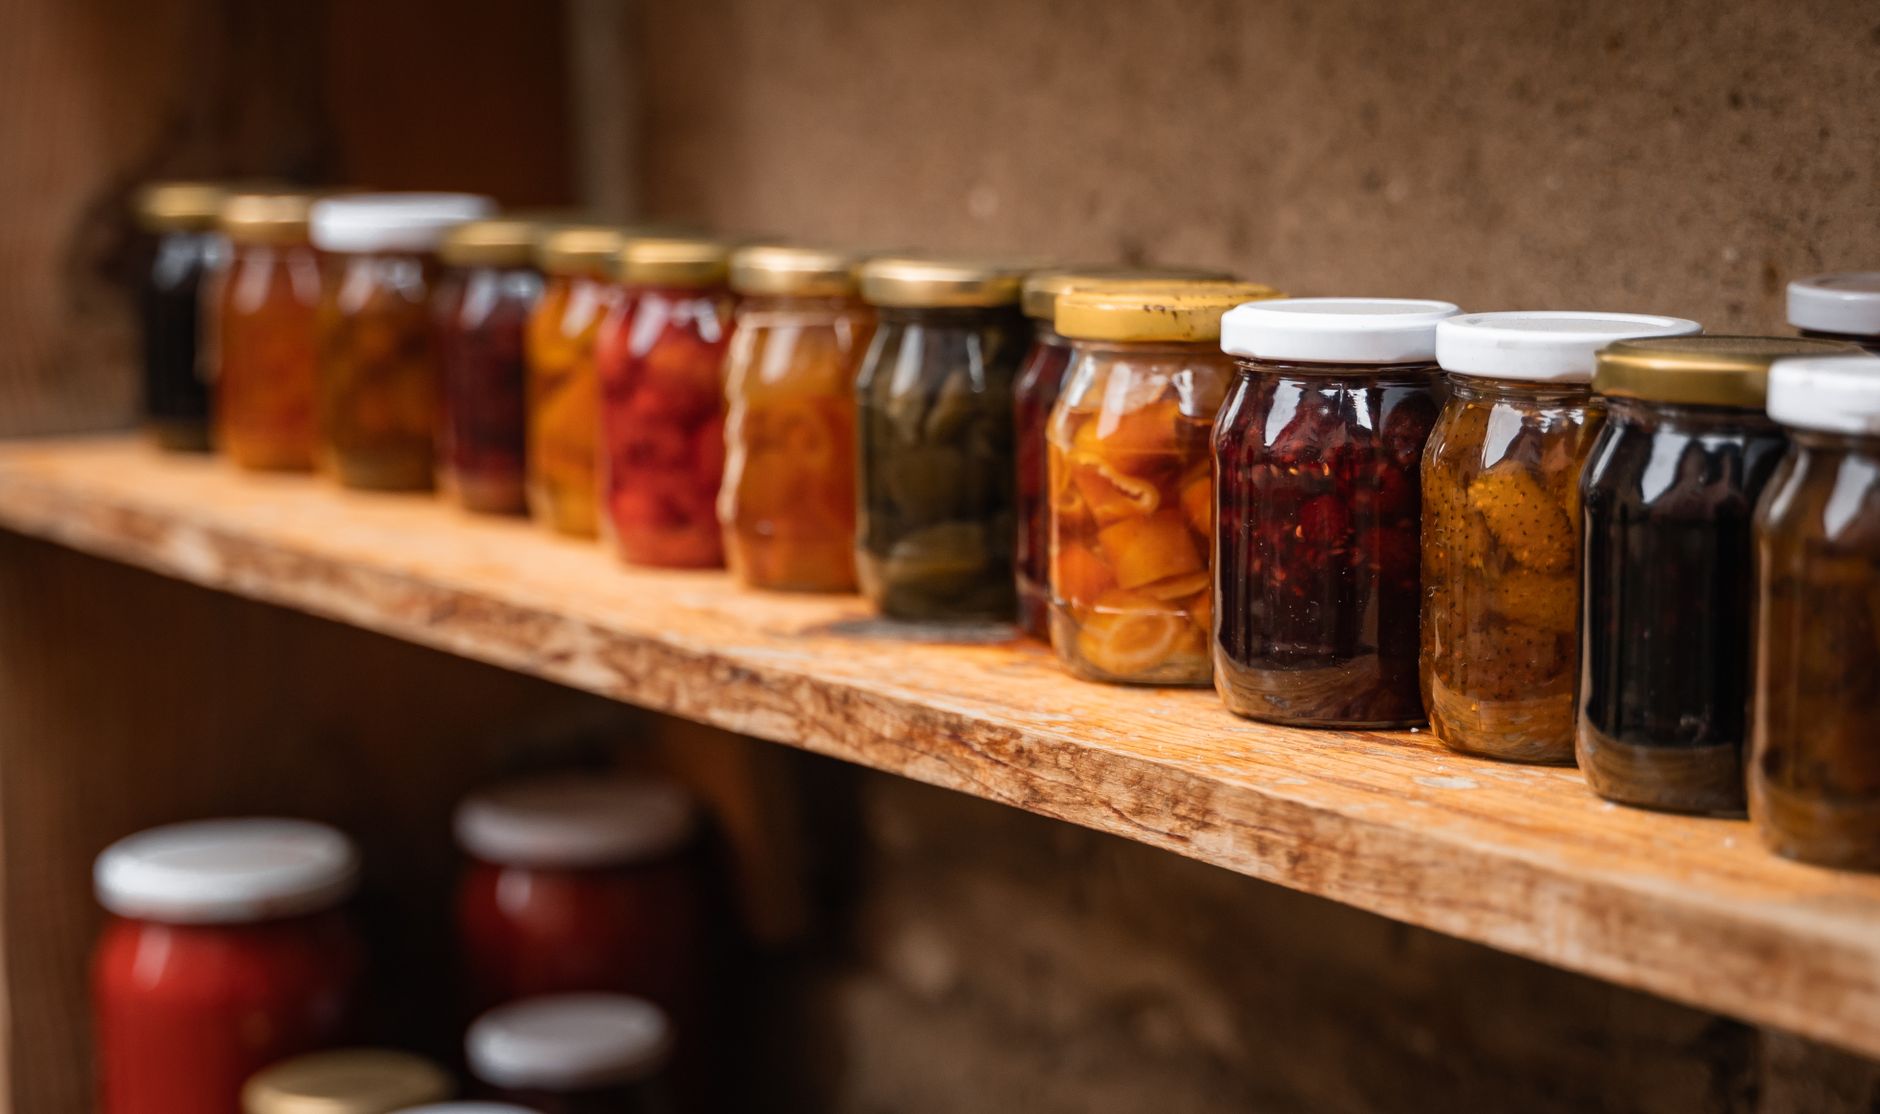
A practical guide with 100 actionable canning tips for beginners: equipment, safety, step-by-step methods, and troubleshooting for water bath and pressure canning.
Canning is a skill that rewards careful preparation and honest attention to detail. These 100 tips are drawn from years of trial and error, and they will save you time, money, and spoiled jars. Start with the basics, follow the safety rules, and you will put up food you can be proud of.
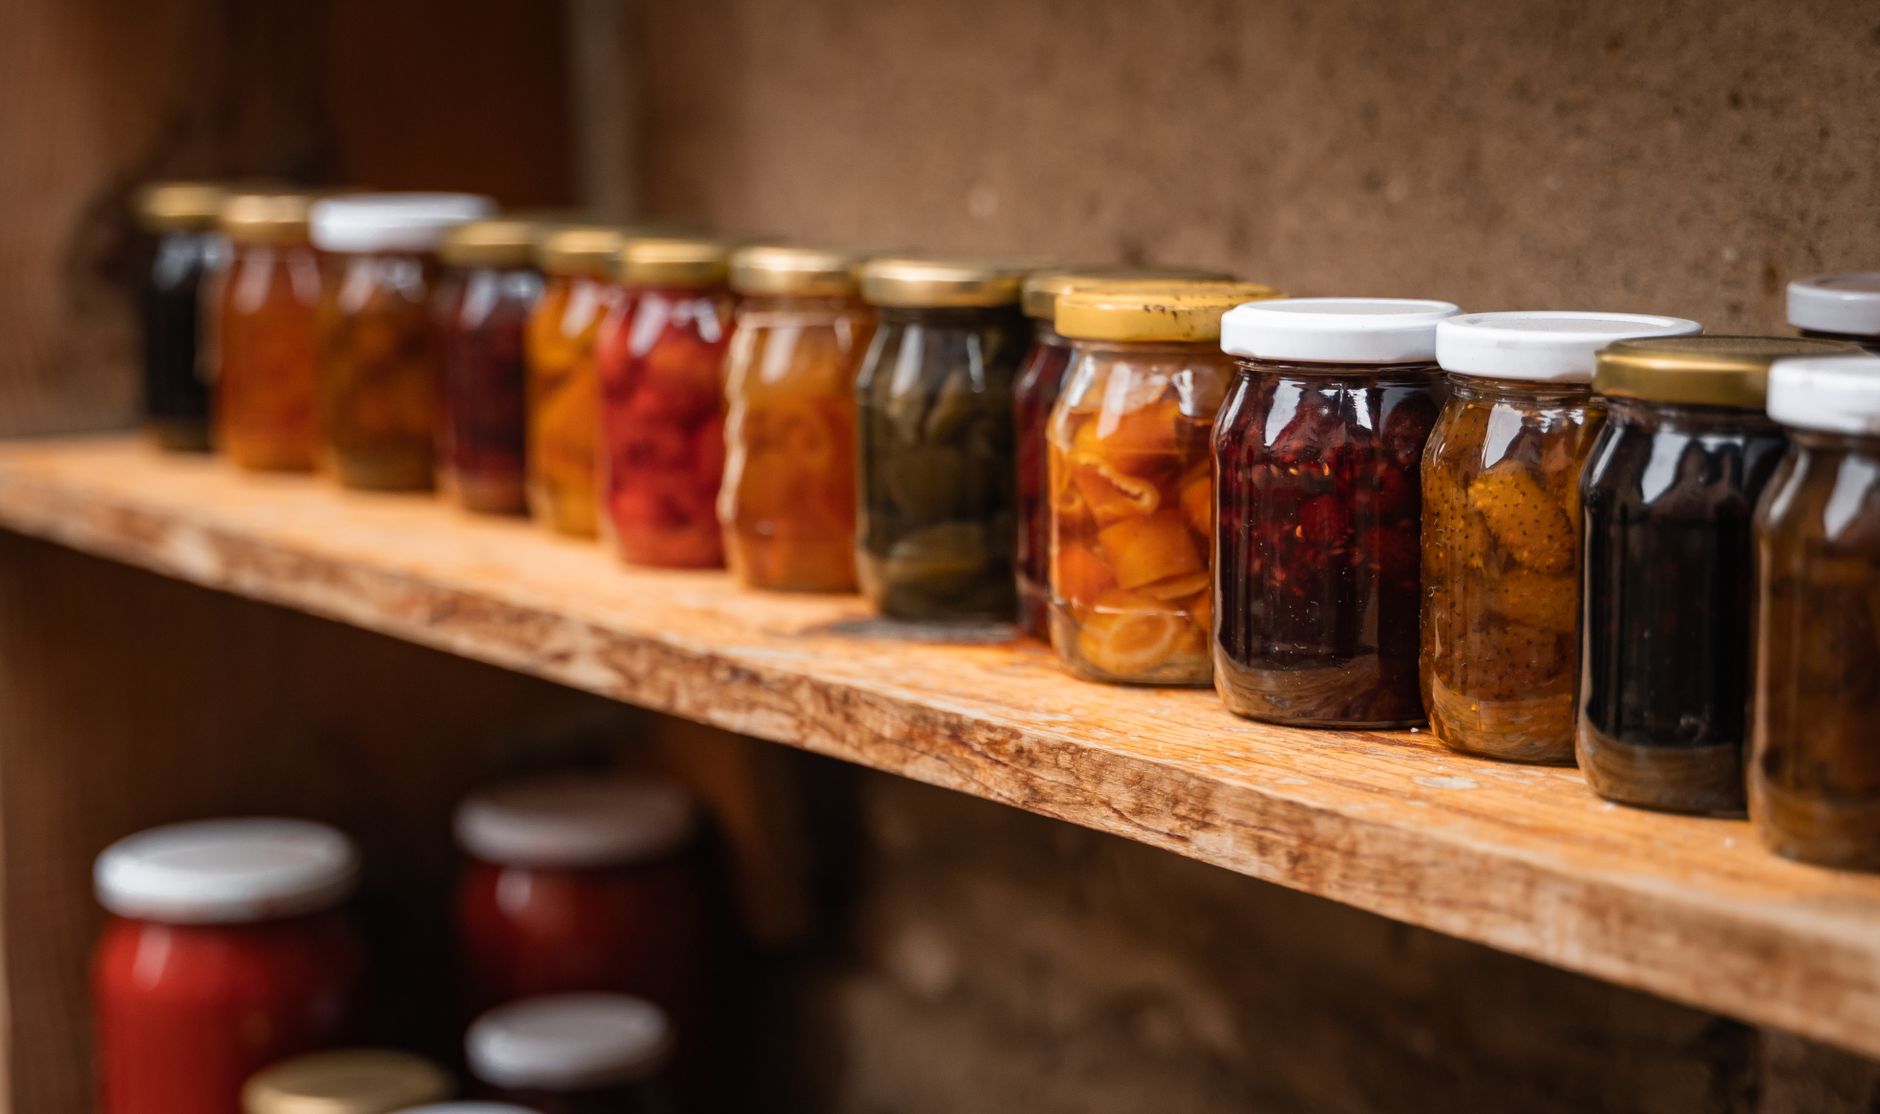
Getting Started: Equipment and Tools
- Buy a real canning pot: a water bath canner with a rack costs $30 to $50. A pressure canner runs $80 to $150 for a dial gauge, $150 to $250 for a weighted gauge. Do not use a stockpot without a rack.
- Use Mason jars: Ball and Kerr are the standards. New jars cost $10 to $15 per dozen. Never reuse commercial pasta sauce jars; they are not tempered for canning.
- Check jars for chips or cracks before each use. A hairline crack can break under heat.
- Use new lids every time. Reusable lids like Tattler are an option, but they cost more upfront and require careful handling.
- Keep rings clean and rust-free. Store them separately after sealing to prevent rust.
- Invest in a jar lifter: it is $8 to $12 and prevents burns.
- A wide-mouth funnel costs $5 and saves mess.
- A bubble remover and headspace tool is $4. Use it to release trapped air.
- A kitchen scale helps for consistent batches, especially for pickles.
- Have a timer with a loud alarm. Set it for every step.
- Keep a notebook: record date, recipe, batch size, and any
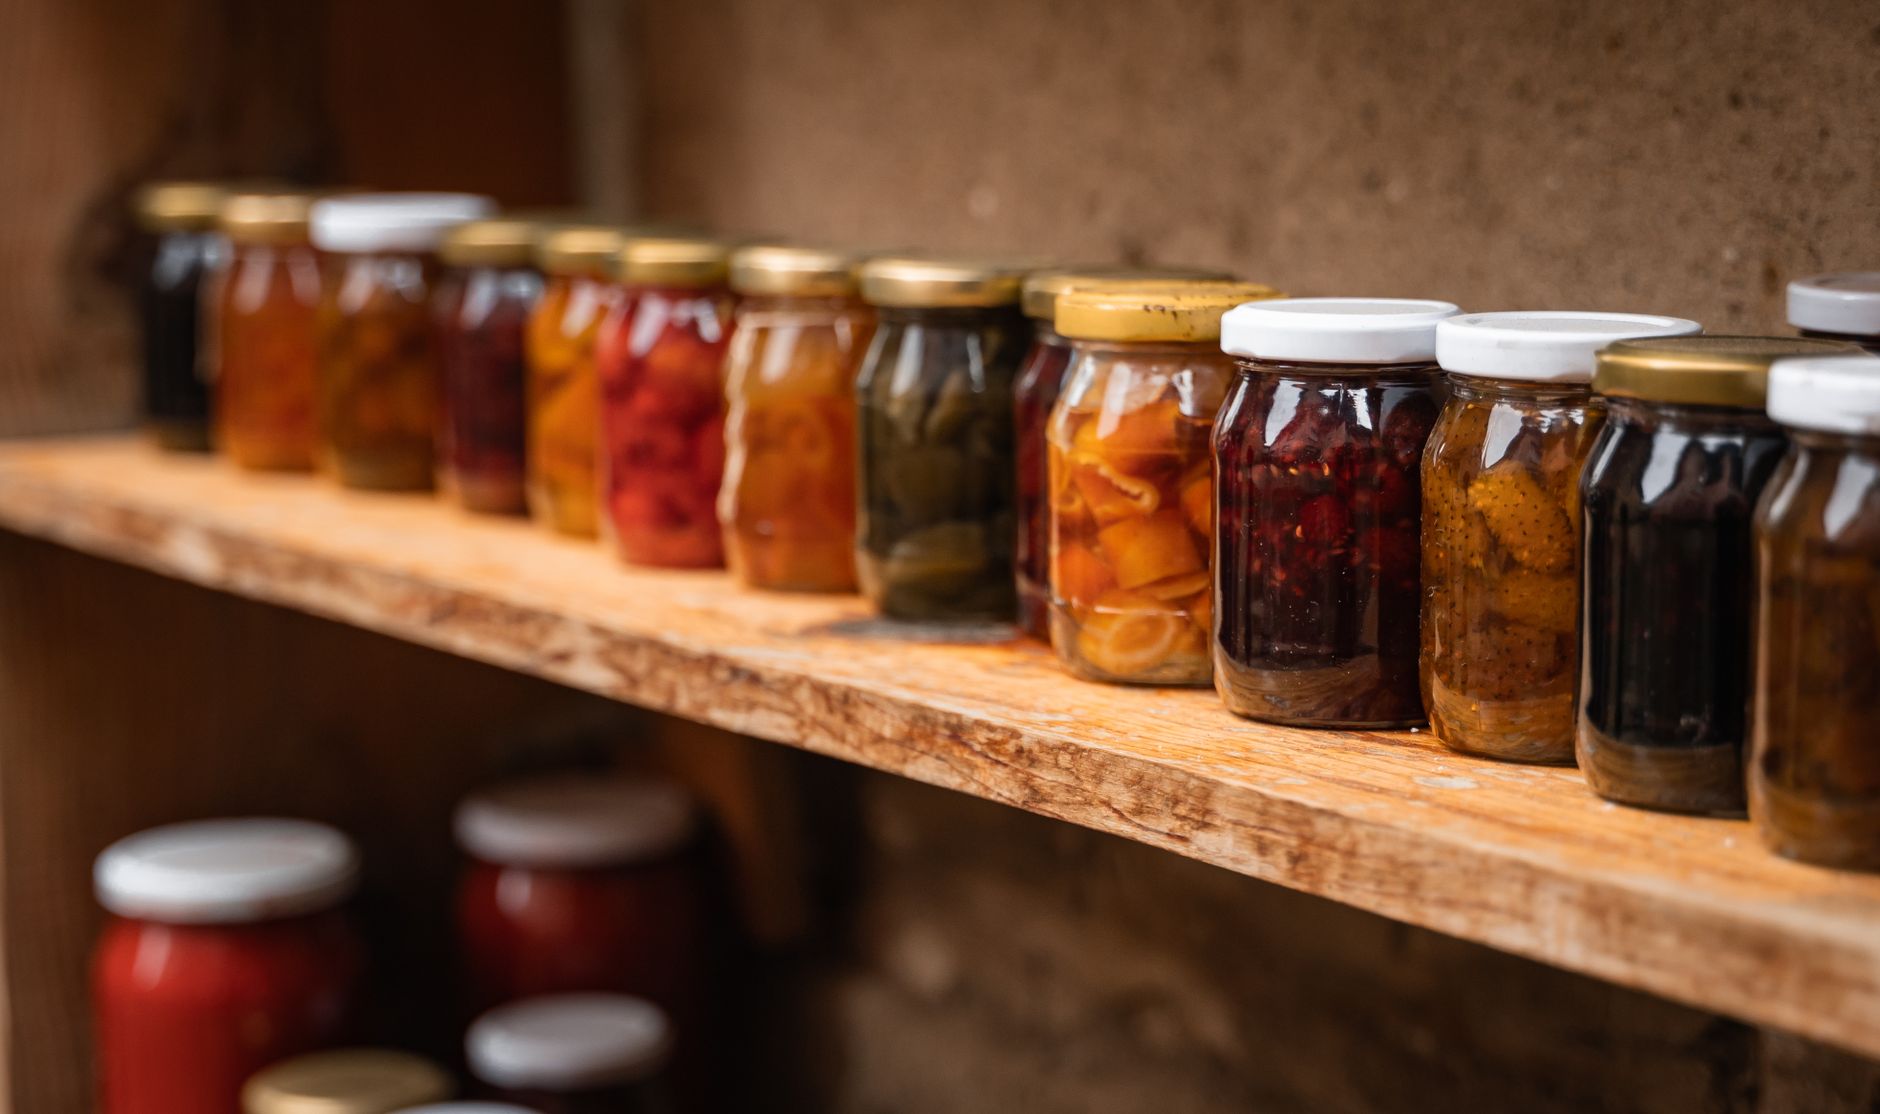 adjustments.
 - Label jars with a permanent marker or canning labels. Include date and contents.
Safety First: The Non-Negotiables
- Follow tested recipes from USDA, Ball, or your local extension. Do not improvise acid levels.
- Acidify tomatoes: add 1 tablespoon of bottled lemon juice per pint, 2 tablespoons per quart, even if the recipe says otherwise.
- Never use flour or cornstarch as a thickener in canned goods; they can interfere with heat penetration. Use ClearJel or canning starch.
- Do not reduce sugar in jam recipes; sugar is a preservative and affects gelling.
- Use a pressure canner for all low-acid foods: vegetables, meats, poultry, and fish. Water bath is only for high-acid foods (pH below 4.6).
- Check your pressure canner gauge annually. Calibrate a dial gauge at your extension office or replace it.
- Vent a pressure canner for 10 minutes before adding the weight. This removes air and ensures accurate pressure.
- Never open a pressure canner until pressure returns to zero and the lock drops. Wait 10 minutes after that.
- If a jar does not seal, refrigerate it and use within a week. Do not reprocess unless you remove the food and start over.
- Discard any jar with signs of spoilage: bulging lid, leaking, off odor, or mold. Do not taste it.
- Botulism is rare but deadly. When in doubt, throw it out.
Preparation: Fruits and Vegetables
- Choose fresh, unblemished produce. Overripe or bruised items can cause spoilage.
- Wash produce thoroughly, but do not soak. Soaking can dilute flavor and introduce bacteria.
- Peel and pit fruits like peaches and tomatoes: dip in boiling water for 30 to 60 seconds, then ice water. Skins slip off.
- Use a paring knife or a serrated peeler for thin skins.
- For apples, use a corer and slicer to save time.
- Blanch vegetables like green beans: boil for 3 to 5 minutes, then plunge in ice water. This stops enzyme action.
- Pack hot food into hot jars. Cold food expands slowly and can cause breakage.
- Keep a kettle of boiling water ready to top off jars if you run short of liquid.
- Use a slotted spoon to pack solids, then add liquid to cover.
- Leave headspace as directed: usually 1/2 inch for fruits and tomatoes, 1 inch for meats and vegetables.
- Remove air bubbles with the bubble tool. Run it along the inside of the jar.
- Wipe the rim with a clean, damp cloth. Any residue can prevent sealing.
- Center the lid and screw the ring on fingertip tight. Do not overtighten.
Water Bath Canning Steps
- Fill the canner with enough water to cover jars by 1 to 2 inches. Preheat to 140°F for raw pack, 180°F for hot pack.
- Lower jars gently with a jar lifter. Do not drop them.
- Bring water to a rolling boil, then start your timer.
- Adjust for altitude: above 1,000 feet, add 5 minutes for every 1,000 feet. Check your local elevation.
- Keep the water boiling gently. Hard boiling can cause liquid loss.
- After processing, turn off heat and remove the lid. Let jars sit in the water for 5 minutes.
- Lift jars out and place on a towel. Leave 1 inch of space between jars.
- Do not tighten rings after processing. Let jars cool undisturbed for 12 to 24 hours.
- Test seals: press the center of the lid. If it does not flex, it is sealed. You can also tap with a spoon: a ringing sound means sealed.
- Remove rings once sealed. Wash jars and label.
Pressure Canning Steps
- Add 2 to 3 inches of hot water to the canner. Do not overfill.
- Place jars on the rack. Do not let them touch the sides.
- Fasten the lid and heat on high. Vent steam for 10 minutes.
- Close the vent or add the weight. Bring to the required pressure: 10 to 11 psi for most foods at sea level.
- Adjust pressure for altitude: add 1 psi for every 2,000 feet above sea level. Check your canner manual.
- Start the timer when the correct pressure is reached.
- Regulate heat to keep the pressure steady. Fluctuations can cause liquid loss or underprocessing.
- When time is up, turn off heat and let the canner cool naturally. Do not force cool.
- Wait until pressure is zero and the safety lock drops. Then open the lid away from your face.
- Remove jars and cool as with water bath.
Recipes and Variations
- Start with simple recipes: strawberry jam, dill pickles, and tomato sauce.
- For jam, use a recipe with pectin. Liquid pectin is foolproof for beginners.
- Try low-sugar pectin if you want to reduce sugar. Follow the package instructions exactly.
- For pickles, use pickling salt, not table salt. Table salt has anti-caking agents that cloud brine.
- Use vinegar with 5% acidity. Do not use homemade vinegar; acidity varies.
- For salsa, use a tested recipe from a university extension. Salsa is a common source of botulism.
- For meat, cut into uniform pieces and pack hot. Add boiling broth or water.
- For soups, use a recipe with a tested processing time. Do not add thickeners.
- For beans, soak overnight and cook until tender before canning. Do not can dry beans without pre-cooking.
- For fruit juice, strain through cheesecloth for clarity.
- For pie filling, use ClearJel. It is the only safe thickener.
Troubleshooting Common Problems
- If jars do not seal, check the rim for nicks or food residue. Re-process within 24 hours with a new lid.
- If liquid siphons out, you may have packed too full or processed at too high a boil. It is safe, but the food may be dry.
- If jars break, you may have placed them on a cold surface or used a jar with a crack. Always preheat jars.
- If food discolors, it is often oxidation. It is safe, but use fresh produce and cover with liquid.
- If mold grows on top, the seal failed or processing time was too short. Discard the jar.
- If lids pop up after cooling, the seal is broken. Refrigerate and use soon.
- If your pressure canner loses pressure slowly, check the gasket. Replace it if cracked.
- If your water bath canner boils dry, you did not add enough water. Always check water level.
Storage and Shelf Life
- Store jars in a cool, dark place between 50°F and 70°F. A basement or pantry works.
- Do not store jars in direct sunlight; it fades color and degrades vitamins.
- Do not store jars in a humid area; moisture can rust rings and lids.
- Remove rings before storing to prevent rust and to allow you to see if a lid is bulging.
- Label jars with contents and date. Use a permanent marker or canning labels.
- Use older jars first. Rotate your stock.
- Most canned goods are best within 12 to 18 months, though they are safe for years if sealed.
- Check jars periodically for signs of spoilage. If a lid is bulging, discard immediately.
- Once opened, refrigerate and use within a few days.
Time and Cost Saving Tips
- Buy produce in season when it is cheap. A bushel of tomatoes can cost $20 to $30 and yields 15 to 20 quarts of sauce.
- Grow your own: a single tomato plant can produce 10 to 15 pounds.
- Can in large batches: process 7 quarts at a time in a pressure canner, 7 pints in a water bath.
- Use a food mill for tomato sauce; it removes skins and seeds in one step.
- Freeze produce if you do not have time to can immediately. It will keep for months.
- Invest in a canning kit: it includes a jar lifter, funnel, bubble remover, and magnetic lid lifter for about $20.
- Buy lids in bulk online: 100 lids cost $10 to $15.
- Use empty jars for storage of dry goods when not canning.
- Make jams and pickles in small batches to avoid waste.
- Use a pressure canner for both low-acid and high-acid foods; it is versatile.
- Keep a canning log to track yields and costs.
Final Tips for Success
- Read the entire recipe before you start. Gather all ingredients and tools.
- Set up a clean workspace. Wash counters and hands.
- Do not double a recipe unless you have a tested doubling chart. Canning times do not change, but headspace and packing do.
- Trust your senses: if something looks or smells off, do not use it.
- Practice makes perfect. Your first batch may not be perfect, but you will learn.
FAQ
Q: Can I reuse Mason jar lids? A: No, regular lids are one-use only. The sealing compound is designed for a single seal. Reusable lids like Tattler are an option, but they cost more and require careful handling.
Q: How long do canned goods last? A: Properly canned food is safe indefinitely if the seal is intact and the jar is stored in a cool, dark place. However, quality declines after 12 to 18 months. Use within that time for best flavor and texture.
Q: Do I need a pressure canner for tomatoes? A: Tomatoes are borderline. You can water bath can them if you add acid (lemon juice or citric acid). For safety, always add acid. If you want to can tomatoes without acid, use a pressure canner.
Q: What do I do if a jar does not seal? A: Refrigerate the jar and use within a week. Or reprocess within 24 hours: remove the lid, check the rim, use a new lid, and process for the full time. Do not reprocess if the food has been at room temperature for more than 2 hours.
The bottom line
Canning is a reliable way to preserve your harvest, but it demands respect for safety and precision. Start with a few simple recipes, follow tested guidelines, and keep notes. With practice, you will build confidence and a pantry full of food that tastes like summer. Remember: when in doubt, throw it out. Your health is worth more than a jar of beans.