Candle making tutorials for beginners
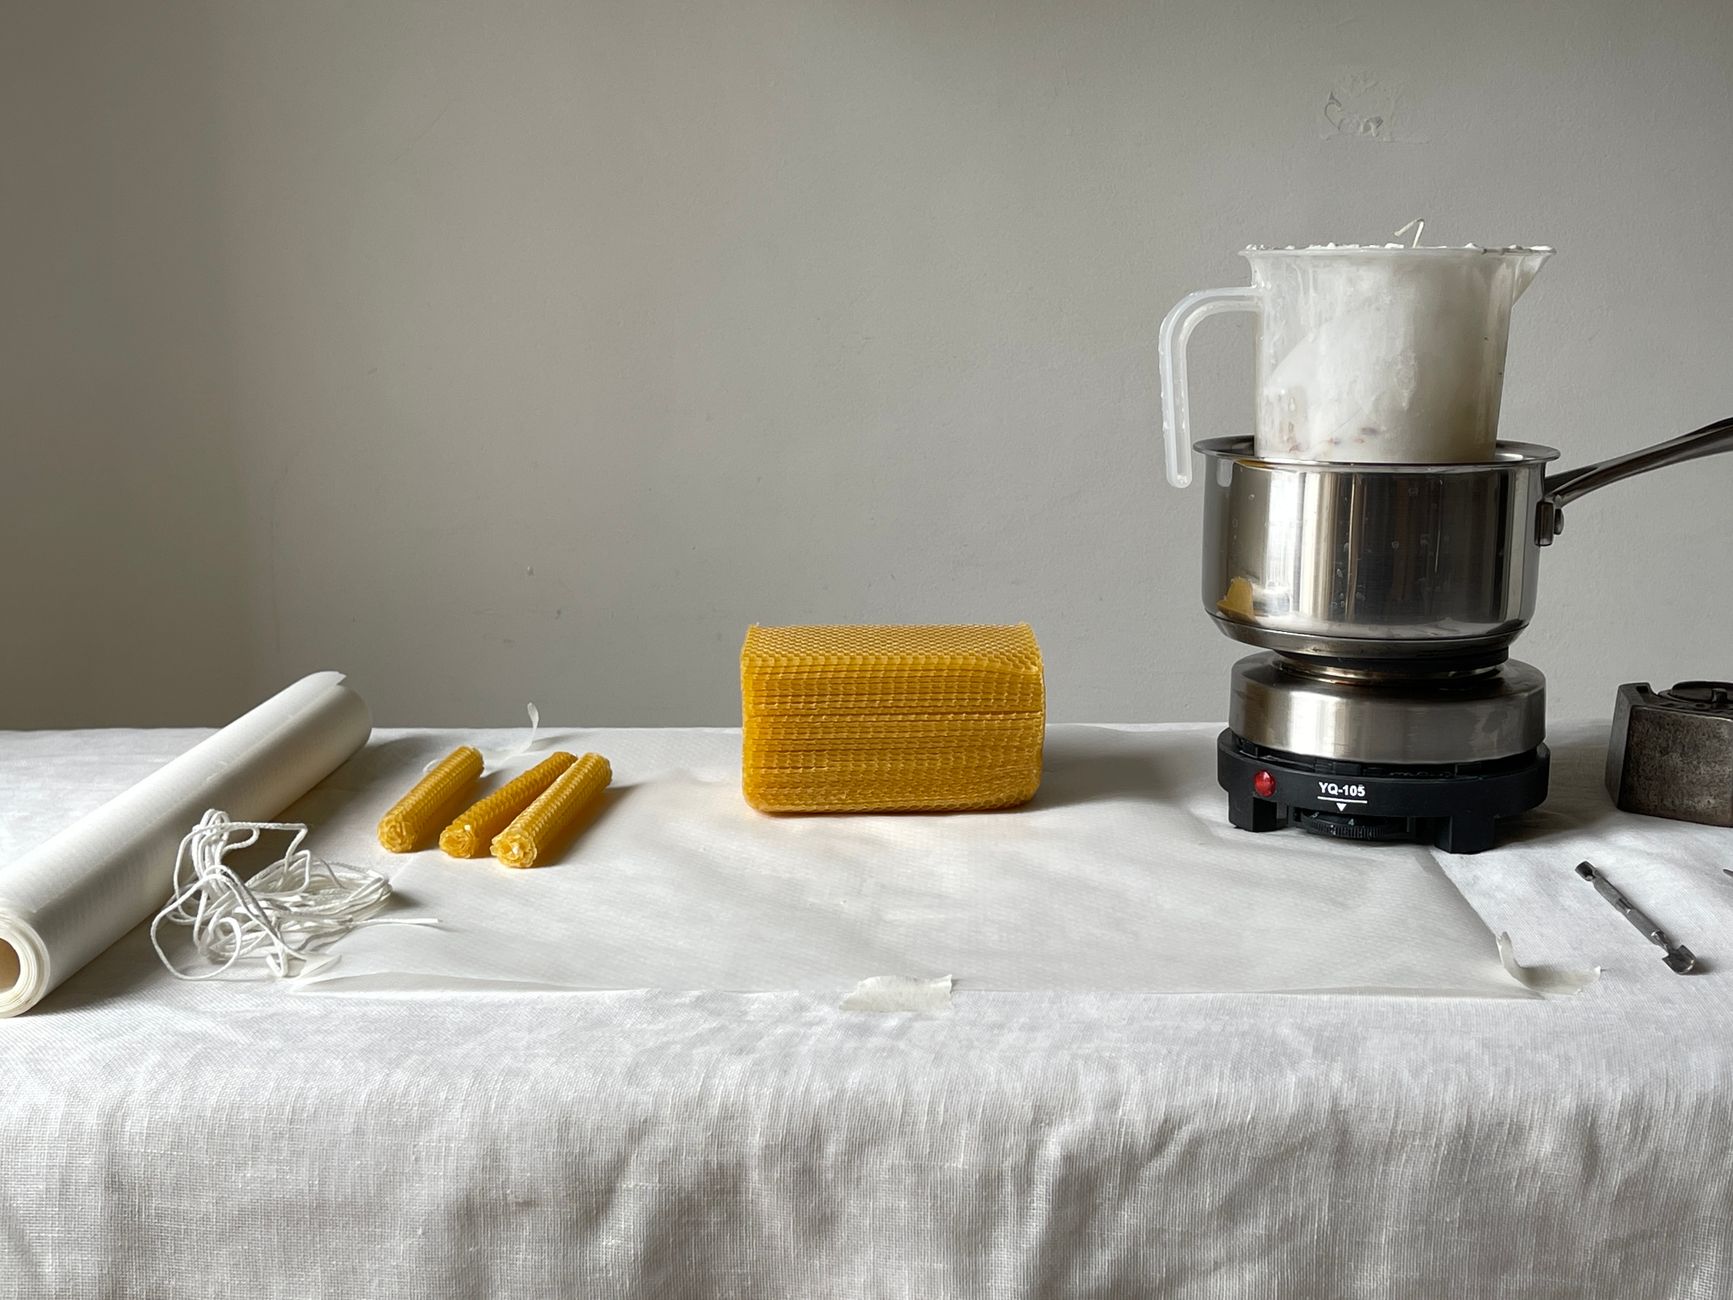
Learn to make your own candles at home with this step-by-step guide. Covers materials, safety, and troubleshooting for beginners.
If you’re ready to make your own candles, start with container candles using soy wax. They’re forgiving, need minimal equipment, and you can finish your first batch in under an hour. This guide walks you through the process, from choosing wax to pouring and curing, with realistic costs and yields.
What you need to get started
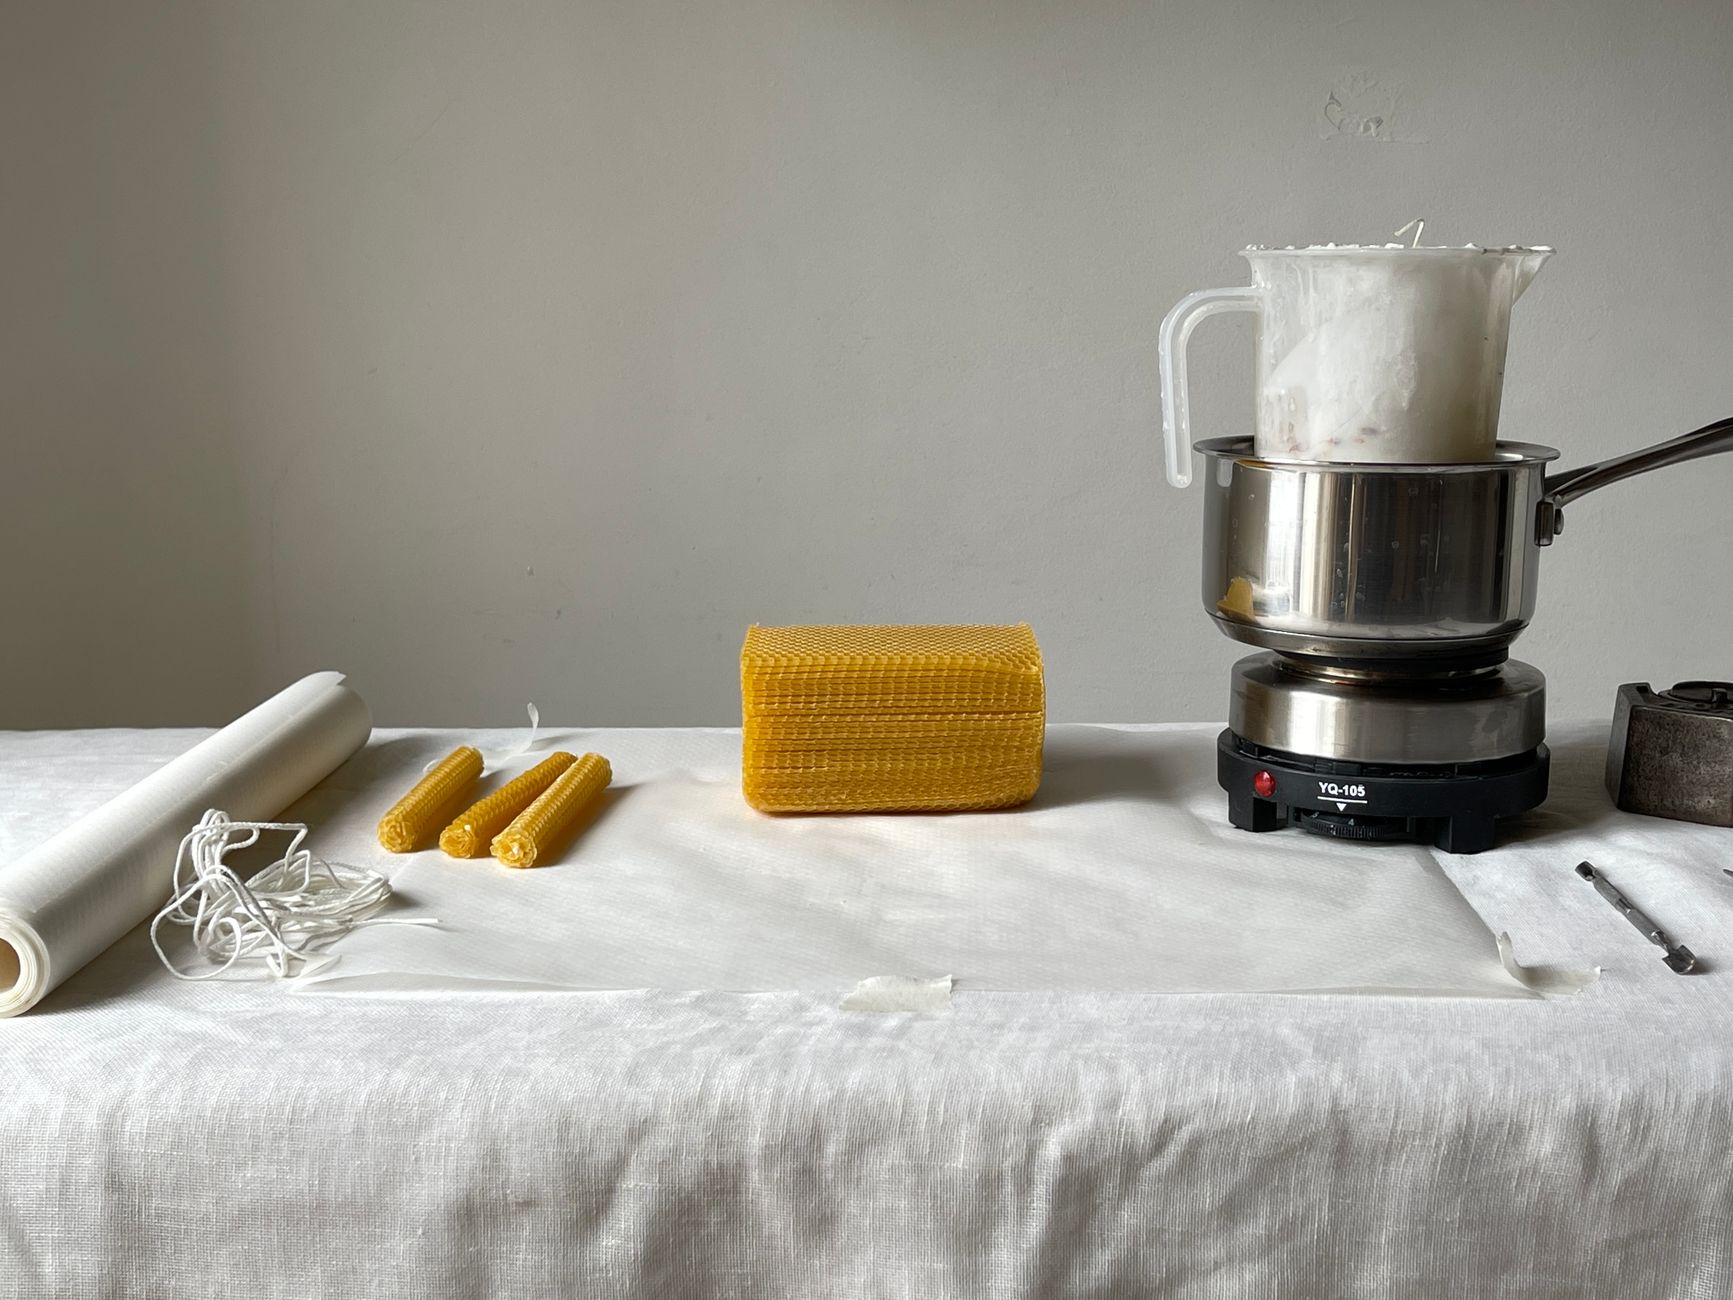
For your first candle, gather these supplies. You can find most at a craft store or online.
- Wax: 1 pound of soy wax (GB 464 or similar) costs $8 to $12. It’s a reliable choice for containers.
- Wicks: 10 cotton wicks with tabs, about $5. Choose wicks sized for your container diameter.
- Containers: 4 to 8 ounce glass jars, like mason jars or repurposed jelly jars. Clean and dry them before use.
- Fragrance oil (optional): 1 ounce bottle, $3 to $6. Use candle-safe oils, not essential oils.
- Double boiler or a heat-safe pitcher in a pot of water. A simple setup works.
- Thermometer: a candy or infrared thermometer, $10 to $15.
- Stirring utensil: a metal spoon or whisk.
- Wick h
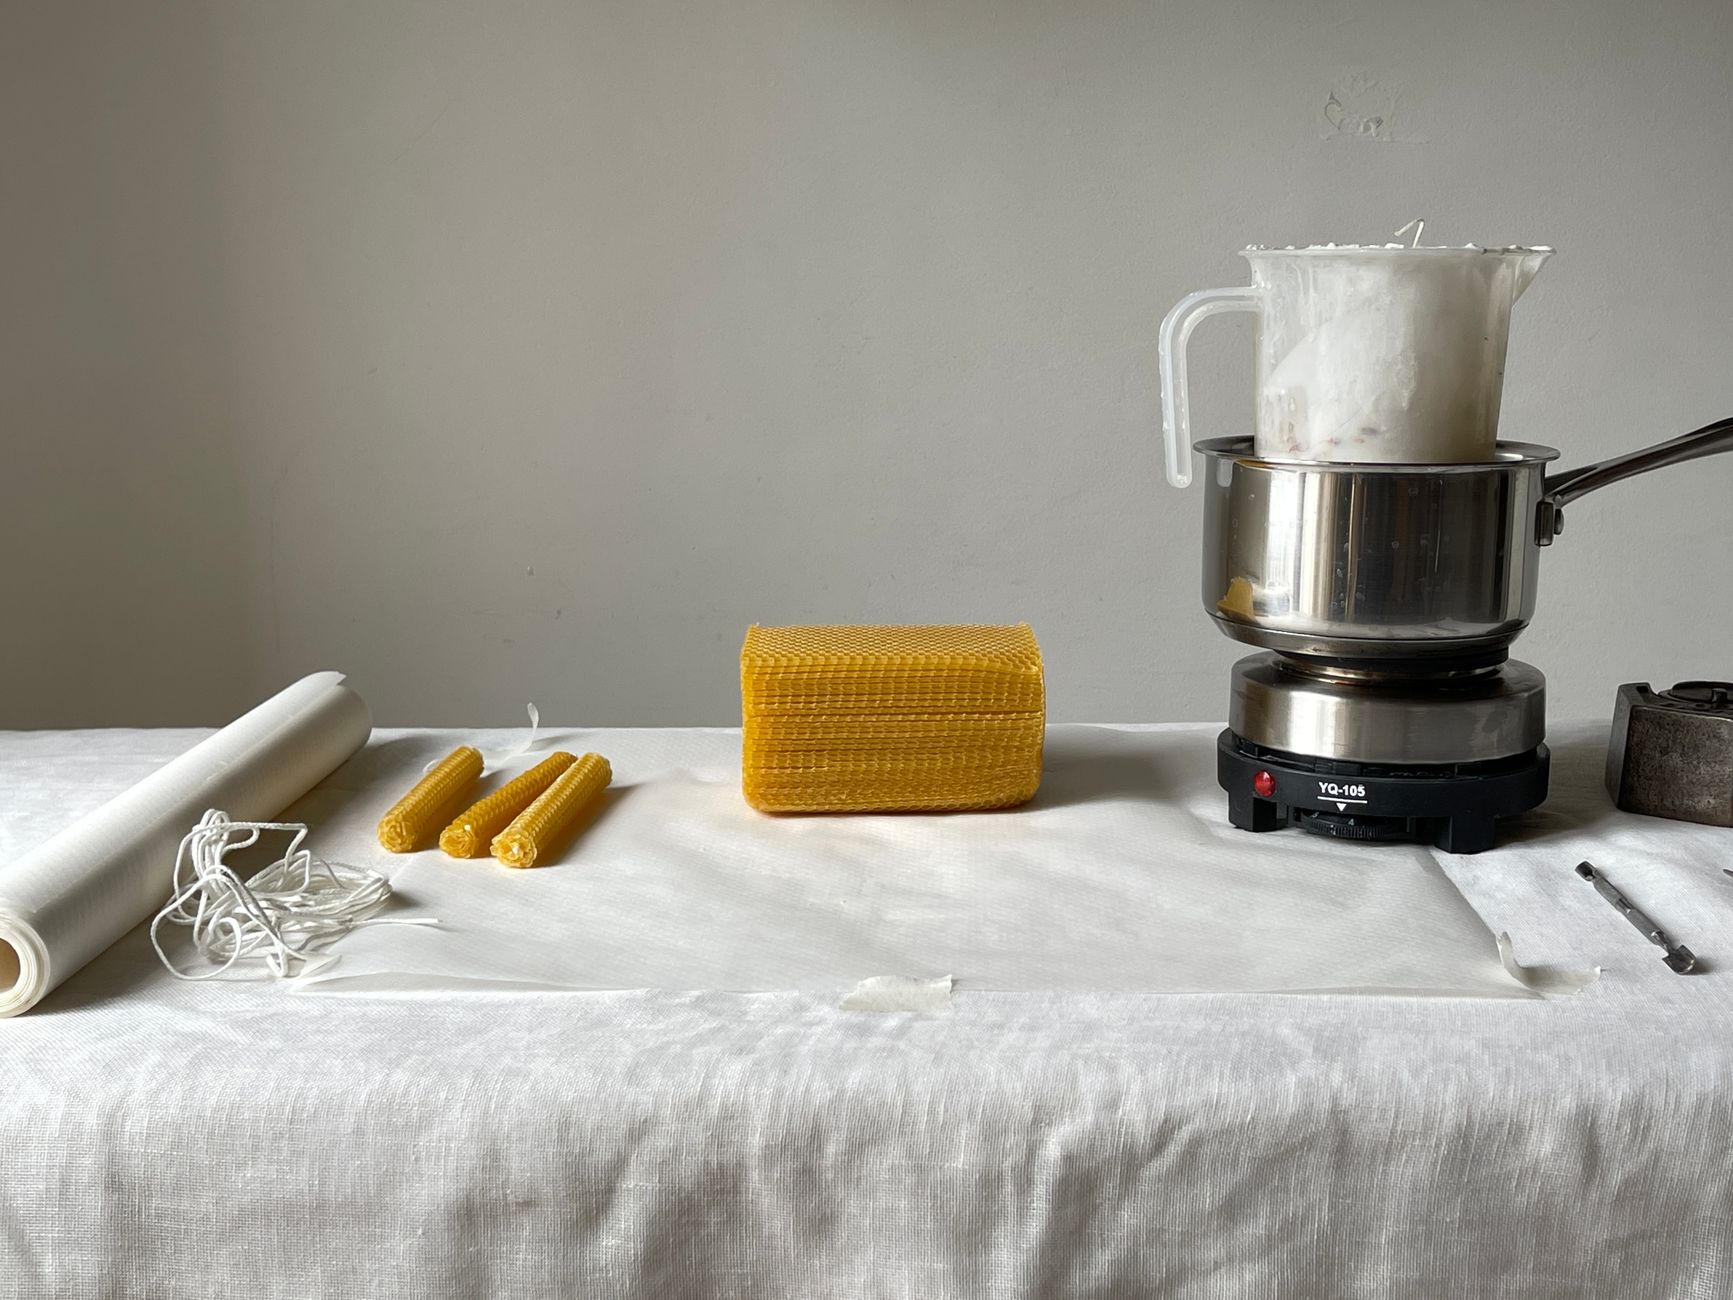 older or a pencil to keep the wick centered.
Total start-up cost: $30 to $50, which covers multiple candles.
Step-by-step candle making process
1. Prepare your work area
Cover your surface with newspaper or a disposable tablecloth. Have your containers and wicks ready. Attach the wick tab to the bottom of the container with a dab of hot glue or a sticker.
2. Melt the wax
Fill a pot with 2 inches of water and bring to a simmer. Place your heat-safe pitcher or a metal bowl in the pot. Add the wax and let it melt slowly, stirring occasionally. Do not leave it unattended. Melt until the wax reaches 185°F (85°C).
3. Add fragrance (optional)
Once melted, remove from heat. Let the wax cool to 175°F (80°C). Add fragrance oil at a ratio of 1 ounce per pound of wax (about 6% by weight). Stir gently for 2 minutes to mix.
4. Pour the wax
Let the wax cool to 135°F to 140°F (57°C to 60°C). Pour slowly into your container, leaving 1/2 inch of headspace. Center the wick and hold it in place with a wick bar or a pencil laid across the top.
5. Let it cure
Allow the candle to cool undisturbed for 24 hours. Then trim the wick to 1/4 inch. Your candle is ready to burn. For best scent throw, wait 2 to 3 days before lighting.
Choosing the right wax and wick
Soy wax is the best starting point because it’s easy to work with and cleans up with soap and water. Paraffin is cheaper but harder to handle. Beeswax is natural but costs more and has a honey scent.
For wicks, match the size to your container. A general guide:
| Container diameter | Wick type |
|---|---|
| 2 to 3 inches | CD-8 or LX-12 |
| 3 to 4 inches | CD-10 or LX-14 |
| 4 to 5 inches | CD-12 or LX-16 |
If the flame is too small, go up a size. If it smokes or mushrooms, go down.
Common mistakes and how to fix them
- Tunneling: If the candle burns only in the center, the wick is too small or you didn’t let the first burn reach the edges. Burn until the melt pool is full across the top.
- Sinkholes or cracks: This happens if the wax cools too fast. Pour at a slightly higher temperature or warm your containers.
- Poor scent throw: Use more fragrance oil (up to 1.5 ounces per pound) or let the candle cure longer.
- Soot: Trim the wick to 1/4 inch before each burn and avoid drafts.
Safety tips for candle making
- Never melt wax directly on a stove burner. Always use a double boiler.
- Keep a lid nearby to smother a wax fire if one starts. Do not use water.
- Work in a well-ventilated area, especially when adding fragrance.
- Store finished candles away from heat sources and direct sunlight.
How to test your candles
Before giving away or selling candles, test each batch. Burn one candle for 3 to 4 hours and check the melt pool, flame height, and scent. Record your results so you can repeat what works.
FAQ
How long do homemade candles last?
A properly made soy candle burns about 1 hour per ounce of wax. A 6 ounce candle gives roughly 6 hours of burn time.
Can I use essential oils instead of fragrance oils?
Yes, but they are more expensive and may not hold scent as well. Use 1 to 1.5 ounces per pound of wax and test.
Why did my candle crack?
Cracks often happen when the wax cools too quickly or the room is cold. Try pouring at 140°F and let it cool slowly.
How do I clean up spilled wax?
Let it harden, then scrape it up with a putty knife. Wash the surface with warm soapy water.
The bottom line
Candle making is a practical skill that saves money and gives you control over what you burn. Start with soy wax and container candles, follow the temperatures, and test each batch. With $50 and an afternoon, you’ll have your first set of candles ready to use or gift.