Candle making guide for beginners
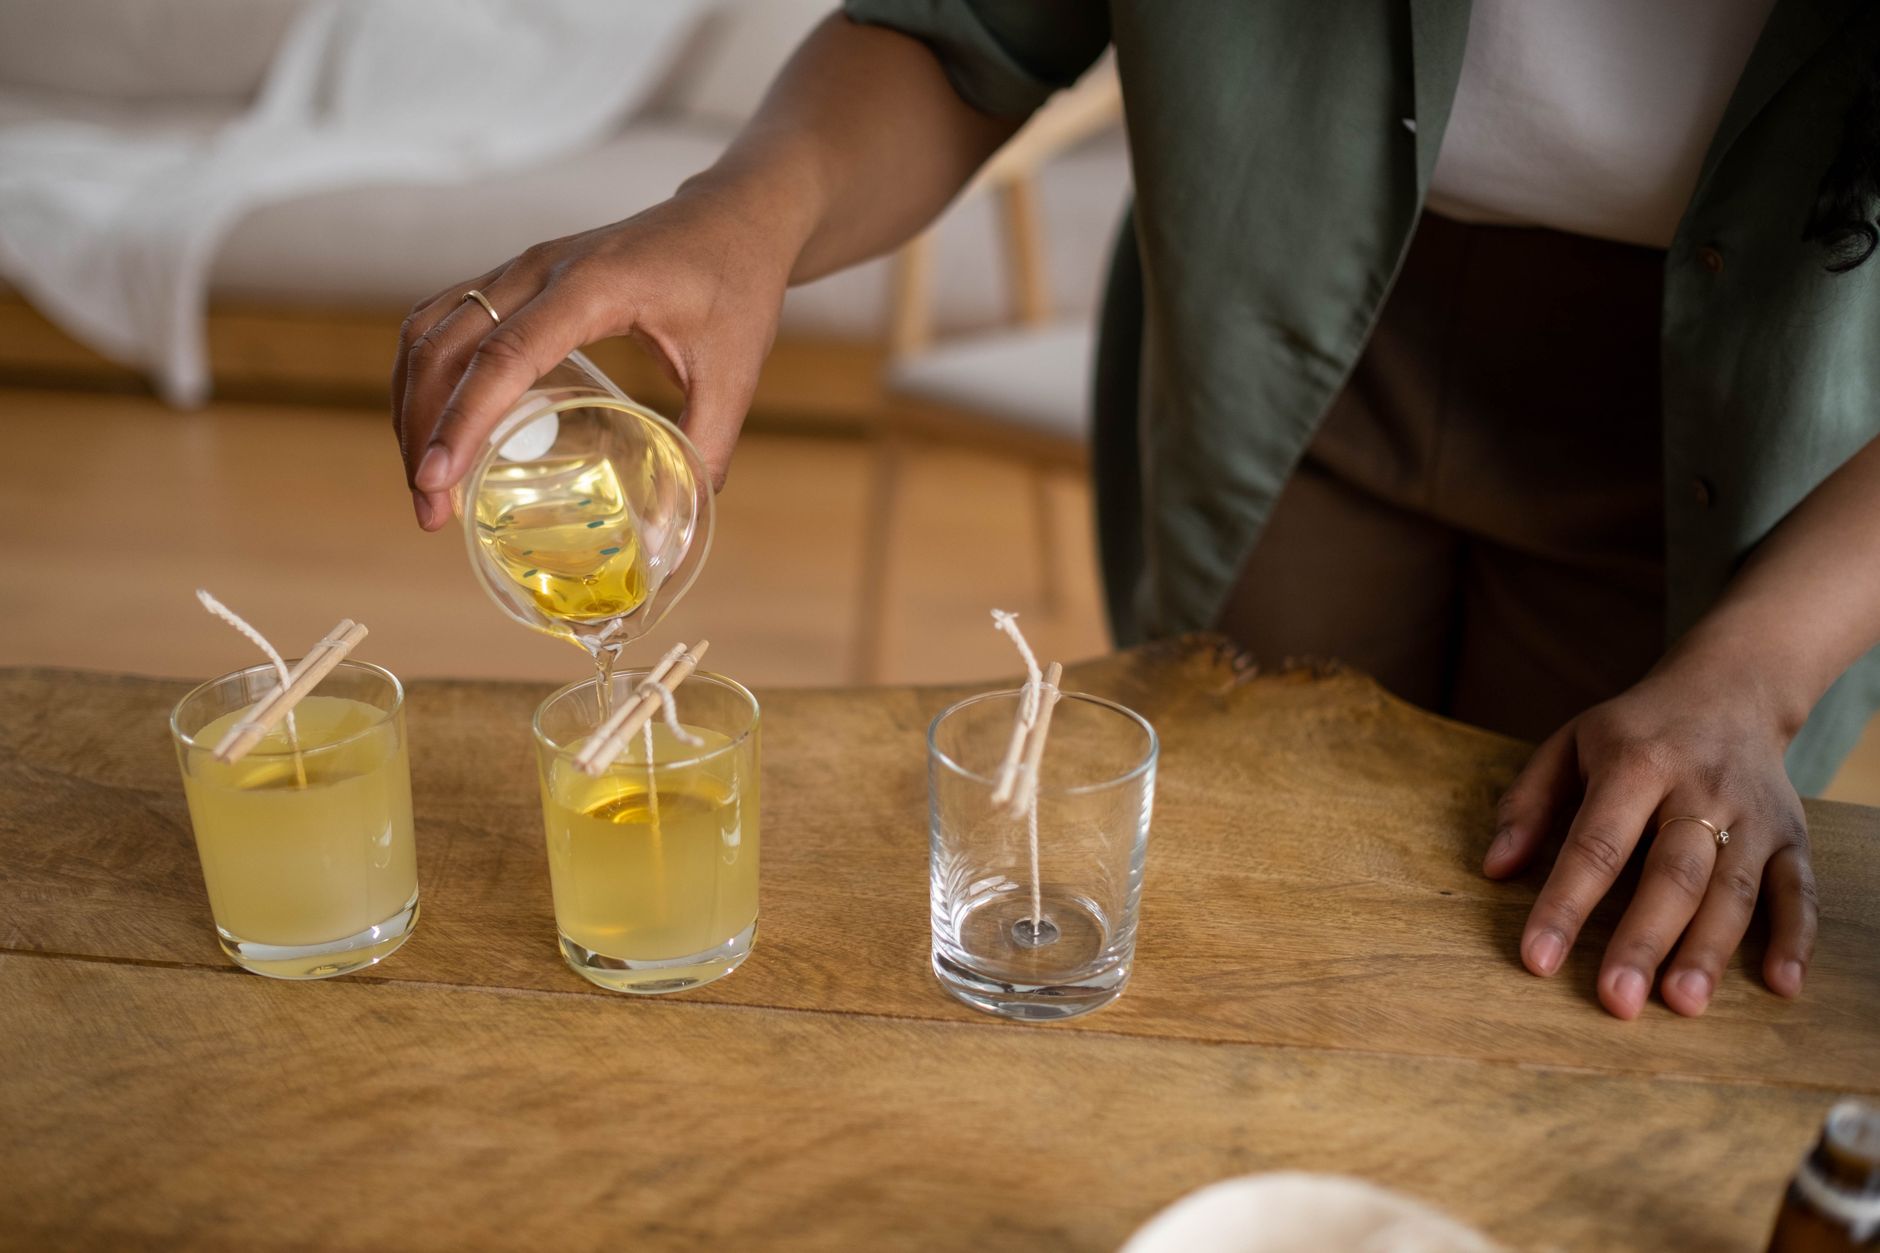
Learn to make your own candles at home with this step-by-step guide. Covers wax types, wicks, melting, pouring, and safety. Perfect for homesteaders.
Making your own candles is a practical skill that saves money and gives you control over what burns in your home. You need three things: wax, a wick, and a container or mold. This guide walks you through the process from start to finish, with real numbers and tools you can buy today.
Choose your wax
The most common waxes for beginners are paraffin, soy, and beeswax. Paraffin is cheap and easy to work with, but it is petroleum-based. Soy wax is renewable and burns clean, but it can be finicky with fragrance. Beeswax is natural and has a lovely honey scent, but it is the most expensive. For your first batch, use a container soy wax like Golden Brands 464 or NatureWax C-3. These are widely
 available online for about $15 to $20 per 5-pound bag. One pound of wax makes about one 8-ounce candle.
Pick the right wick
The wick size matters more than you think. Too small and the flame drowns; too large and it smokes. For a 3-inch diameter container, use a CD-8 or CD-10 wick. For a 4-inch diameter, go with CD-12 or CD-14. You can buy a wick variety pack for $10 to $15, which is a smart way to test what works. Always use a wick tab (a small metal base) to keep the wick centered and anchored.
Gather your tools
You do not need a fancy kit. Here is what you need:
- A double boiler or a large pot with a pouring pot (a 2-quart stainless steel pitcher works)
- A kitchen scale (accurate to 1 gram, about $15 to $20)
- A thermometer (candy thermometer or infrared, $10 to $15)
- Containers: mason jars, tin cans, or heat-safe glass, about $1 to $3 each if reused
- Fragrance oils (optional): use candle-safe oils, not essential oils, unless you know they are skin-safe and candle-safe. Start with 1 ounce of fragrance per pound of wax.
- A heat source: a stove or hot plate
Melt the wax safely
Never melt wax directly on a stove burner. Use a double boiler or a pouring pot set in a pot of simmering water. Cut the wax into small chunks or shavings to speed melting. Heat the wax to 185°F, but do not exceed 200°F. At 185°F, remove from heat and add fragrance oil if using. Stir gently for 2 minutes. Let the wax cool to 135°F to 140°F before pouring. This lower temperature reduces sinkholes and improves adhesion.
Prepare your containers
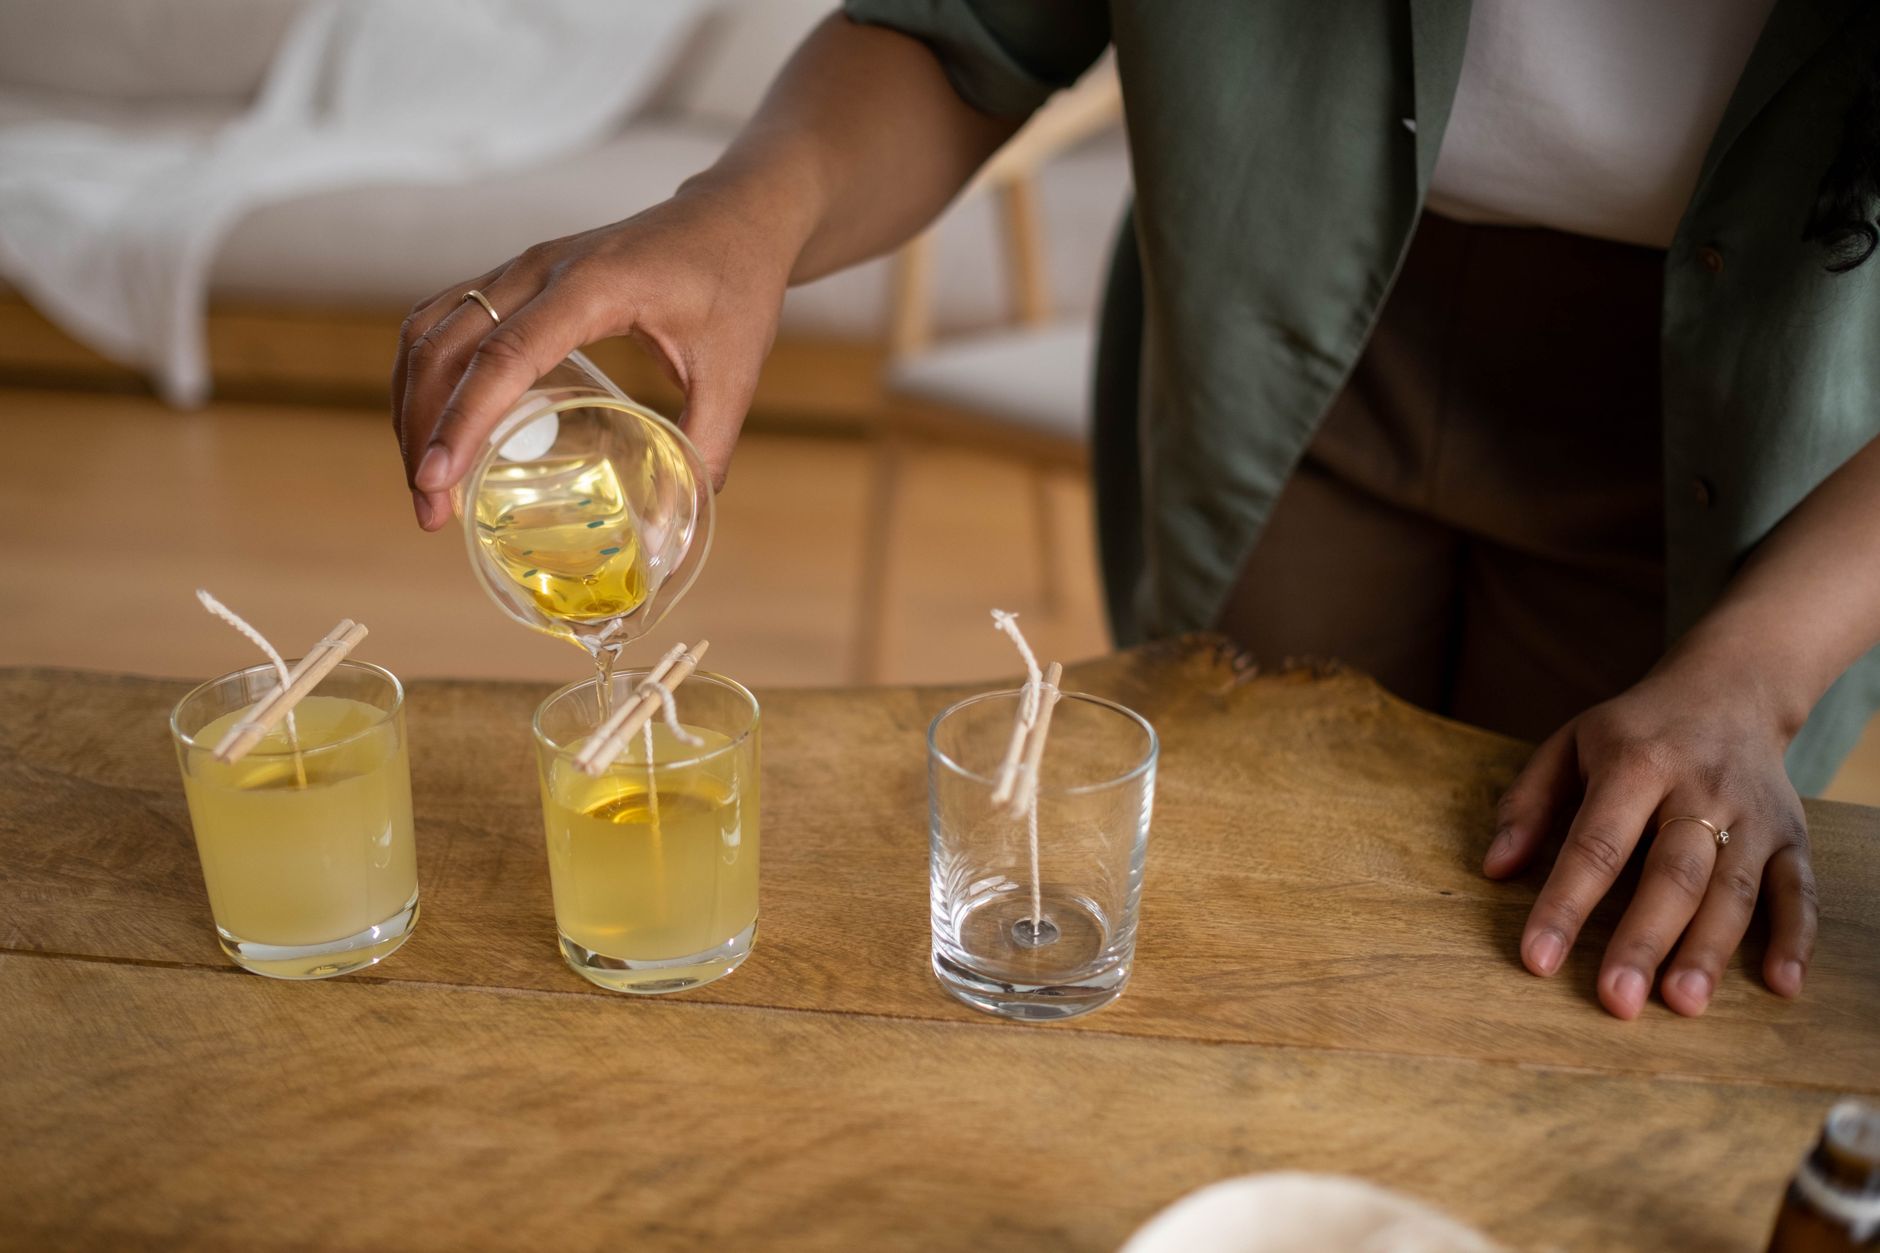
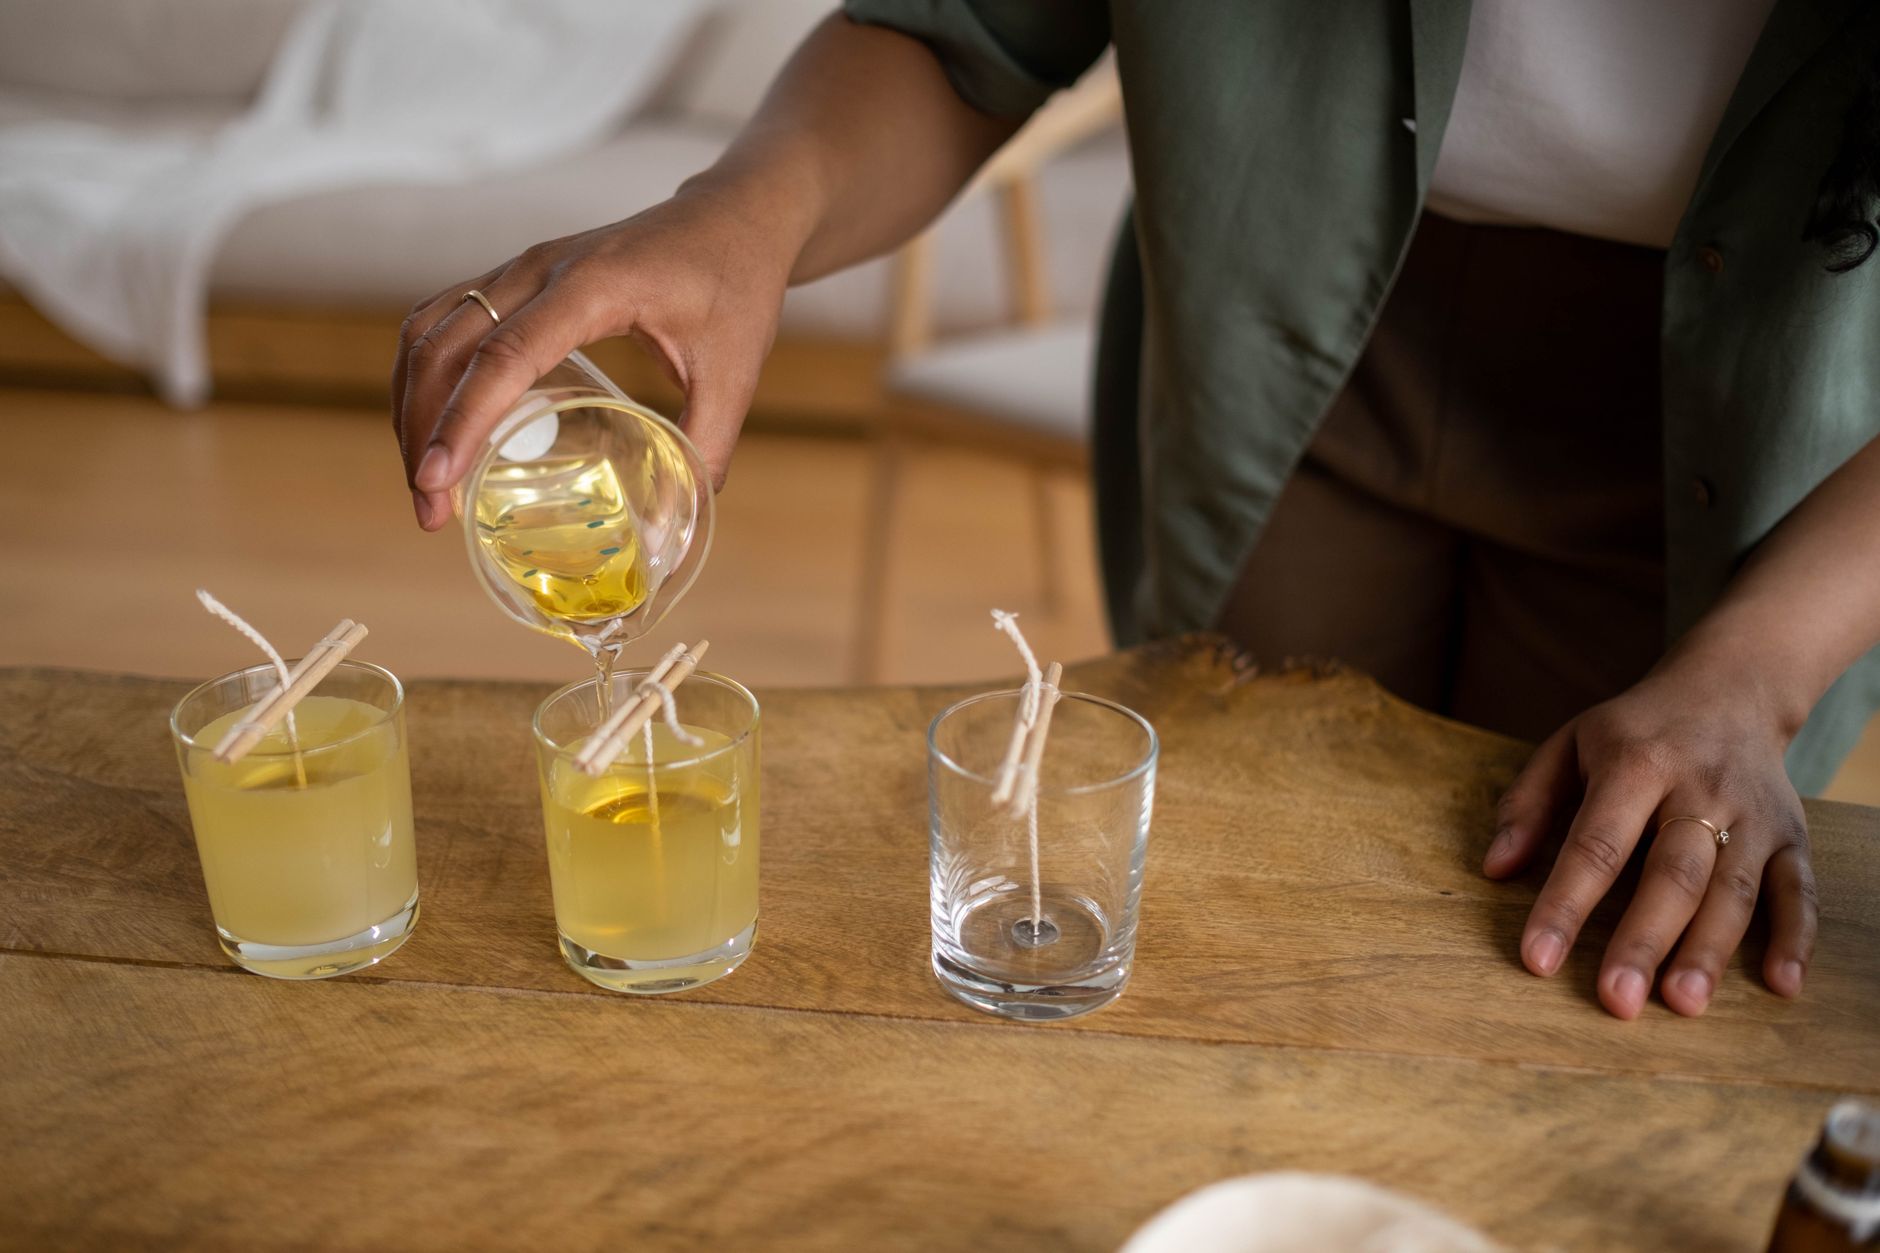
Clean your containers with hot soapy water and dry thoroughly. Attach the wick tab to the bottom of the container using a drop of hot glue or a wick sticker. Center the wick and hold it in place with a wick bar or two pencils taped across the top. Make sure the wick is straight and taut.
Pour and cure
Pour the cooled wax slowly into the container, leaving about 1/2 inch of headspace. Tap the container gently to release air bubbles. Let the candle sit undisturbed for 24 hours. After that, you may notice a small sinkhole near the wick. Fix it by poking a few holes with a skewer and pouring a thin layer of melted wax at 135°F to fill. Wait another 24 hours. Trim the wick to 1/4 inch before the first burn.
Burn and enjoy
On the first burn, let the candle melt all the way to the edges. This prevents tunneling, where the wax burns down the middle and leaves a thick rim. Burn for 3 to 4 hours at a time, and never leave a candle unattended. Keep the wick trimmed to 1/4 inch each time.
Troubleshooting common problems
- Tunneling: your wick is too small, or you did not do the first full-melt burn. Use a larger wick next time.
- Sinkholes: pour at a lower temperature, or do the second pour as described.
- Poor scent throw: you added too little fragrance, or the wax was too hot when you added it. Use 1 ounce per pound and add at 185°F.
- Smoking: wick is too long or too large. Trim more often, or use a smaller wick.
Candle making at a glance
| Item | Cost (2026) | Notes |
|---|---|---|
| Soy wax (5 lb) | $15-$20 | Enough for about 5-6 candles |
| Wicks (100 pack) | $10-$15 | Variety pack for testing |
| Fragrance oil (1 oz) | $3-$5 | Use 1 oz per lb of wax |
| Containers (4 oz) | $1-$3 each | Reuse jars or buy new |
| Thermometer | $10-$15 | Infrared or candy |
| Pouring pot | $15-$25 | 2-quart stainless steel |
FAQ
Can I use essential oils instead of fragrance oils?
Yes, but be careful. Essential oils are volatile and may not hold up well in candle wax. Use 1/2 to 1 ounce per pound, and test a small batch first. Some essential oils, like citrus, can cause the wax to separate or the candle to smoke.
How long do candles last?
A properly made 8-ounce candle burns for about 40 to 50 hours. Soy wax burns slower than paraffin, so you get more burn time per ounce.
Why did my candle crack?
The wax cooled too fast or the container was too cold. Warm your containers to about 100°F before pouring, and keep the room at a steady temperature.
Can I reuse old candle jars?
Absolutely. Clean out the old wax by placing the jar in a warm oven (200°F) on a baking sheet, then wipe out the melted wax. Wash with soap and water, and you have a new container.
The bottom line
Candle making is a straightforward weekend project that pays off in quality and cost. Start with soy wax, a simple container, and a wick variety pack. Follow the temperatures and curing times, and you will have a clean-burning candle in two days. As you gain confidence, experiment with different waxes, wicks, and scents. Keep a notebook of what works, and you will be making gifts and home supplies in no time.