Candle making for beginners
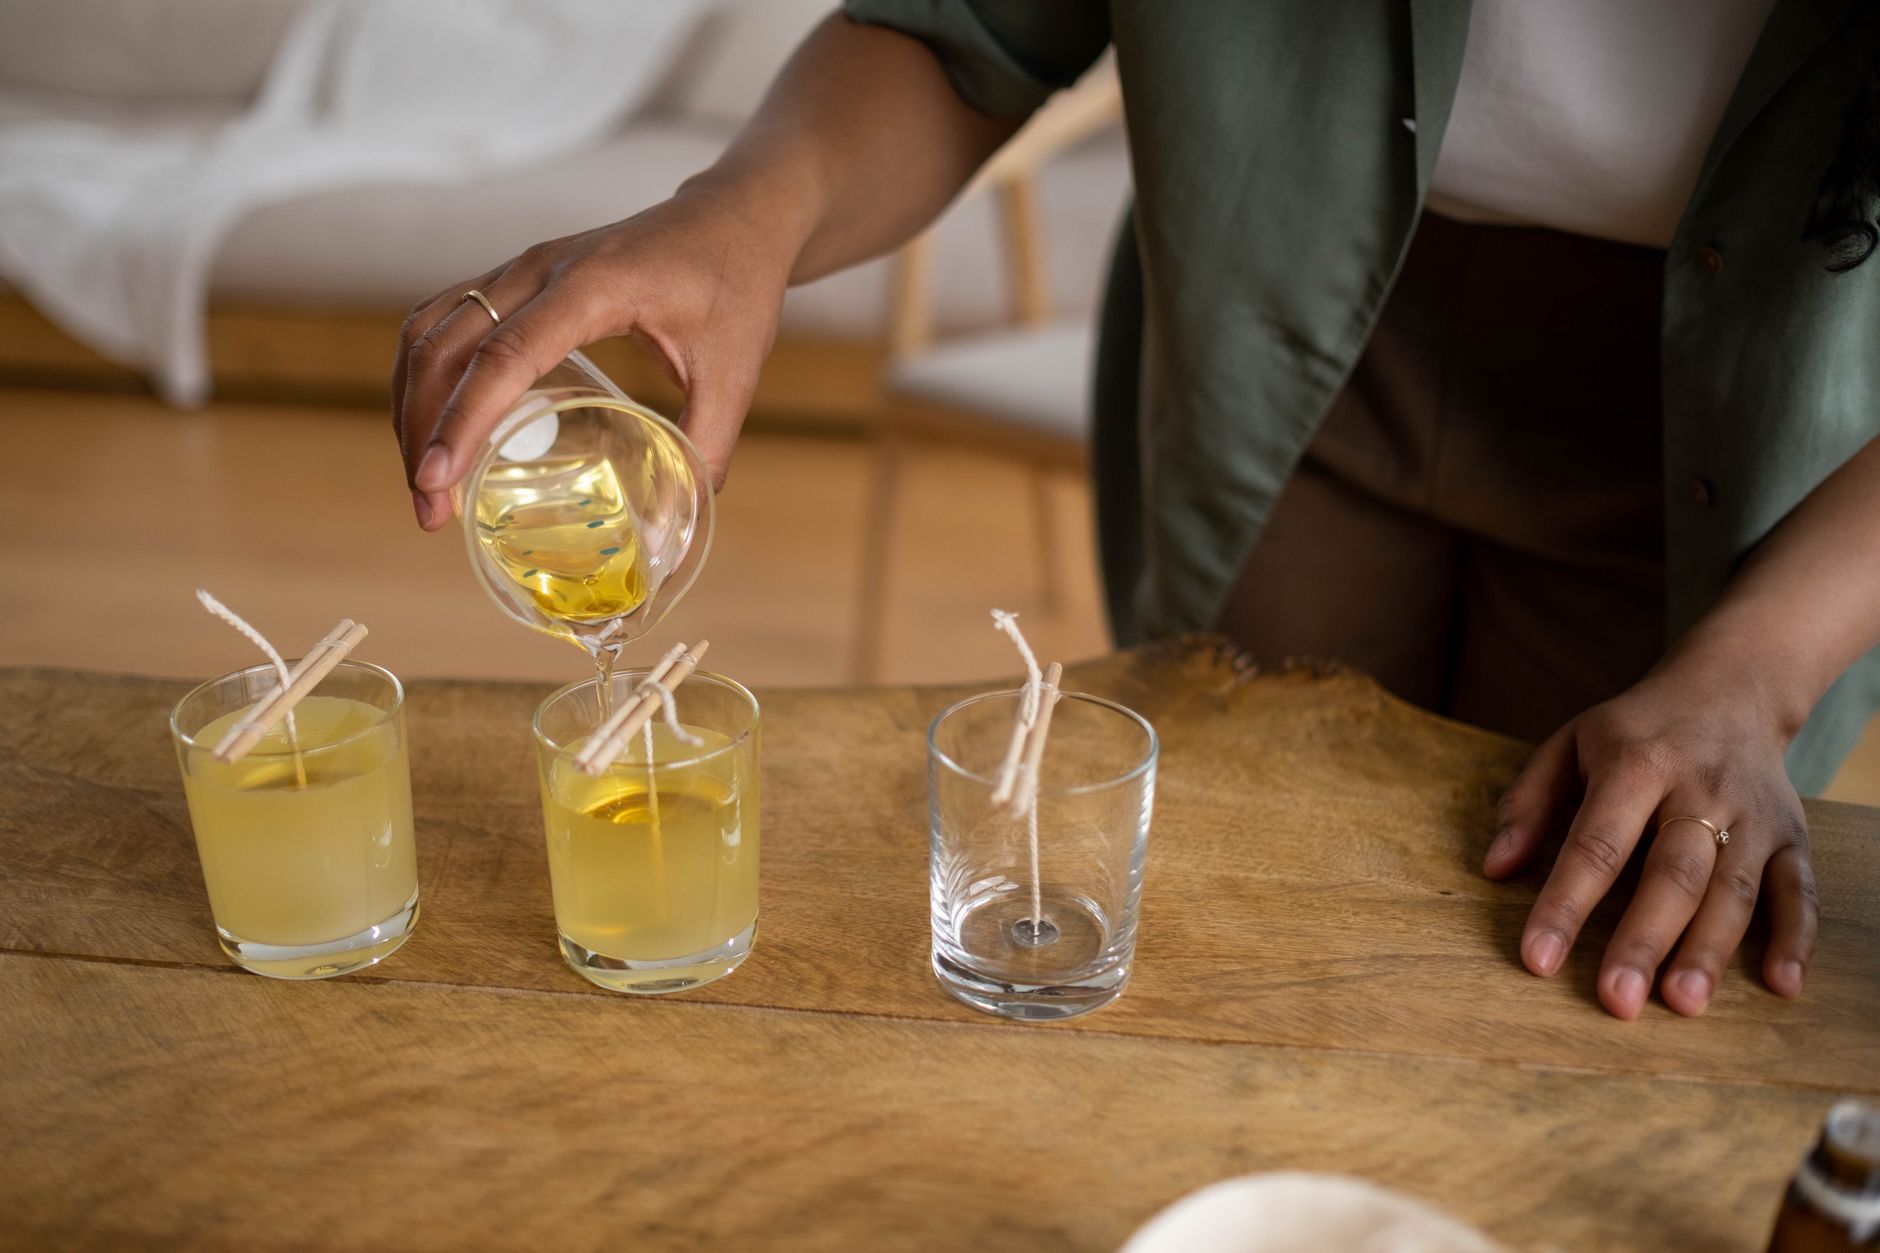
Learn to make your own candles at home with simple steps, real costs, and safety tips. Perfect for homesteaders and gardeners.
Candle making is a straightforward craft that fits right into a homestead lifestyle. You can use beeswax from your own hives, soy wax from your garden’s soybeans, or buy reliable paraffin. This guide covers the basics: what you need, how to do it, and what it costs in 2026. You can make your first candles this weekend.
What you need to start
Gather these supplies before you melt anything. Prices are realistic for 2026, and you can often find used equipment at thrift stores.
- Wax: Soy wax (464 or 415) costs about $15 to $20 per 5-pound bag. Beeswax from a local apiary runs $10 to $15 per pound. Paraffin is cheaper at $10 per 10-pound block.
- Wicks: Choose cotton wicks with a paper core for container candles. A pack of 100 wicks (sized for your container) costs $8 to $12.
- Containers: Mason jars (8 oz or 16 oz) work well. You can reuse jars from pickles or jams. New jars cost $1 to $2 each, but recycled ones are free.
- Melting pot: A double boiler or a large saucepan with a pour spout. A basic one costs $15 to $25. Do not use your best cookware; wax is hard to clean.
- Thermometer: A candy thermometer ($10) or an infrared thermometer ($20) helps you hit the right temperature.
- Fragrance oils: If you want scented candles, buy oils made for candles. A 1-ounce bottle costs $3 to $5, and you use about 1 ounce per pound of wax.
- Dye: Optional. Candle dye blocks cost $2 each.
- Adhesive: Glue dots or hot glue to stick th
 e wick to the jar bottom.
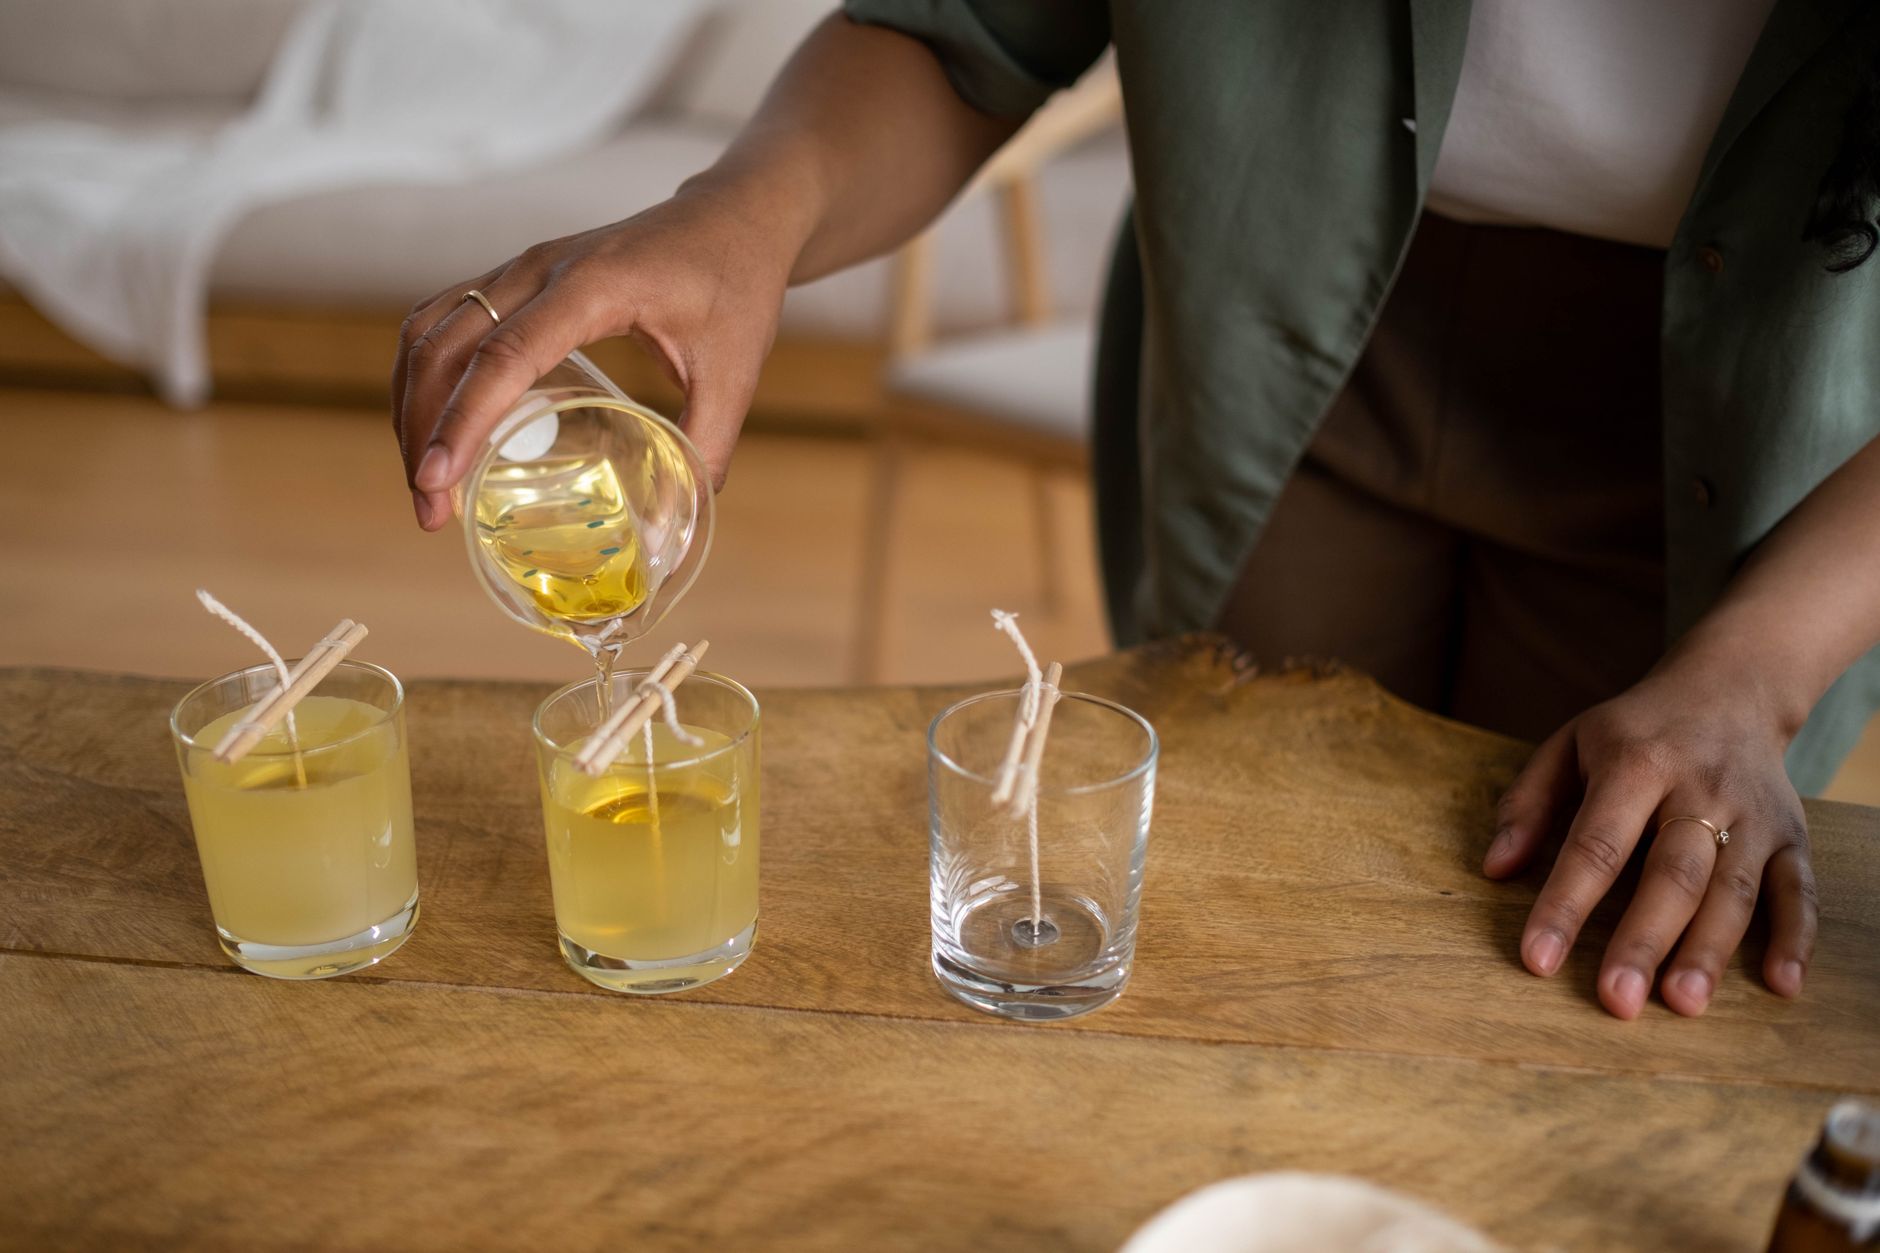
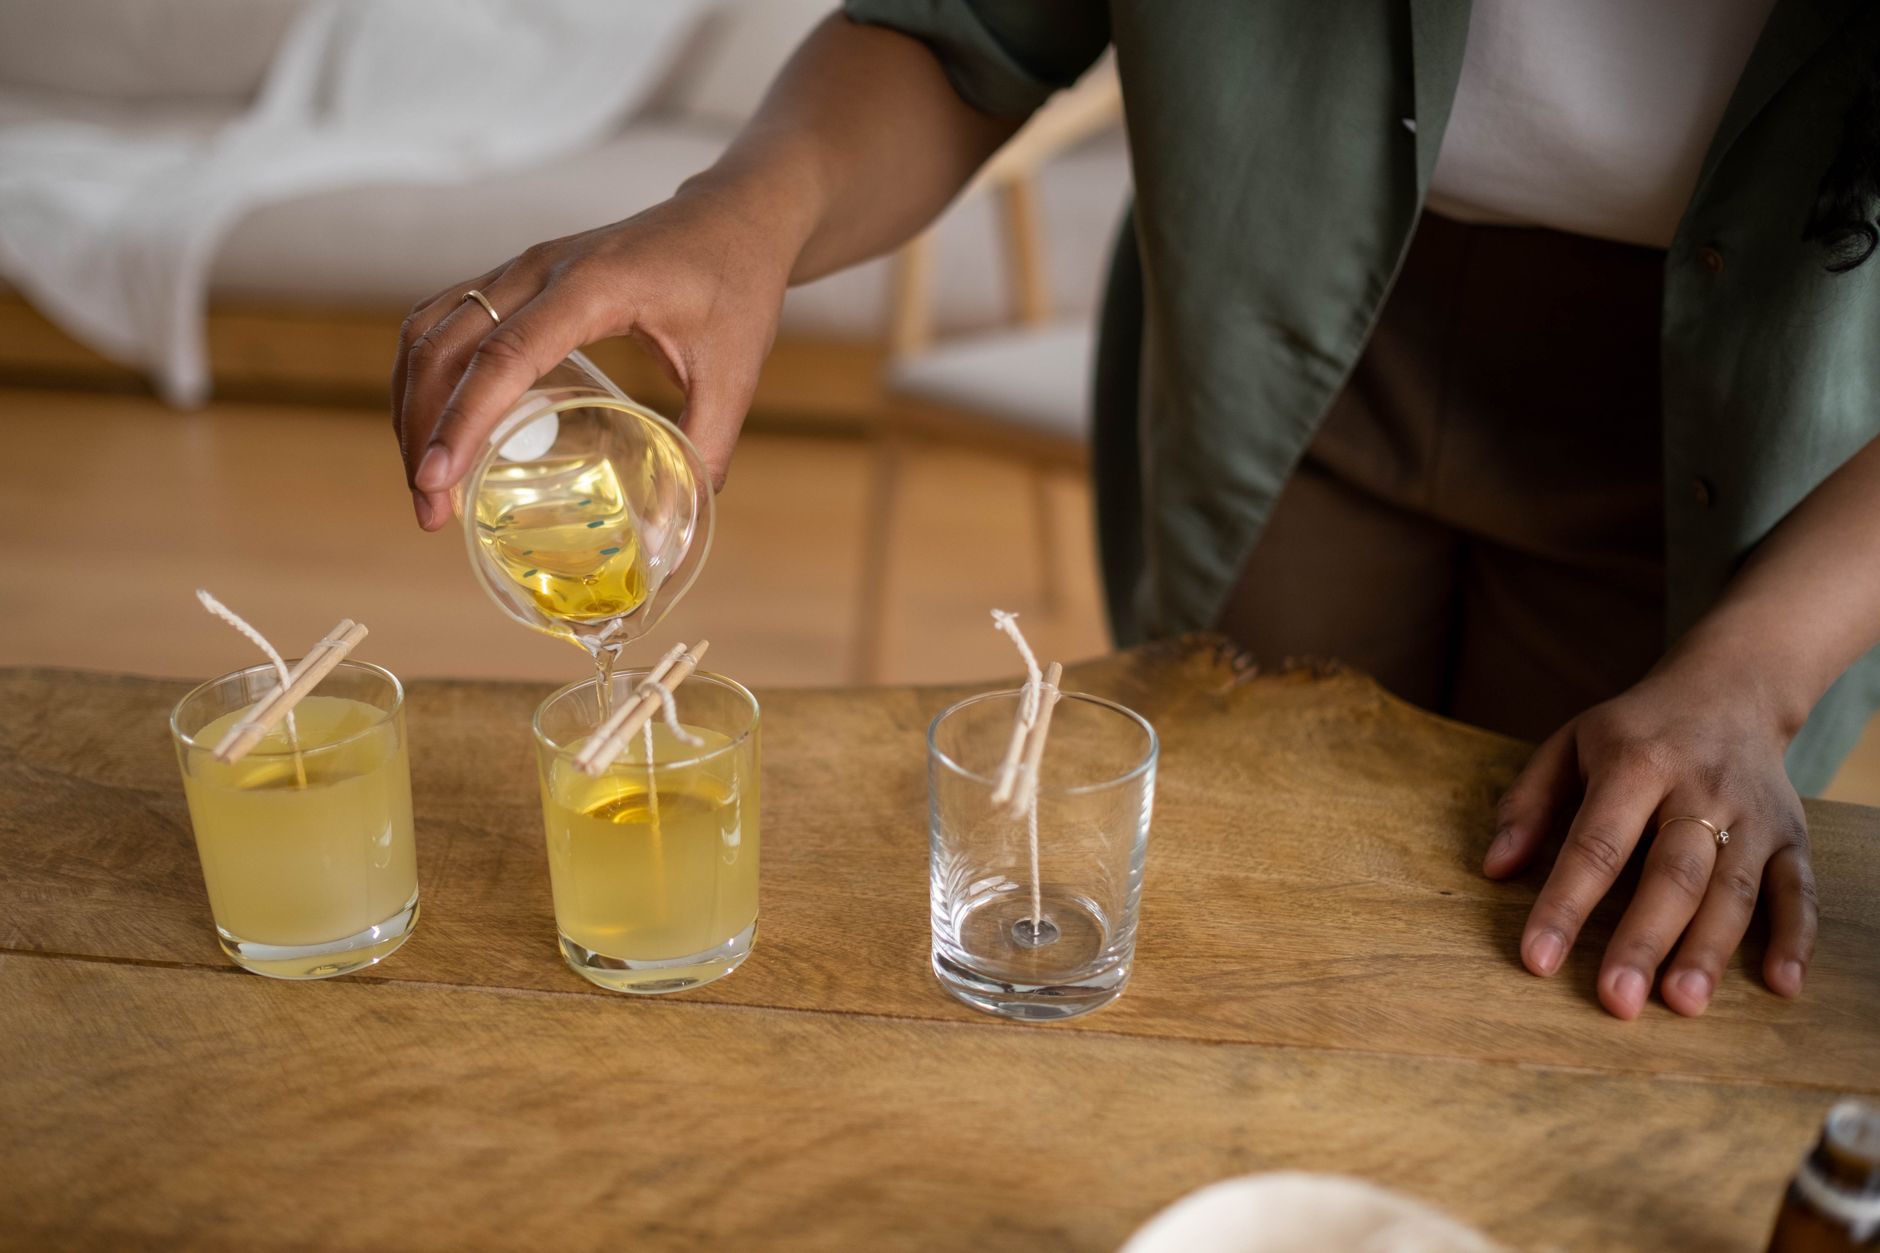
 - Wick holders: Pencils or skewers to keep the wick centered.
Step-by-step: making your first candle
- Prepare the container: Clean your jar thoroughly. Use a glue dot or a dab of hot glue to secure the wick tab to the center of the jar bottom. Let it dry.
- Melt the wax: Fill the bottom of your double boiler with water and bring to a simmer. Add wax to the top pot. Stir occasionally with a wooden spoon. Do not leave melting wax unattended.
- Heat to the right temperature: For soy wax, heat to 185°F (85°C). For beeswax, heat to 160°F (71°C). If you add fragrance, do it when the wax reaches 185°F, and stir for 2 minutes.
- Cool slightly: Let the wax cool to about 135°F (57°C) for soy, or 150°F (65°C) for beeswax, before pouring. This helps prevent sinkholes.
- Pour the wax: Slowly pour the wax into the jar, leaving 1/2 inch of headspace. Center the wick using a wick holder or a pencil laid across the top.
- Let it set: Allow the candle to cool for 24 hours. Do not move it during this time.
- Trim the wick: Cut the wick to 1/4 inch above the wax surface. This prevents smoking and soot.
- Cure (optional): Soy candles benefit from a 2 to 3 day cure before burning. Beeswax and paraffin can be used immediately.
Choosing your wax
Your wax choice affects burn time, scent throw, and cost.
| Wax type | Burn time (per 8 oz) | Scent throw | Cost per pound | Best for |
|---|---|---|---|---|
| Soy (464) | 30-40 hours | Good | $3-$4 | Container candles, easy cleanup |
| Beeswax | 50-60 hours | Subtle natural honey scent | $10-$15 | Long-lasting, natural, honey scent |
| Paraffin | 40-50 hours | Excellent | $1-$2 | Strong scent, vibrant colors |
Soy wax is the most forgiving for beginners. It cleans up with soap and water, and it’s renewable. Beeswax is pricier but you can produce it yourself if you keep bees. Paraffin is cheap and holds scent well, but it’s petroleum-based.
Troubleshooting common problems
- Sinkholes or cracks: This happens when the wax cools too fast. Pour at a lower temperature (around 120°F for soy) and keep the room warm. You can also use a heat gun to smooth the top.
- Poor scent throw: You may have added too little fragrance. Use 1 ounce per pound of wax, and make sure the wax is at 185°F when you add it. Also, let the candle cure longer.
- Smoking wick: The wick is too long or too thick. Trim it to 1/4 inch and use a smaller wick size.
- Uneven burn: The wick may be off-center or too small. Center it properly and choose a wick that matches your container diameter.
Safety tips
- Always melt wax in a double boiler, never directly on a stove burner. Wax is flammable.
- Keep a lid nearby to smother any wax fire. Do not use water on a wax fire.
- Work in a well-ventilated area, especially when adding fragrance.
- Never leave melting wax unattended.
- Keep wax out of reach of children and pets.
Cost breakdown for your first batch
Here is a realistic budget for making 10 candles in 8 oz mason jars.
| Item | Cost |
|---|---|
| Soy wax (5 lb bag) | $18 |
| Wicks (10) | $1.50 |
| Jars (recycled) | $0 |
| Fragrance oil (2 oz) | $8 |
| Thermometer | $10 |
| Total | $37.50 |
That’s about $3.75 per candle, compared to $10-$15 for a store-bought candle. You’ll save money if you reuse jars and buy wax in bulk.
FAQ
How long do homemade candles last? An 8 oz soy candle burns for 30 to 40 hours if you trim the wick and burn it in 4-hour sessions. Beeswax burns longer, up to 60 hours.
Can I use essential oils instead of fragrance oils? Yes, but essential oils are more expensive and may not hold up as well. Use 1 ounce per pound of wax, and expect a lighter scent. Some essential oils can cause the wax to seize, so test in a small batch first.
Why does my candle have a bumpy top? This is usually caused by pouring the wax too cool or cooling too quickly. Re-melt the top with a heat gun or pour at a slightly higher temperature.
Is candle making profitable? You can sell candles at farmers markets or online, but you need to factor in labor, packaging, and liability. A $3.75 candle might sell for $8 to $12, but you’ll spend time making them. It’s a good side income, not a get-rich scheme.
The bottom line
Candle making is a practical skill that saves money and gives you a useful product. Start with soy wax and recycled jars to keep costs low. Follow the steps, be patient with curing, and you’ll have a batch of candles by next week. As you get comfortable, try beeswax or different scents. The key is to measure temperatures, use the right wick, and never rush the cooling process. With a little practice, you’ll be making candles that rival store-bought ones.