How to cure shallots
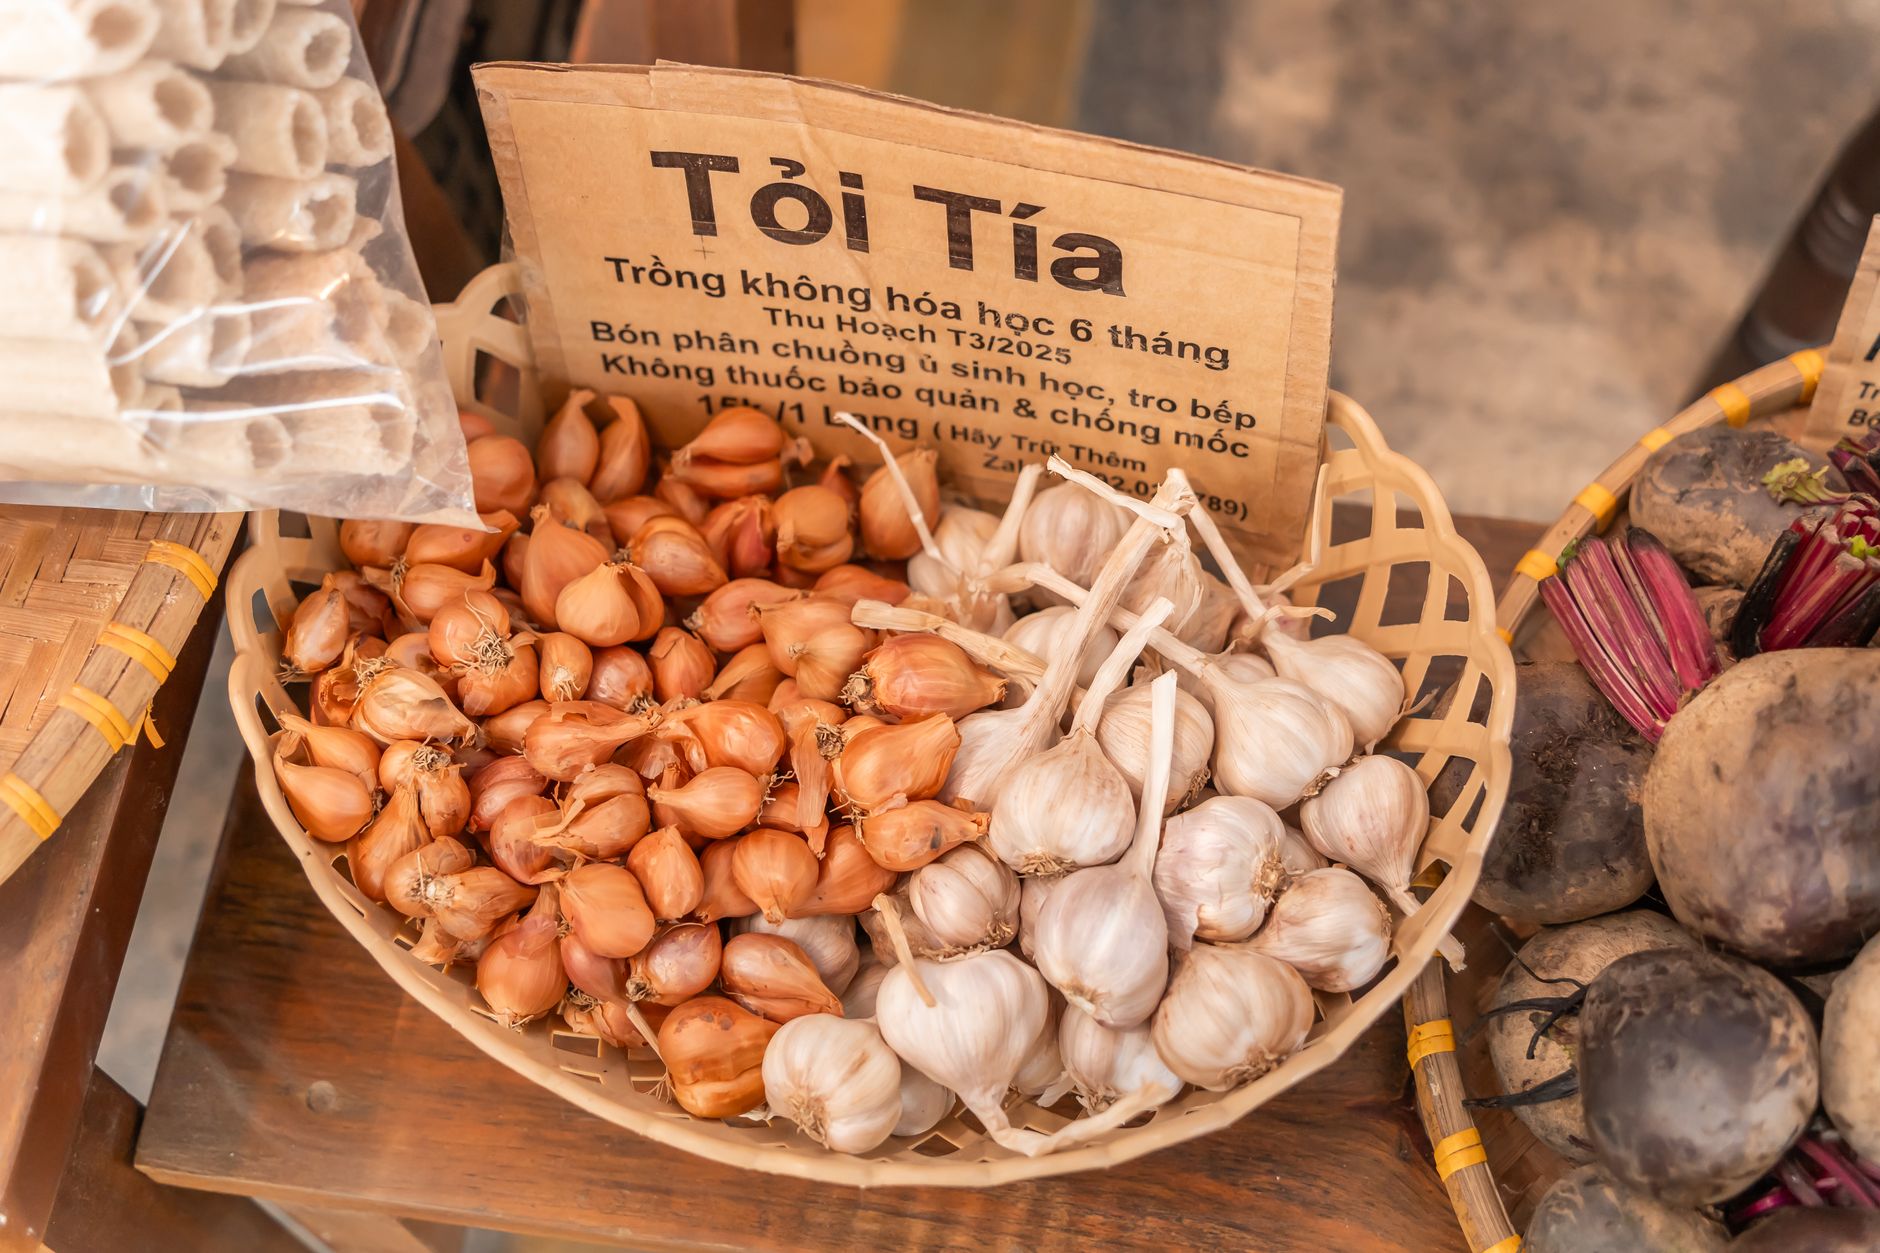
Learn the step-by-step process to cure shallots for long-term storage, including when to harvest, drying methods, and common mistakes to avoid.
Curing shallots is the difference between a pantry staple that lasts through winter and a pile of moldy bulbs by November. The process is simple: stop watering, lift the bulbs, dry them in a warm, airy spot for 2 to 3 weeks, then trim and store. Here is exactly how to do it, with the timing and conditions that work.
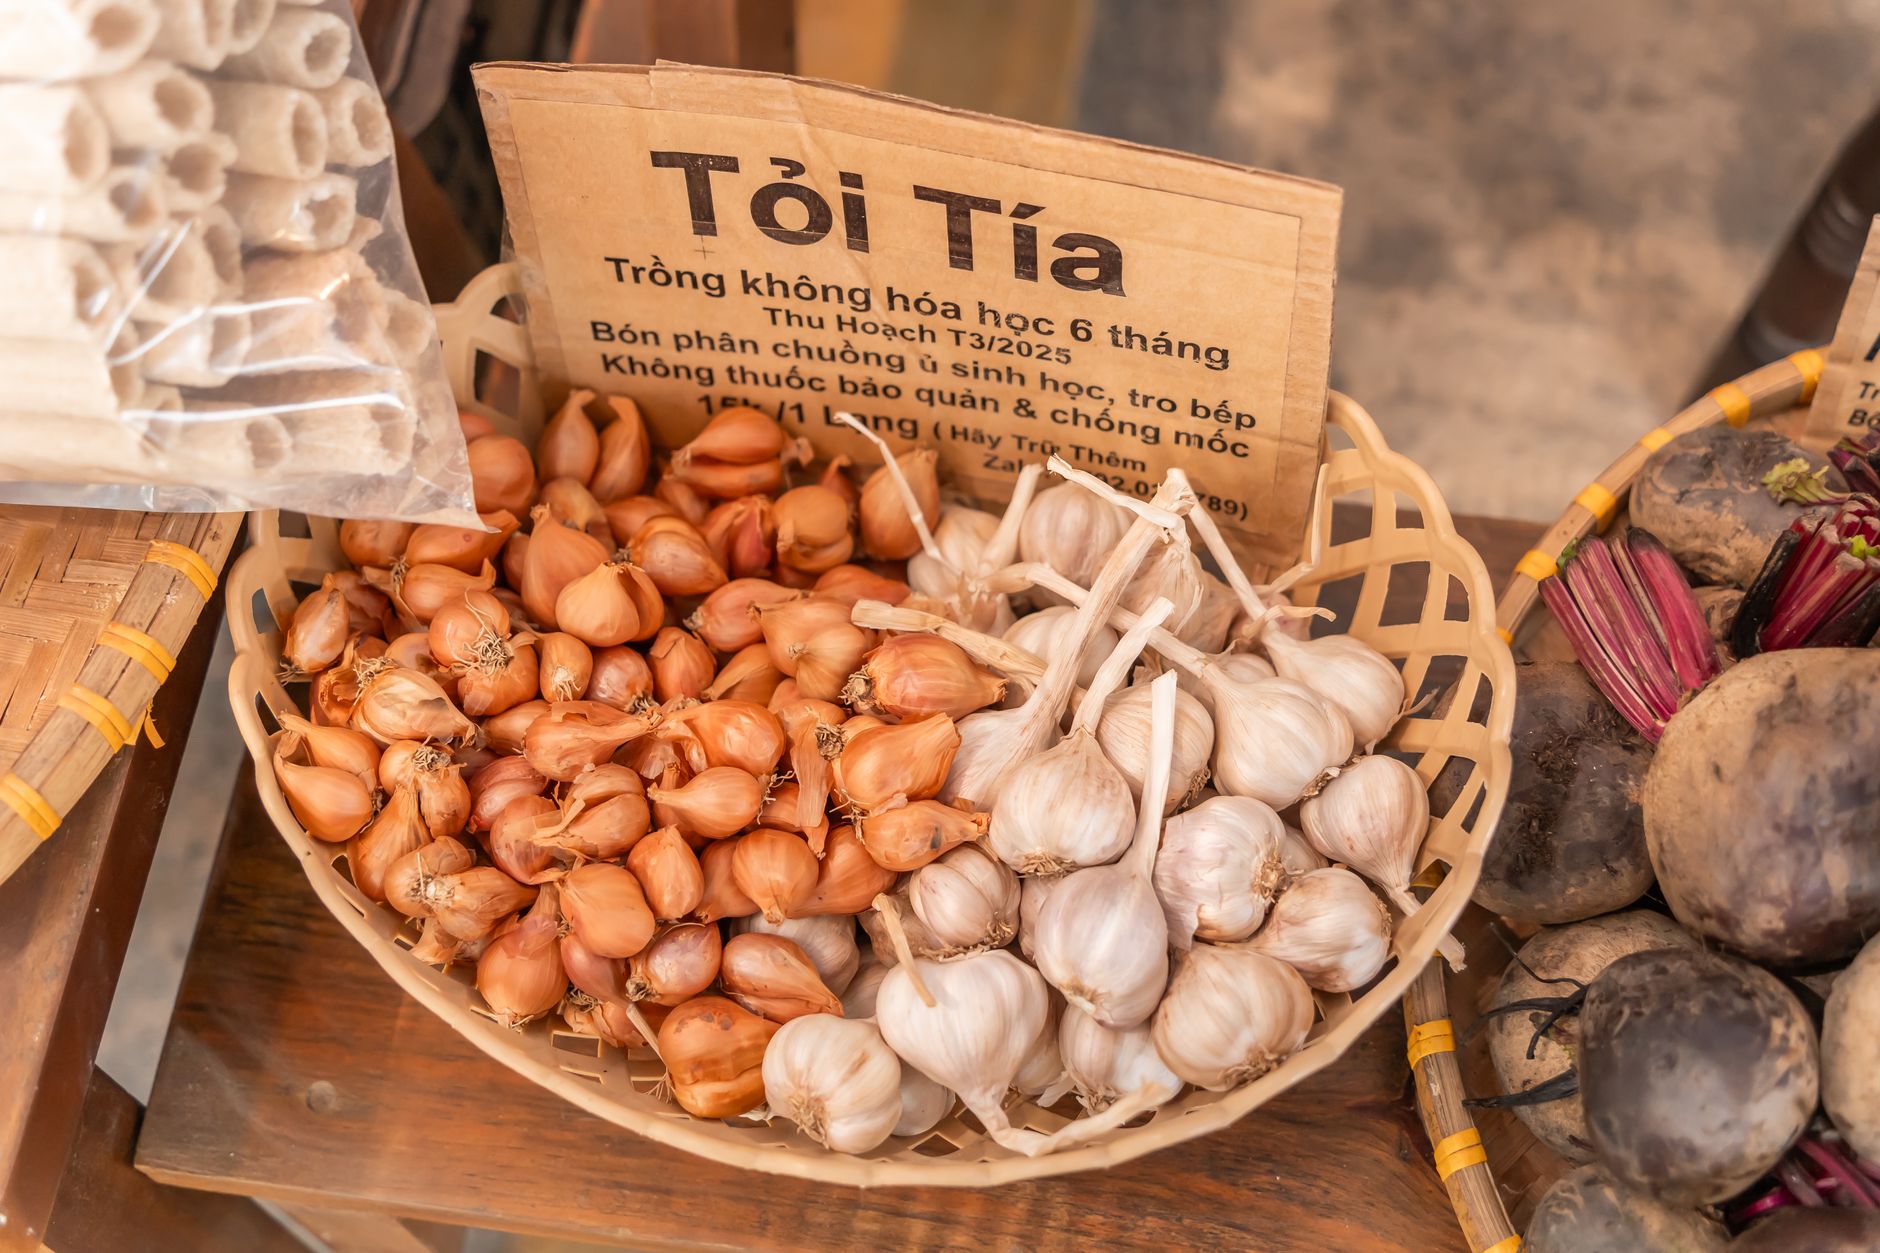
When to harvest shallots for curing
Shallots are ready to harvest when the tops flop over and start to yellow, usually 90 to 120 days after planting, depending on variety. In most of the US, that means late June to early August. Do not wait until the tops are completely brown and brittle; that can lead to splitting and rot.
To check, gently dig around one bulb with a garden fork. If the bulb has a good papery skin and the cloves are well defined, it is time. If the skin is still thick and juicy, give them another week.
Stop watering 2 weeks before you plan to harvest. This reduces moisture in the bulb and helps the
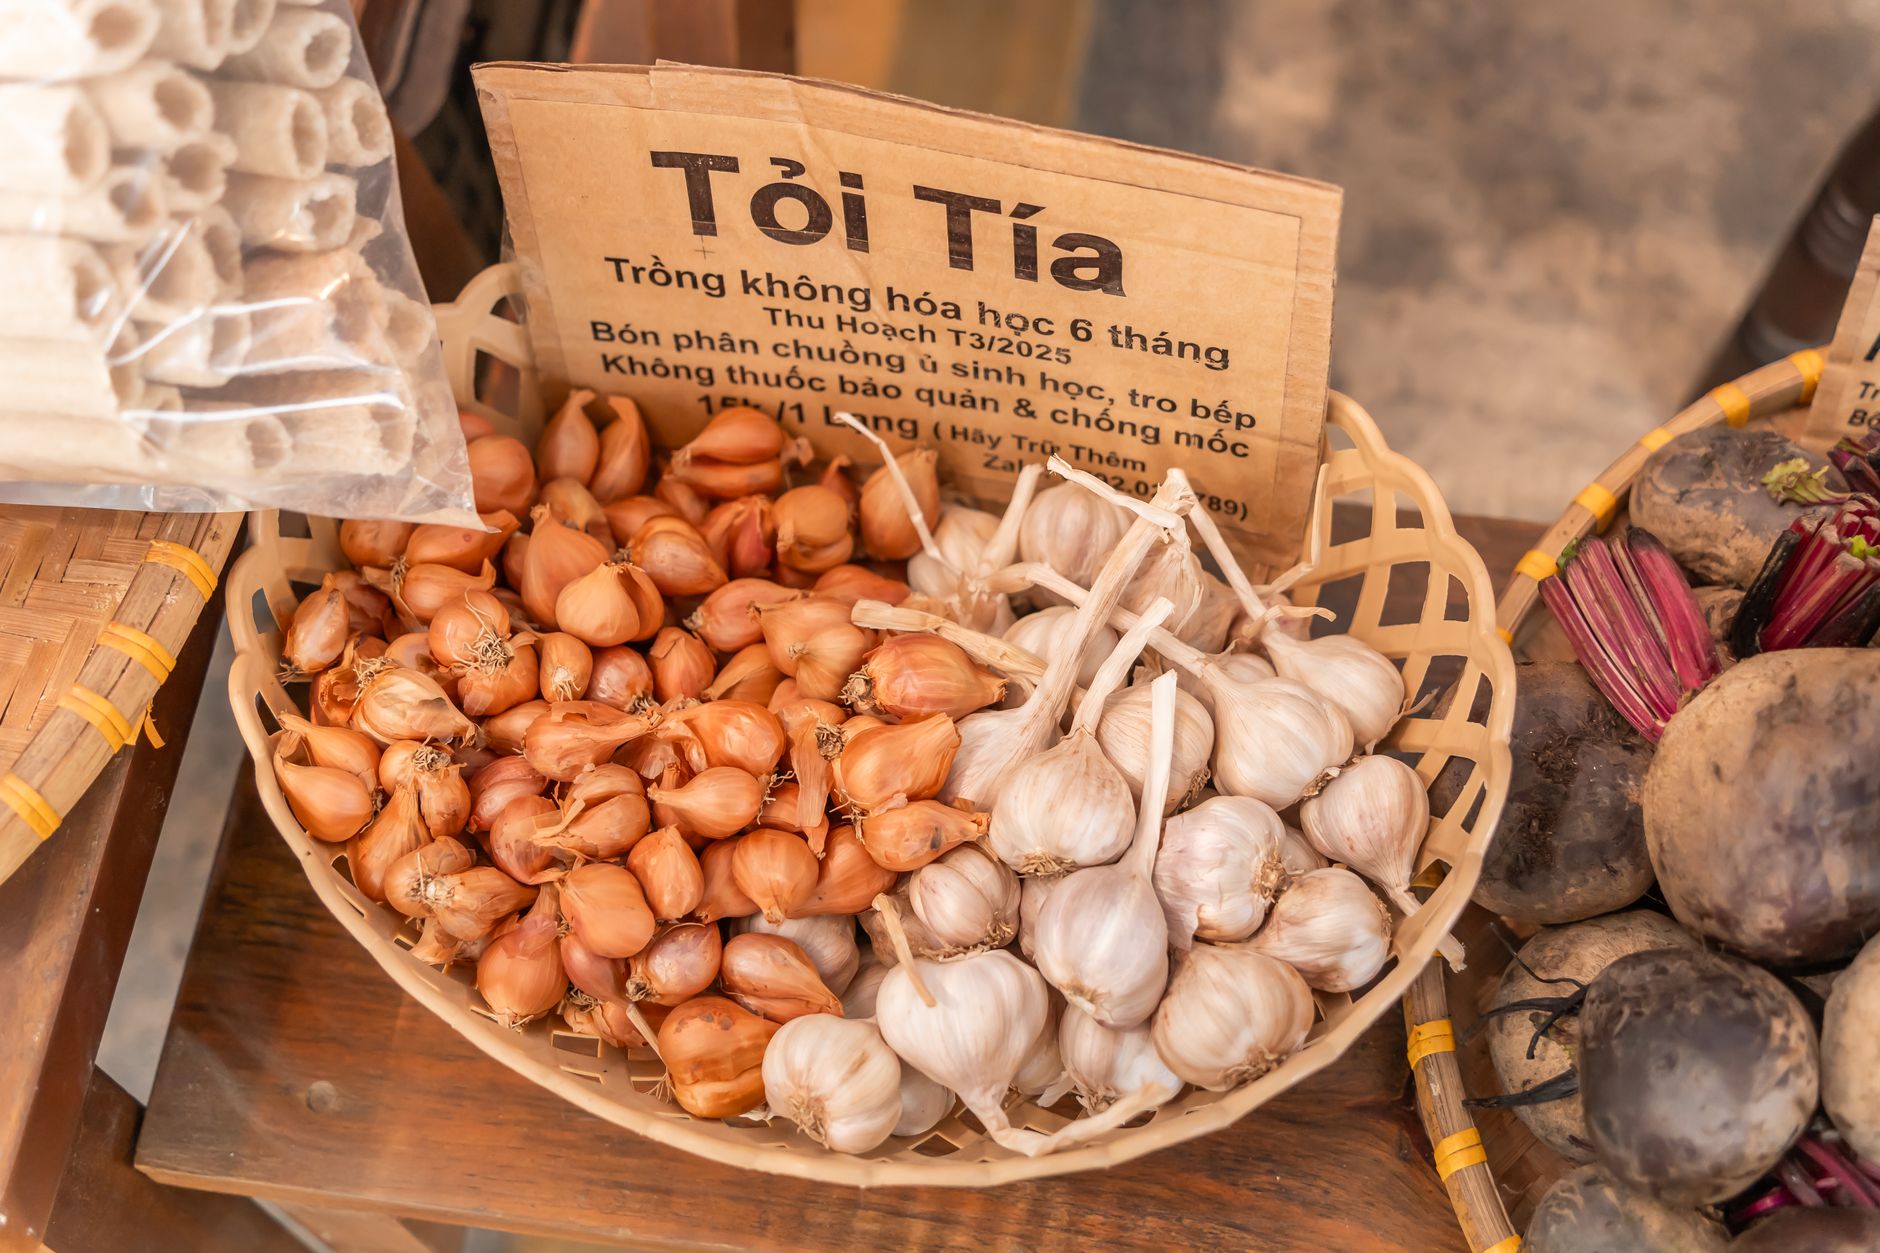 skin set. If rain is forecast, harvest before it hits; wet bulbs cure poorly.
Step-by-step curing process
1. Lift, do not pull
Use a garden fork to loosen the soil about 6 inches away from the row, then lift the shallots by hand. Pulling by the tops can bruise the bulb and invite rot. Shake off loose soil, but do not wash them. Water on the skin is fine, but mud should be dry before curing.
2. Dry in the field (if weather allows)
If you have 5 to 7 days of dry, sunny weather, leave the shallots on the soil surface, tops intact. This starts the curing process naturally. Turn them once after 3 days so the bottoms dry too. If rain or high humidity is forecast, skip this step and move them under cover immediately.
3. Cure in a warm, airy place
Bring the shallots indoors or into a greenhouse, shed, or garage. Spread them in a single layer on a wire rack, hardware cloth, or old window screen. Do not pile them more than 2 inches deep; they need air circulation on all sides.
Ideal curing conditions are 75°F to 85°F with low humidity (below 60%). If your garage is cooler, it will take longer, up to 4 weeks. A small fan on low speed helps if the air is still.
Cure until the necks are completely dry and papery, and the skins are crisp. The tops should be fully withered. This takes 2 to 3 weeks under good conditions. Test by squeezing a neck: it should feel hollow and brittle, not pliable.
4. Trim and clean
Once cured, cut the tops off about 1 inch above the bulb, and trim the roots to 1/4 inch. Do not cut too close to the bulb; that opens a wound. Brush off remaining soil with your hands, but do not peel the skin. Any damaged or soft bulbs set aside for immediate use.
5. Store properly
Store cured shallots in a cool, dry, dark place with good air circulation. Ideal is 32°F to 40°F with 60% to 70% humidity, like a root cellar or a cool basement. In warmer conditions, they will sprout sooner. Use mesh bags, baskets, or open crates; never plastic bags. Check every 2 weeks and remove any that show soft spots or mold.
Varieties that cure best
Some shallots are naturally better keepers. Here are reliable options for US gardens:
| Variety | Days to harvest | Storage potential | Notes |
|---|---|---|---|
| French Red | 100-110 | 6-8 months | Classic, spicy flavor, coppery skin |
| Gray (Griselle) | 110-120 | 8-10 months | Mild, sweet, excellent for long storage |
| Golden Gourmet | 90-100 | 5-6 months | Yellow skin, mild, good for short storage |
| Zebrune | 100-110 | 6-7 months | Banana-shaped, pink skin, robust |
For the longest storage, choose French Red or Gray. If you want a quick crop for fall use, Golden Gourmet works, but plan to eat it by mid-winter.
Common mistakes and how to avoid them
- Harvesting too early: If the skins are still thick and moist, the bulbs will not cure properly. Wait for the tops to flop.
- Washing the bulbs: Water introduces moisture and speeds rot. Brush off soil, do not rinse.
- Curing in direct sun: Sun can scald the bulbs, causing them to shrivel. Use shade or indirect light.
- Storing in a humid spot: High humidity leads to mold. Keep them dry, even if it means a slightly warmer spot.
- Cutting tops too short: Leaving a 1-inch neck protects the bulb from entry points for bacteria.
FAQ
Can I cure shallots in the oven or dehydrator? No. Ovens and dehydrators use heat that cooks the bulbs, ruining texture and flavor. Curing is a slow drying process, not a cooking one.
How do I know if curing is complete? The necks are dry and brittle, the skins are papery, and the bulbs feel light for their size. A properly cured shallot will have no moisture when you squeeze the neck.
What if my shallots start to sprout during curing? Sprouting means they were not fully mature or the curing area was too warm. Use them immediately; they are still edible but will not store.
Can I cure shallots in a humid climate? Yes, but you need to force air movement. Use a fan and keep them in a dehumidified room if possible. In very humid areas, cure under cover with a fan running 24/7.
The bottom line
Curing shallots is straightforward: harvest at the right time, dry them slowly in warm air, and store them cool and dry. Follow the steps above, and your shallots will keep for 6 to 8 months, saving you money and giving you fresh flavor all winter. The key is patience: do not rush the drying, and do not skip the trimming. With a little care, you will have a reliable supply of homegrown shallots until next season.