Growing garlic for beginners
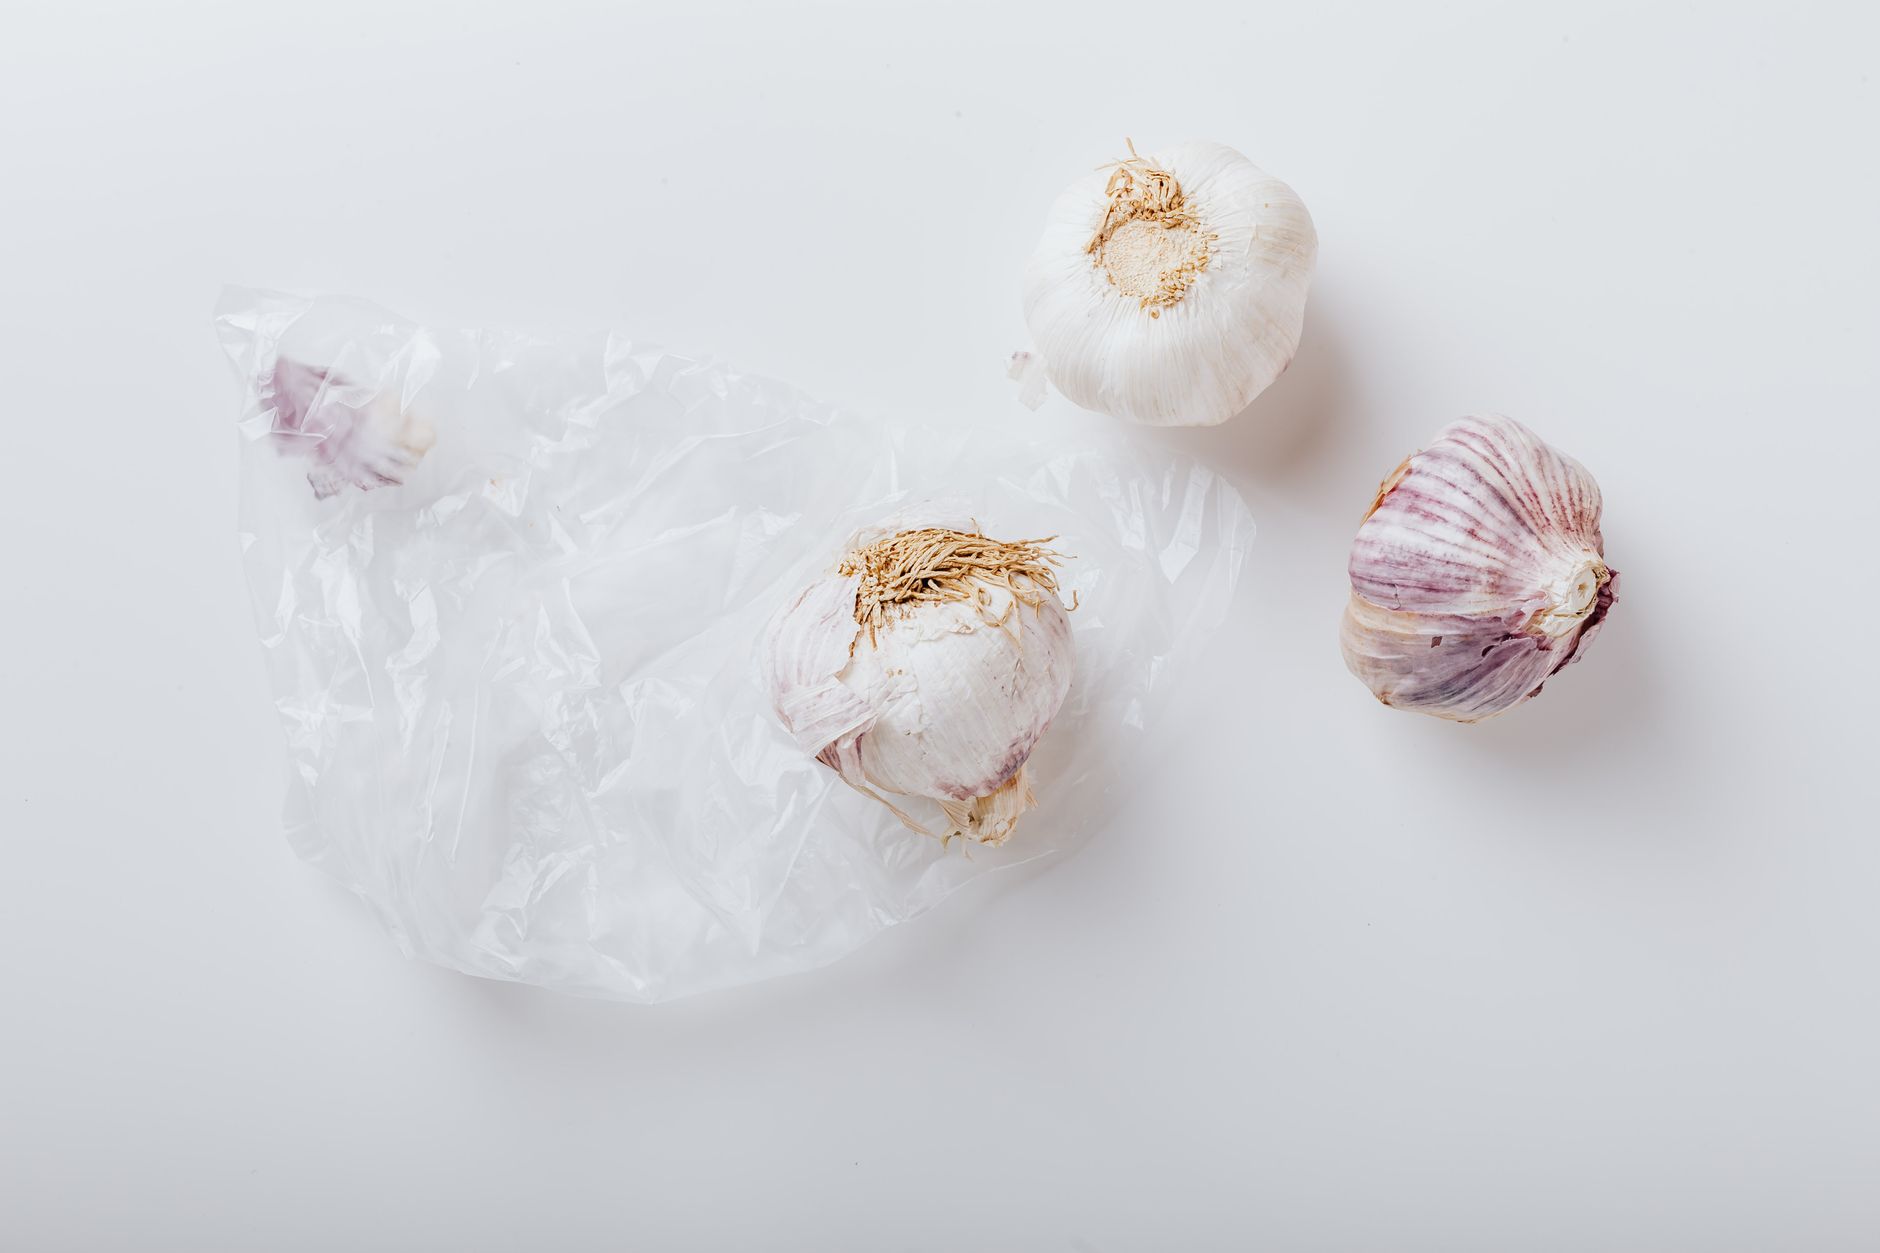
Learn how to grow garlic successfully: planting times, soil prep, variety selection, and harvest tips for beginners. Realistic advice for 2026.
Garlic is one of the easiest crops for a beginner gardener. Plant cloves in fall, wait for spring, harvest in summer. The key is timing and soil preparation. This guide covers everything you need to know to grow a solid crop of garlic in your backyard or homestead.
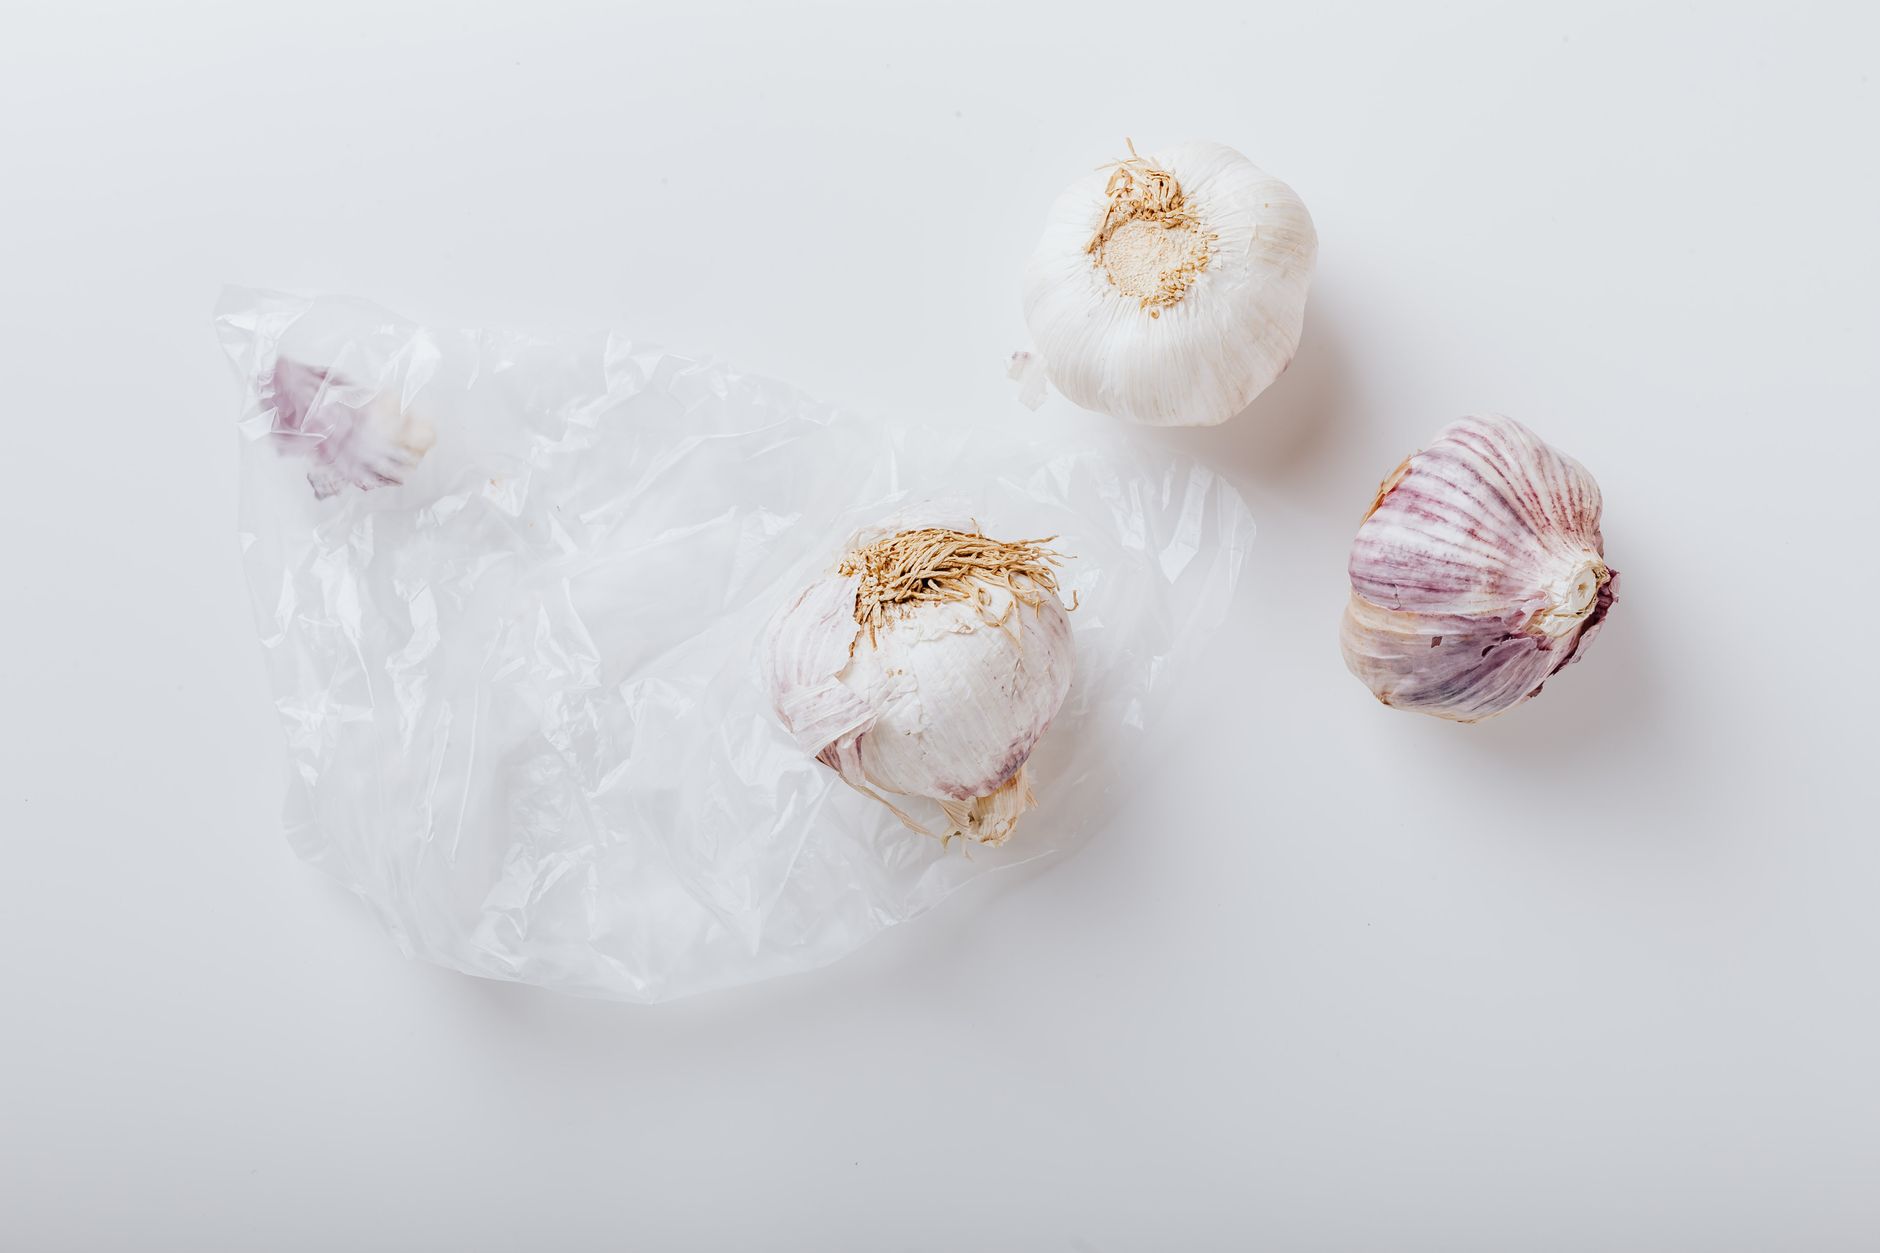
Why grow garlic?
Garlic is a low-maintenance, high-value crop. A single bulb costs $1 to $2 at the store, but homegrown garlic tastes better and stores longer. You can plant cloves from a grocery store bulb, but for best results, buy certified seed garlic from a nursery or online supplier. Seed garlic costs $10 to $15 per pound
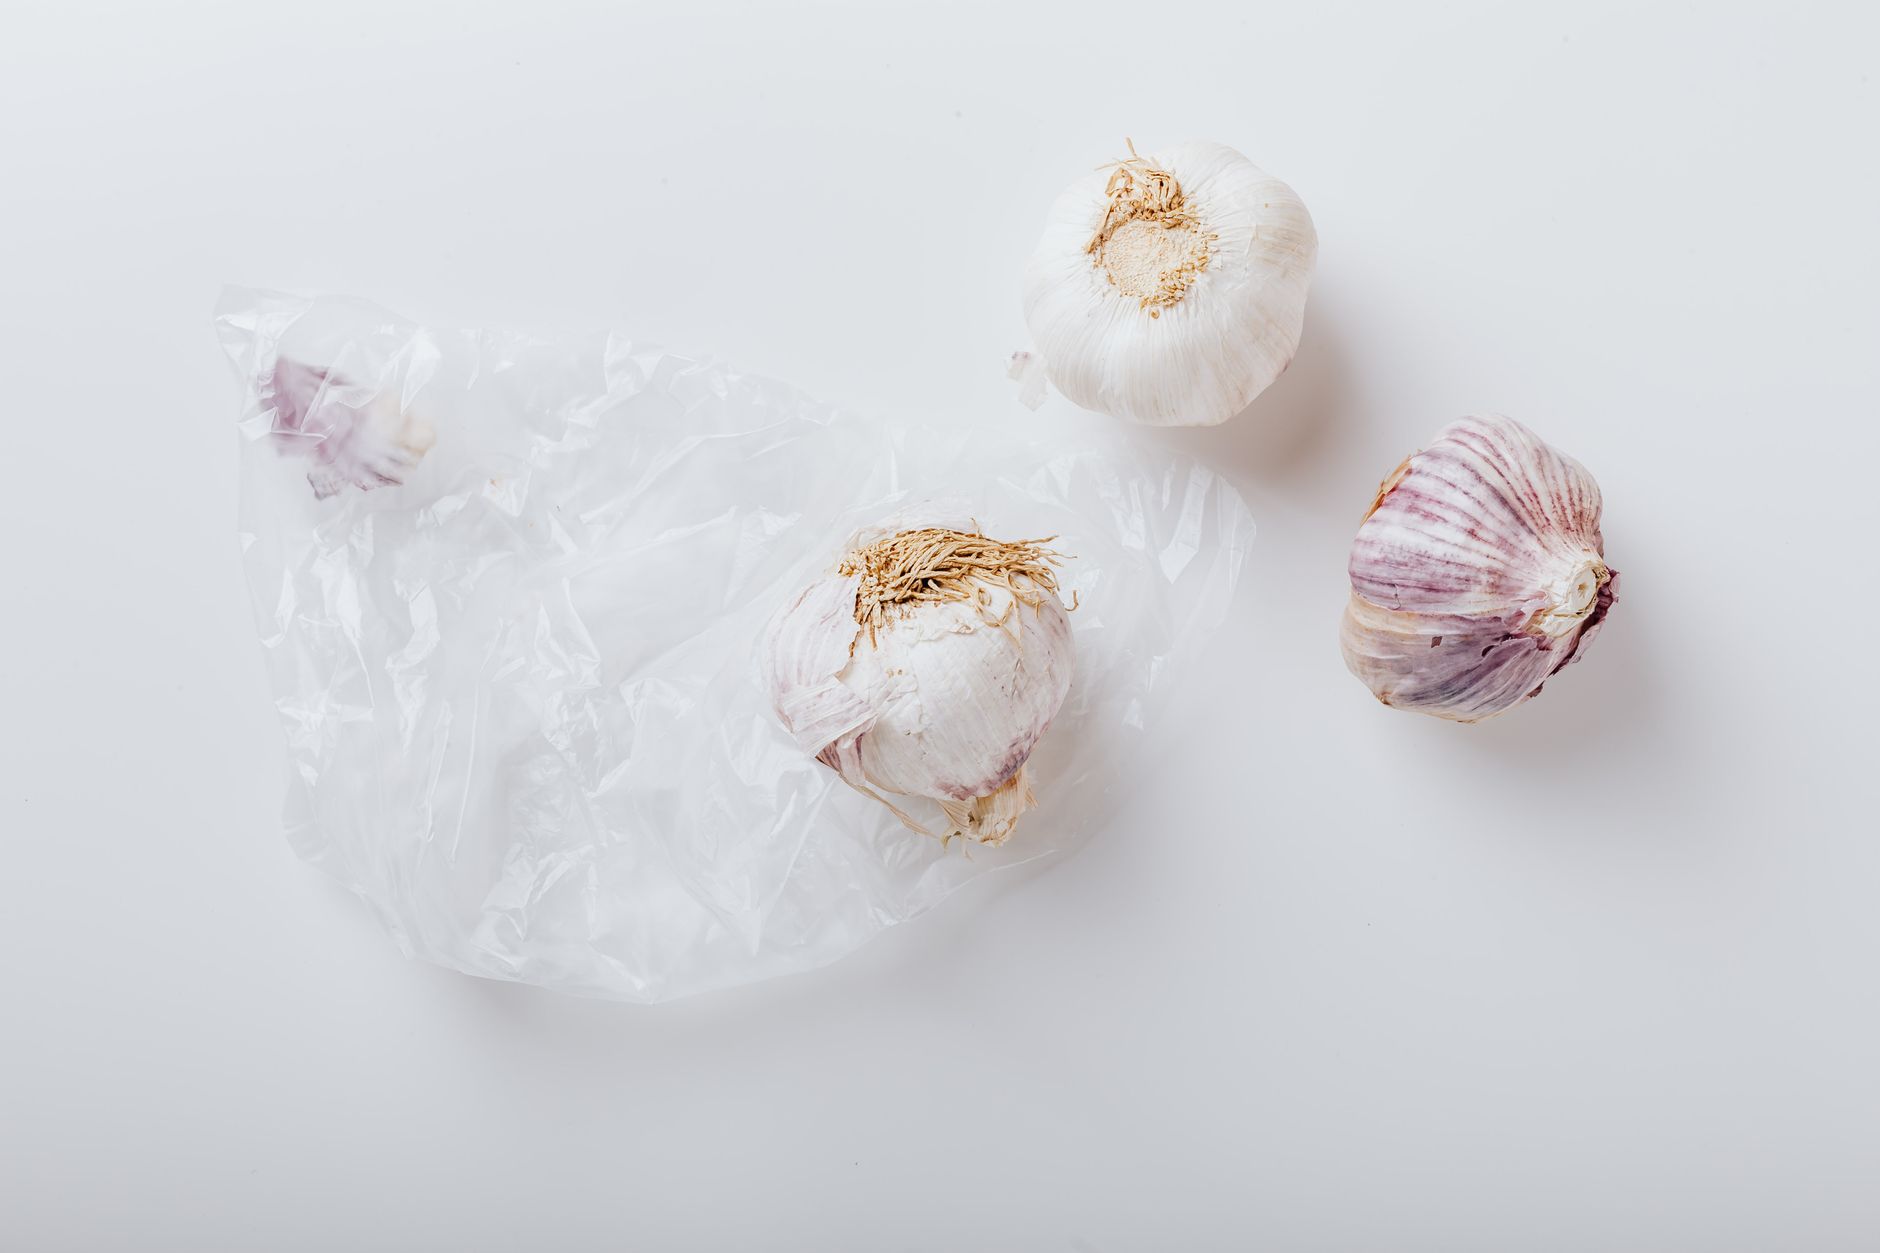 , and one pound plants about 50 cloves (roughly 10 to 12 bulbs per pound, depending on size).
Choosing the right variety
There are two main types of garlic: hardneck and softneck. Hardneck varieties produce a flower stalk (scape) and have fewer, larger cloves. They are more cold-hardy and have a richer flavor. Softneck varieties do not produce scapes, have more cloves per bulb, and store longer. They are better for warmer climates and braiding.
For beginners, I recommend starting with a hardneck variety like ‘Music’ or ‘German Extra Hardy’ if you live in USDA zones 3 to 7. For zones 8 to 10, choose a softneck like ‘California Early’ or ‘Inchelium Red’. These are reliable and widely available.
When to plant
Plant garlic in the fall, 4 to 6 weeks before the ground freezes. This gives the cloves time to establish roots before winter. In most regions, that means October for zones 3 to 5, November for zones 6 to 7, and December for zones 8 to 9. If you miss the fall window, you can plant in early spring, but bulbs will be smaller.
Here is a planting schedule by zone:
| USDA Zone | Planting Window | Harvest Time |
|---|---|---|
| 3-4 | Late September to early October | July |
| 5-6 | October to early November | July to August |
| 7-8 | November to December | June to July |
| 9-10 | December to January | May to June |
Preparing the soil
Garlic prefers well-drained soil with a pH between 6.0 and 7.0. It does not like wet feet, so if your soil is heavy clay, consider raised beds or amend with compost. Before planting, loosen the soil to at least 8 inches deep. Mix in 2 to 3 inches of compost or aged manure. Avoid fresh manure, as it can burn the cloves.
A soil test is helpful but not required. If you do not test, apply a balanced fertilizer like 10-10-10 at a rate of 1 pound per 100 square feet, or use a specific garlic fertilizer. Work it into the soil before planting.
Planting cloves
Break the bulb into individual cloves, keeping the papery skin on. Choose the largest cloves for planting, as they produce the biggest bulbs. Plant each clove pointy side up, 2 inches deep, and 6 inches apart in rows that are 12 inches apart. If you have heavy soil, plant 1 inch deep. Space is important: crowded garlic results in small bulbs.
After planting, water thoroughly. Then mulch with 4 to 6 inches of straw or shredded leaves. Mulch protects the cloves from freezing and helps retain moisture. In spring, pull back some mulch once shoots appear.
Caring for garlic through the season
Garlic needs about 1 inch of water per week, especially in spring when bulbs are forming. Do not overwater, as garlic is susceptible to rot. Stop watering about 2 weeks before harvest.
Weeds compete with garlic, so keep the bed weed-free. Hand pull or hoe carefully, as garlic roots are shallow. Fertilize in early spring with a nitrogen-rich fertilizer like blood meal or fish emulsion, and again when the leaves are about 6 inches tall.
For hardneck garlic, you will see scapes (curly flower stalks) in late spring. Cut them off when they curl, about 6 to 8 inches long. This directs energy to the bulb. Scapes are edible and make a great pesto or stir-fry.
Harvesting and curing
Garlic is ready to harvest when the lower leaves turn brown but the upper leaves are still green. For most zones, this is mid-July. Do not wait too long, or the bulbs will split and not store well. Gently dig up the bulbs with a fork, being careful not to bruise them.
Cure garlic by hanging it in a dry, shaded, well-ventilated area for 2 to 3 weeks. After curing, trim the roots and cut the stems to about 1 inch above the bulb, or braid softneck varieties. Store in a cool, dark place at 50 to 60°F with low humidity. Properly cured garlic can last 6 to 8 months for hardneck, and up to a year for softneck.
Common problems and solutions
- Rust or white rot: These fungal diseases can be avoided by rotating crops and not planting garlic in the same spot for at least 3 years.
- Pests: Onion thrips and nematodes can be issues. Use row covers or insecticidal soap if needed.
- Small bulbs: Usually caused by planting too late, too shallow, or too crowded. Also, make sure you water consistently.
FAQ
Can I plant garlic from the grocery store? Yes, but it may be treated to prevent sprouting, and it may carry diseases. For best results, buy certified seed garlic from a reputable supplier.
When should I harvest garlic? Harvest when about half the leaves have turned brown. This is typically 3 to 4 weeks after scapes appear for hardneck, or in mid-summer for softneck. Dig up a bulb to check if the cloves are well formed.
How do I store garlic long-term? Cure it properly, then store in a cool, dark, dry place. Do not refrigerate, as that can cause sprouting. Keep it away from moisture and sunlight.
Can I grow garlic in containers? Yes, use a pot at least 8 inches deep and 12 inches wide. Plant cloves 4 inches apart. Water more frequently than in-ground garlic, and fertilize monthly.
The bottom line
Growing garlic is a rewarding project for any beginner. Plant in fall, give it well-drained soil and full sun, and you will have a harvest by mid-summer. Start with a reliable variety like ‘Music’ or ‘California Early’, and follow the steps above. In a few months, you will have fresh, flavorful garlic that beats anything from the store. For a small investment of time and money, you get a crop that stores for months and tastes incredible.