How to farm in 7 days
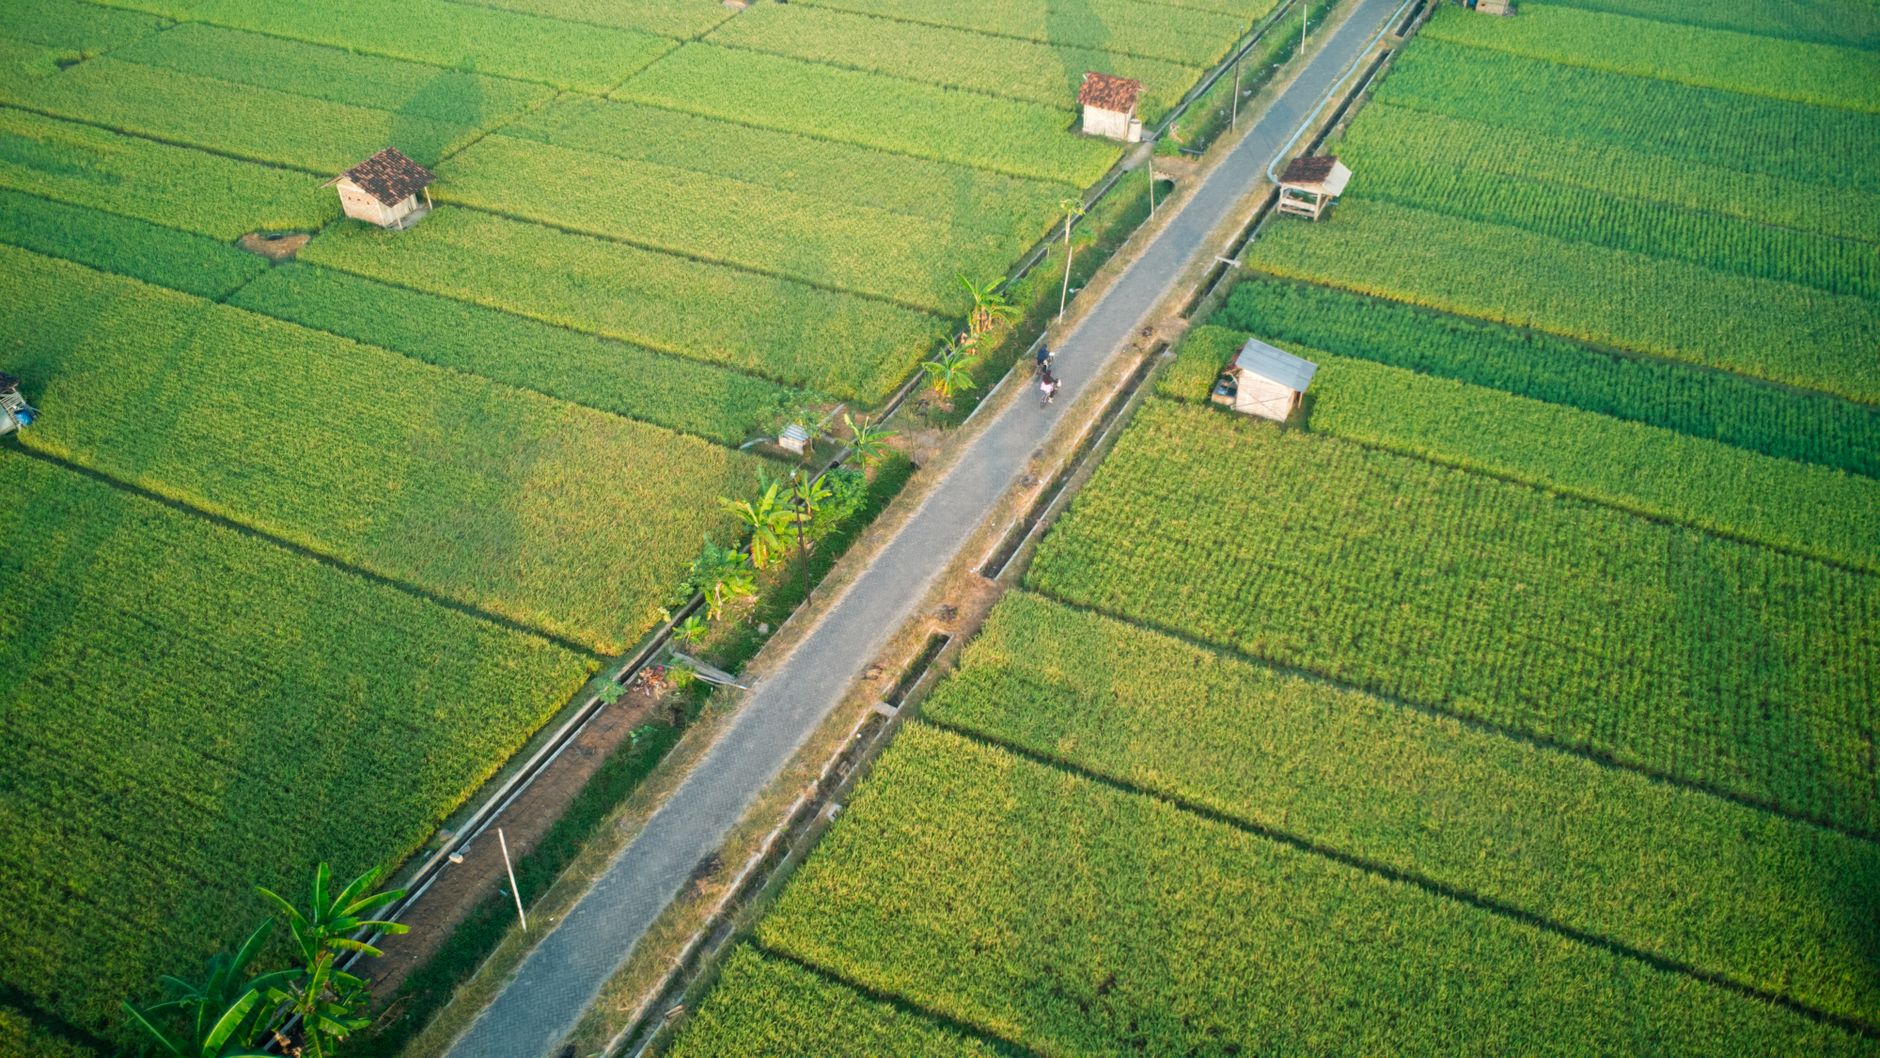
Start farming in just one week with a practical plan: choose a site, prep soil, plant fast crops, and set up watering. Real steps for beginners.
Farming in seven days is possible if you focus on quick wins: choose a sunny spot, prepare a small bed, plant fast-growing crops, and set up simple irrigation. You won’t harvest a full pantry in a week, but you can have seeds in the ground and a system in place by day seven. Here is the day-by-day plan I use with new homesteaders, and it works for any USDA zone if you adjust dates.
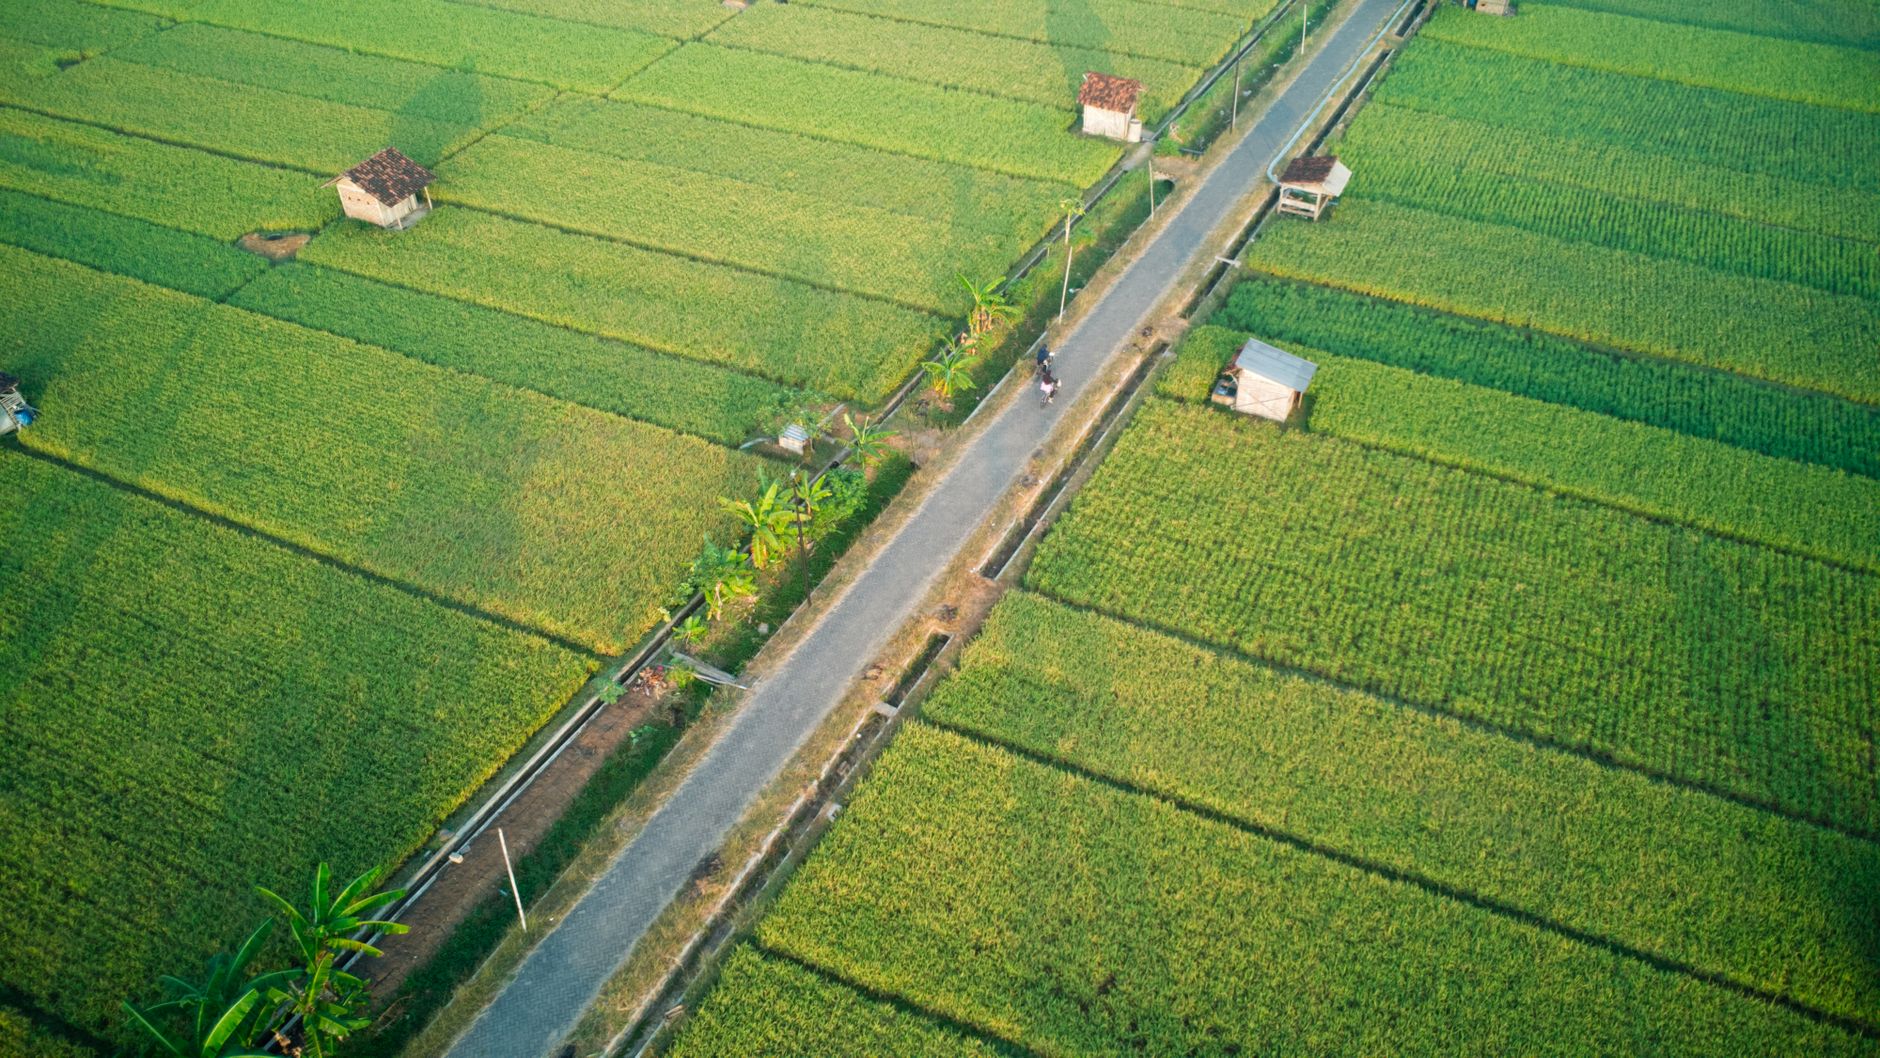
Day 1: Choose your site and measure sunlight
Walk your property at 9 AM, noon, and 3 PM. Mark where the sun hits the ground for at least 6 hours. That is your farm plot. For a first week, keep it small: a 4x8 foot raised bed or a 10x10 foot in-ground patch is plenty. If you have no soil, buy a raised bed kit ($40 to $80 at garden centers) or build one from cedar planks ($30 for lumber).
Check drainage: dig a 6-inch hole, fill with water, and see
 if it drains in 2 hours. If it pools, pick another spot or plan to mound soil.
Day 2: Clear and prep the soil
Remove grass, weeds, and rocks. Use a sharp spade ($25) or a hoe ($20). For a 4x8 bed, you can do this by hand in an hour. Loosen the soil to 8 inches deep. If the soil is hard clay, mix in 2 inches of compost ($5 per bag) or aged manure. Test pH with a simple kit ($10); most vegetables like 6.0 to 7.0. Adjust with lime (to raise pH) or sulfur (to lower) if needed, but don’t overdo it in week one.
Day 3: Build your growing space
If you are using a raised bed, assemble it and fill with a mix of topsoil and compost (about 1 cubic yard for a 4x8 bed, costing $30 to $50). For in-ground, shape a flat bed with paths between rows. Add a 2-inch layer of mulch (straw or wood chips) to suppress weeds and hold moisture. Install a simple drip irrigation kit ($25 for a basic set) or set up a soaker hose. This saves you from daily hand watering later.
Day 4: Plant fast-growing crops
Choose crops that germinate quickly and give you early harvests. In most zones, these work:
- Radishes: ‘Cherry Belle’ or ‘French Breakfast’, mature in 25 days. Plant seeds 1/2 inch deep, 1 inch apart, rows 6 inches apart.
- Lettuce: ‘Black Seeded Simpson’ or ‘Buttercrunch’, harvest in 30 days. Sow seeds 1/4 inch deep, 2 inches apart.
- Spinach: ‘Bloomsdale’ or ‘Space’, baby leaves in 25 days. Plant 1/2 inch deep, 2 inches apart.
- Green onions: ‘Evergreen Bunching’, ready in 30 days. Plant sets 1 inch deep, 2 inches apart.
For warm zones (8 and above), you can also plant bush beans like ‘Provider’ (50 days) or summer squash ‘Yellow Crookneck’ (45 days). For cool zones (3 to 5), stick to greens and roots.
Plant in rows or blocks, and label each row with a marker ($5 for a set). Water gently after planting.
Day 5: Set up support and protection
If you planted any vining crops (like squash or beans), install trellises or stakes now. Use bamboo poles ($10 for a bundle) or a simple wire cage. Protect young seedlings from pests: cover with row cover ($15 for a 6x8 foot piece) or a simple net if birds are a problem. This is also the day to set up a compost bin ($30 to $60) for kitchen scraps, so you start building soil for next season.
Day 6: Water and mulch deeply
Give your bed a thorough watering: aim for 1 inch of water per week, but in week one, water daily if the top inch of soil is dry. Use your drip system or a watering can. Add a 1-inch layer of straw mulch around seedlings (but not touching stems) to keep moisture in and weeds down. Check for any weeds that popped up and pull them now, they are easier when small.
Day 7: Review and plan the next 30 days
Walk your bed and note what germinated. Thin seedlings if they are crowded (for radishes, thin to 2 inches apart). Set a schedule: water daily or every other day, check for pests weekly, and fertilize with a balanced organic fertilizer (like 5-5-5, $15 per box) after 2 weeks. Plan your next planting: in 2 weeks, sow more lettuce or carrots for a continuous harvest.
What to expect in the first month
By day 14, you will see true leaves on most crops. By day 21, radishes may be ready to pull. By day 30, you can harvest a salad from your lettuce and spinach. Yields vary: a 4x8 bed can produce about 5 to 10 pounds of greens per month, depending on variety and care. Don’t expect a full farm in a week; this is a start.
Tools and costs: realistic 2026 prices
Here is what you need to start, with approximate costs:
- Spade or shovel: $20 to $40
- Garden hoe: $15 to $25
- Drip irrigation kit: $25 to $50
- Raised bed kit (4x8): $40 to $80
- Compost (1 cubic yard): $30 to $50
- Seeds (5 packs): $10 to $20
- Row cover: $15 to $25
- Total: $155 to $290
If you have tools already, you can start for under $50.
FAQ
Can I farm in a week if I have no experience? Yes, if you follow this plan and keep the bed small. The key is to prepare soil and plant fast crops. You will make mistakes, but that is normal.
What if I live in a cold zone (3 or 4) in early spring? Start indoors or use a cold frame. Plant cold-hardy greens like spinach and arugula, and wait for soil to warm to 40°F before planting radishes.
How much time does this take each day? Plan for 1 to 2 hours on the first days, then 30 minutes a day for watering and weeding. After week one, it drops to 15 minutes daily.
Can I expand after the first week? Absolutely. Add another bed or double the size of your current one. Use the same steps: clear, amend, plant. Rotate crops to avoid disease.
The bottom line
Farming in 7 days is about starting, not finishing. You can have a prepared bed, planted seeds, and a watering system in place by day seven. Focus on fast crops, keep it small, and learn from each week. By day 30, you will be harvesting your first salads, and that is a real farm beginning.