How to draw a pumpkin patch
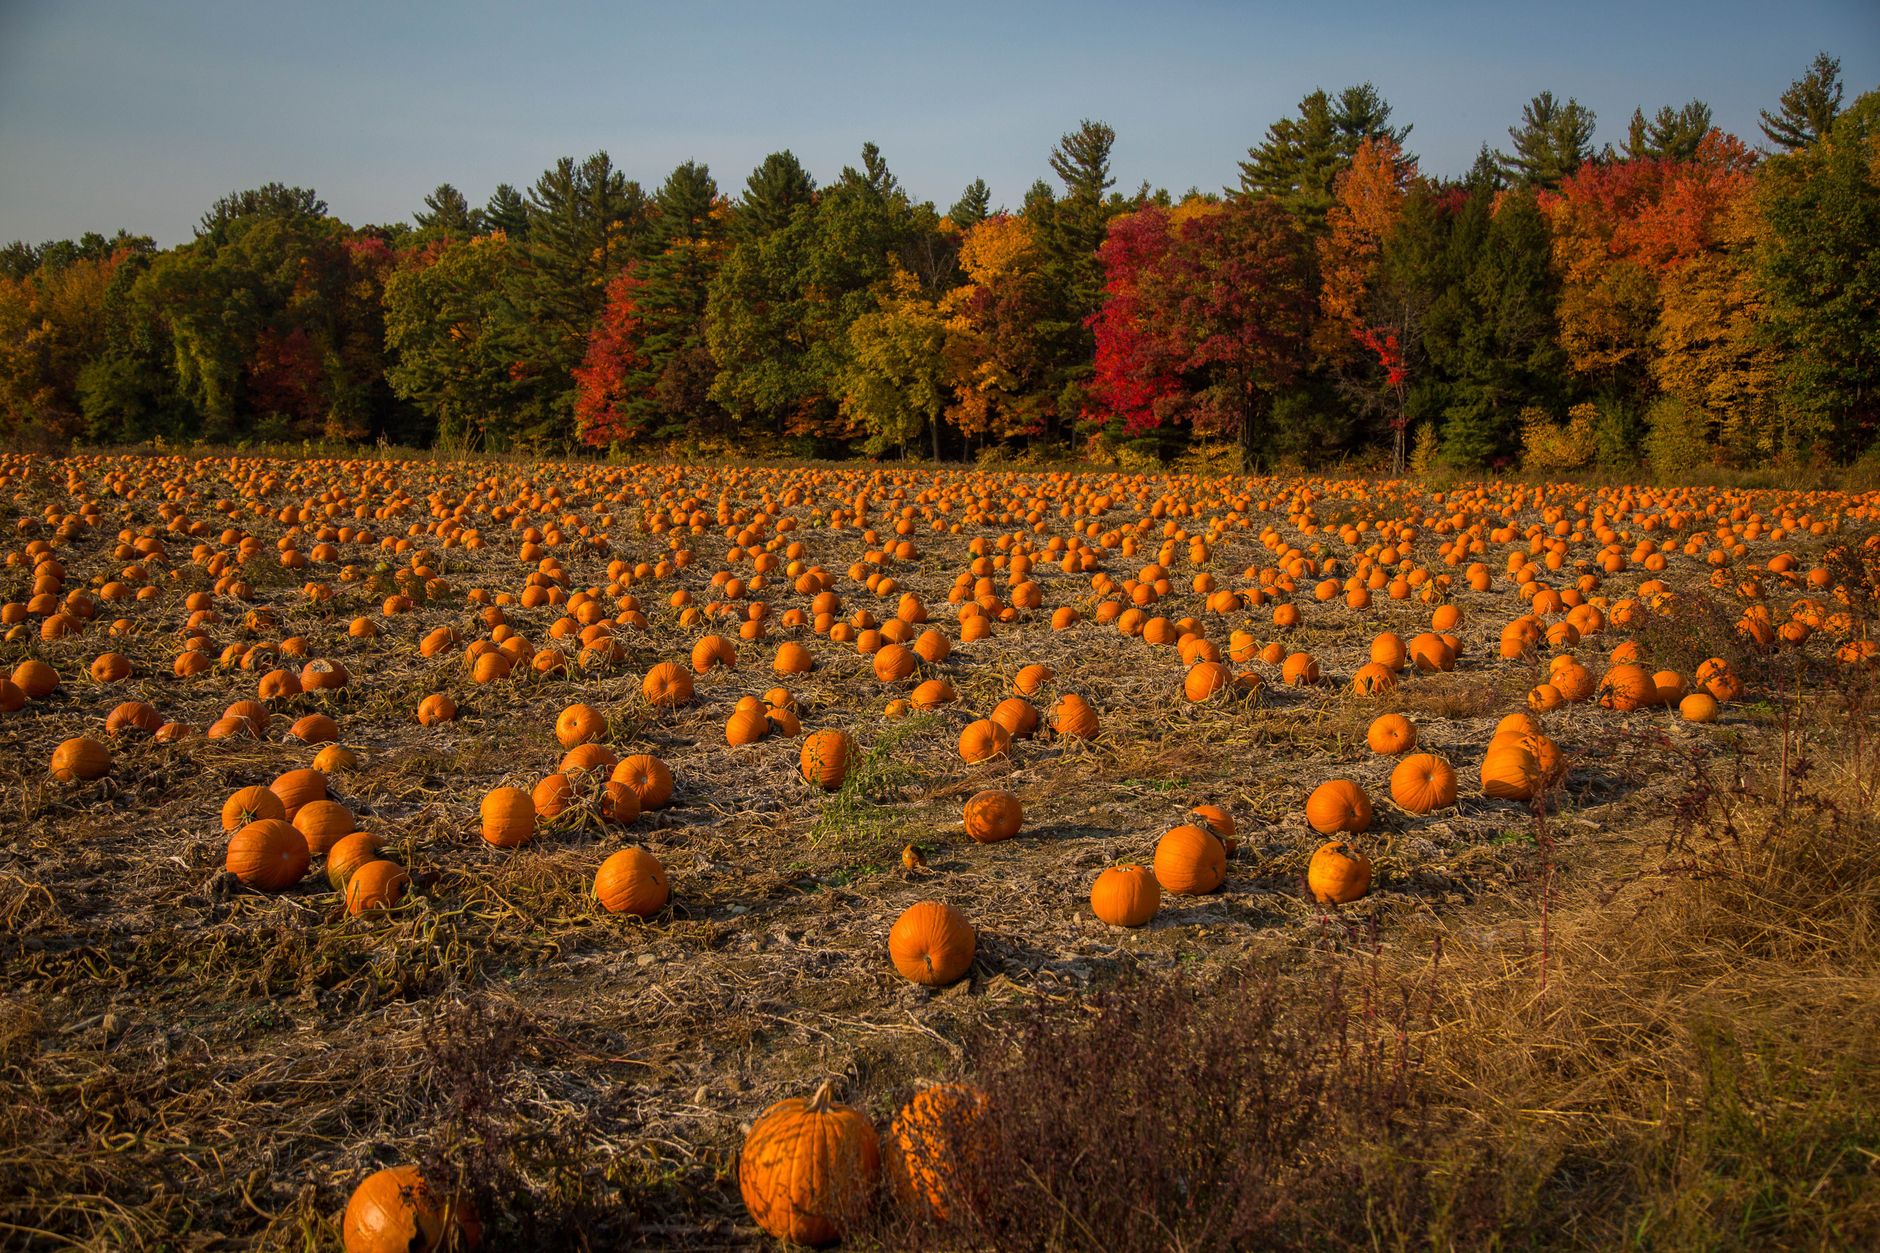
Learn to draw a pumpkin patch with simple steps, from sketching the pumpkins to adding vines and shading. Perfect for beginners and gardeners alike.
Drawing a pumpkin patch is easier than you think. Start with a few oval shapes for pumpkins, add curved lines for vines, and finish with shading to give depth. This guide walks you through each step, using basic tools you likely already have.
What you need
Gather these supplies before you start:
- Pencil (HB or 2B) and eraser
- Paper (sketchbook or printer paper works)
- Optional: colored pencils, markers, or watercolors for finishing
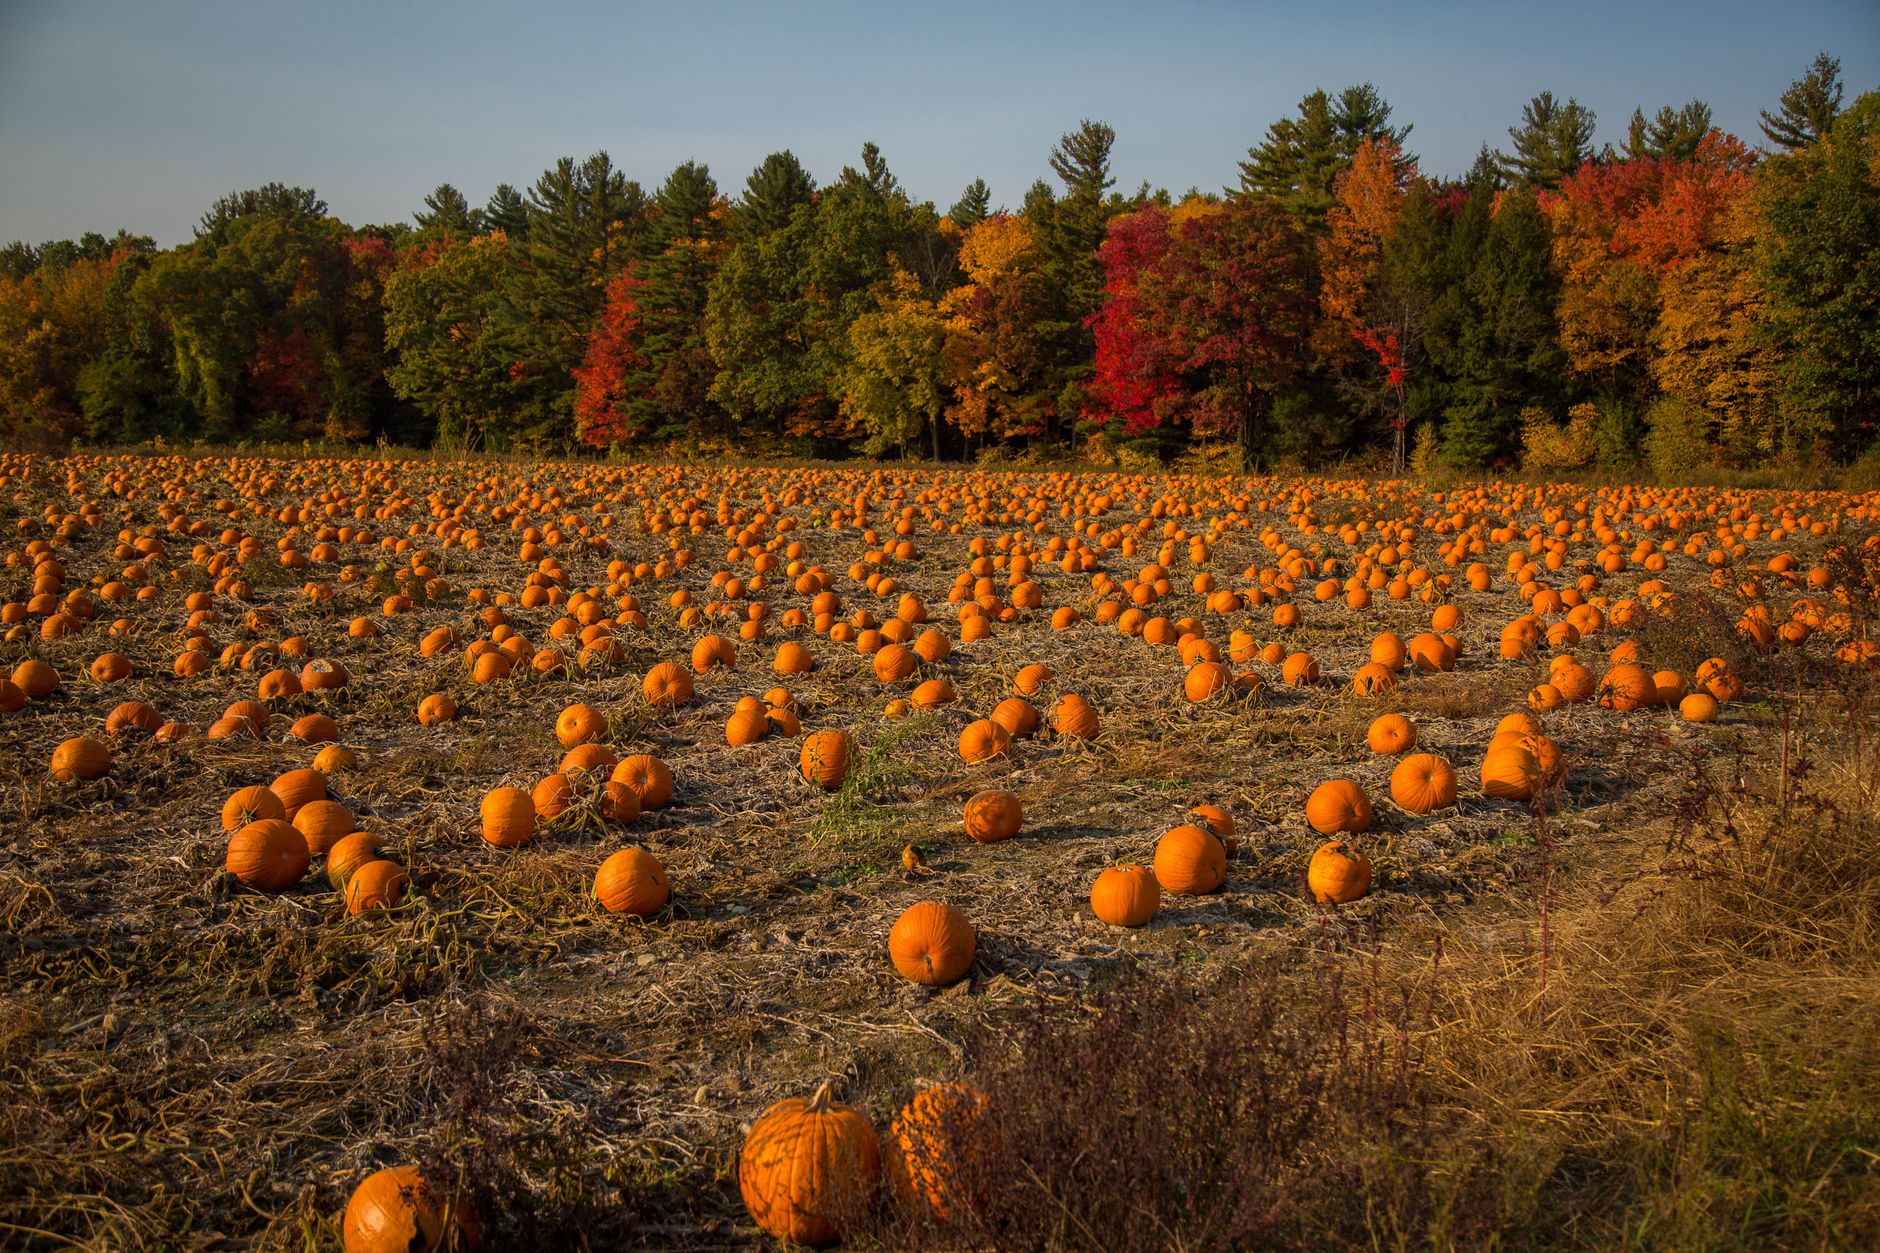
- A reference photo of a pumpkin patch (your own garden o
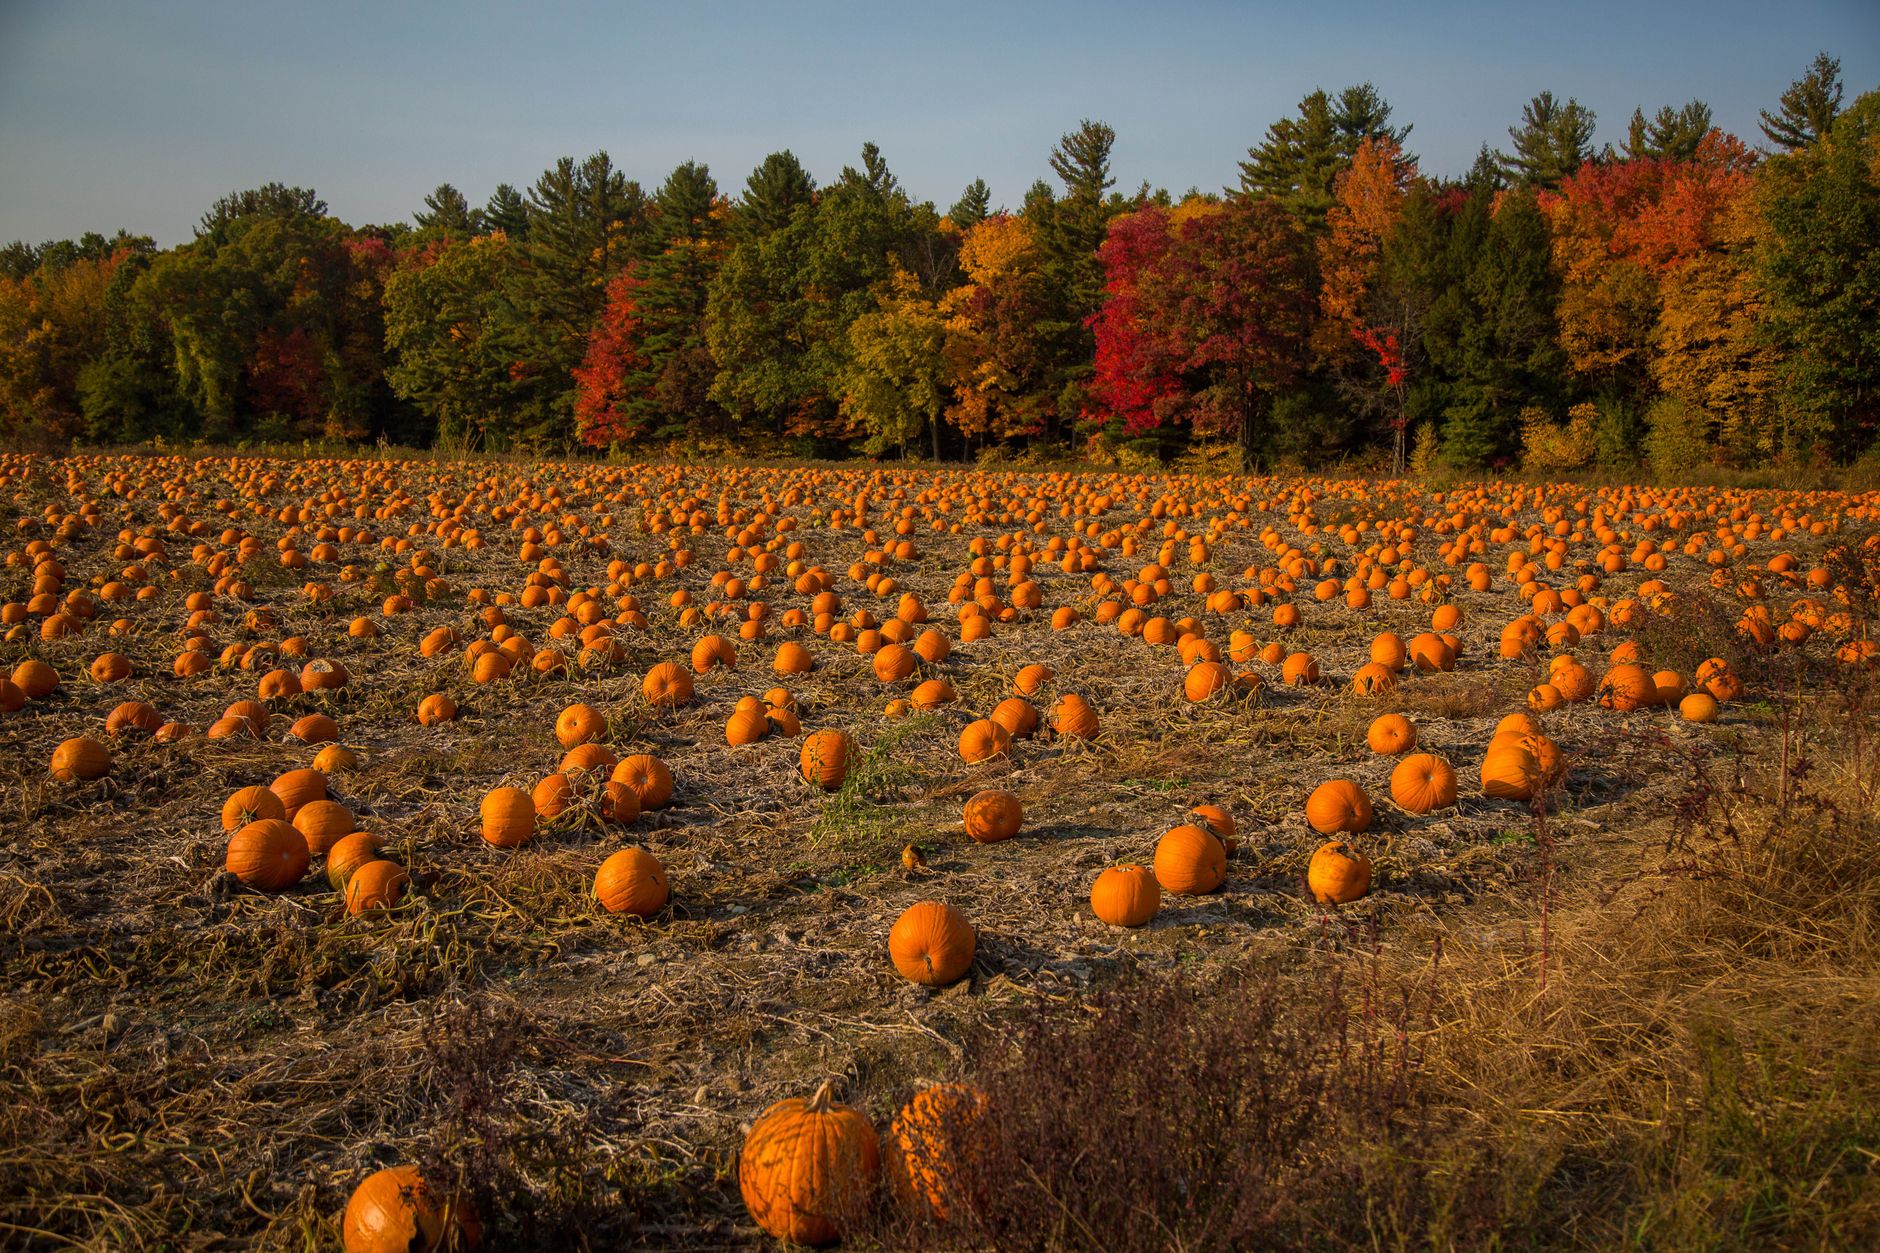 r a quick online search)
Total cost: $0 to $15 if you need to buy a sketchbook and pencil.
Step 1: Sketch the basic shapes
Start with light pencil strokes so you can adjust easily.
- Draw three or four overlapping ovals for pumpkins. Vary the sizes: one large in the front, smaller ones behind.
- Add a slight vertical curve on each oval to suggest the pumpkin’s ribbed sides.
- Sketch a short stem on top of each pumpkin: a small rectangle or curved line.
Keep the ovals loose. You can refine them later.
Step 2: Add the vines and leaves
Pumpkin patches are full of sprawling vines. Draw them with long, wavy lines that connect the pumpkins.
- Use a continuous, slightly zigzag line for the main vine.
- Add smaller curling tendrils: draw a loop or spiral at the end of a thin line.
- Sketch a few large, jagged leaves along the vines. Pumpkin leaves are broad with pointed lobes, so draw a star-like shape with rounded points.
Don’t overdo it: three or four leaves and a couple of tendrils are enough for a balanced composition.
Step 3: Refine the pumpkin shapes
Now make your pumpkins look more realistic.
- Erase the initial oval guidelines.
- Draw curved lines from the stem down to the base to show the ribs. Typically, a pumpkin has 5 to 7 visible ribs, depending on the angle.
- Round the bottom slightly, and flatten the top where the stem attaches.
- Add a small indent at the base where the pumpkin sat on the ground.
Take your time here. The ribs give the pumpkin its recognizable form.
Step 4: Shade for depth
Shading makes your drawing pop. Use the side of your pencil or a blending stump.
- Decide on a light source: for example, light from the upper left.
- Shade the right side of each pumpkin, leaving the left side lighter.
- Darken the areas between ribs slightly, especially near the bottom.
- Add a cast shadow on the ground beneath each pumpkin, extending to the right.
- For vines and leaves, shade the undersides and the areas where they overlap.
If you use colored pencils, layer orange for the pumpkins, green for the vines, and brown for the stems. Start light and build up color.
Step 5: Add background details (optional)
A pumpkin patch often has a horizon line and maybe a fence or distant trees.
- Draw a horizontal line about one-third from the top for the ground.
- Add a simple wooden fence: vertical lines with a horizontal rail.
- Sketch a few clouds or a sun in the sky, but keep them subtle.
These details give context but shouldn’t distract from the pumpkins.
Common mistakes to avoid
- Drawing pumpkins as perfect circles: they are slightly squashed, wider than tall.
- Forgetting the stem: it’s a key identifier.
- Making all pumpkins the same size: vary them for realism.
- Overworking the shading: stop before it gets muddy.
FAQ
Q: How long does it take to draw a pumpkin patch? A: A simple sketch takes 15 to 30 minutes. A detailed, colored version can take 1 to 2 hours.
Q: What if I can’t draw a straight line? A: That’s fine. Pumpkins are organic, so wobbly lines add character. Use a ruler only for the fence if you want.
Q: Can I use a reference photo? A: Absolutely. Working from a photo helps with proportions and shading. Just don’t copy it exactly; add your own touch.
Q: How do I make the pumpkins look round? A: Focus on the ribs and shading. The curved rib lines and the gradient from light to dark create the illusion of roundness.
The bottom line
Drawing a pumpkin patch is a fun, low-cost way to celebrate the season or plan your garden layout. Start with simple shapes, add vines and leaves, then shade for depth. With a little practice, you’ll have a charming patch on paper. Grab a pencil and try it today.