Growing a pumpkin patch
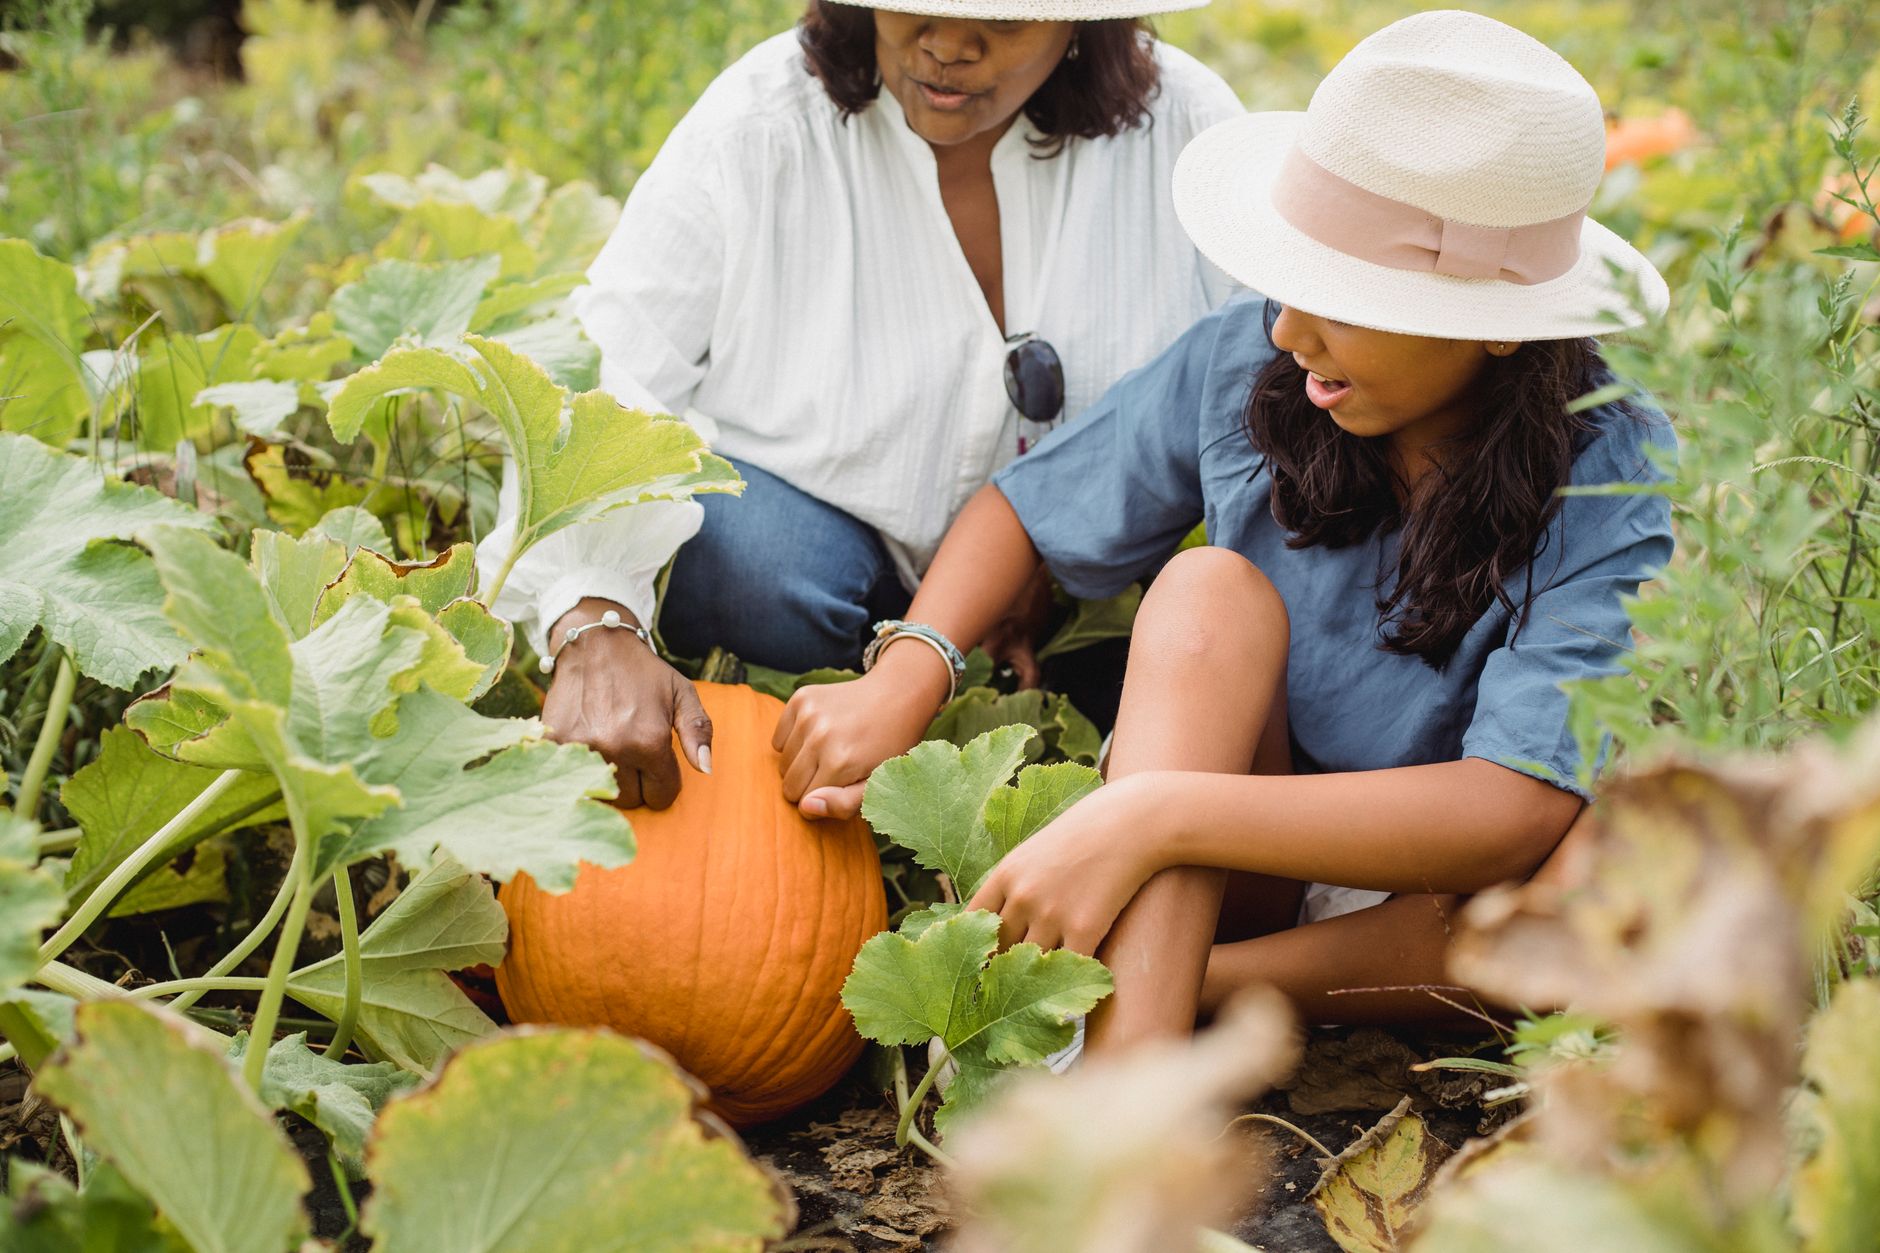
Learn how to grow a pumpkin patch from seed to harvest with variety picks, planting dates, soil prep, and pest control for zones 3-9.
Growing a pumpkin patch is straightforward if you give the plants full sun, rich soil, and enough space. You can have pumpkins for your own fall display or a U-pick operation, but success depends on choosing the right varieties for your climate and planting at the right time. Here is the practical path from seed to harvest, with real numbers and steps you can take this week.
Choosing the right pumpkin varieties
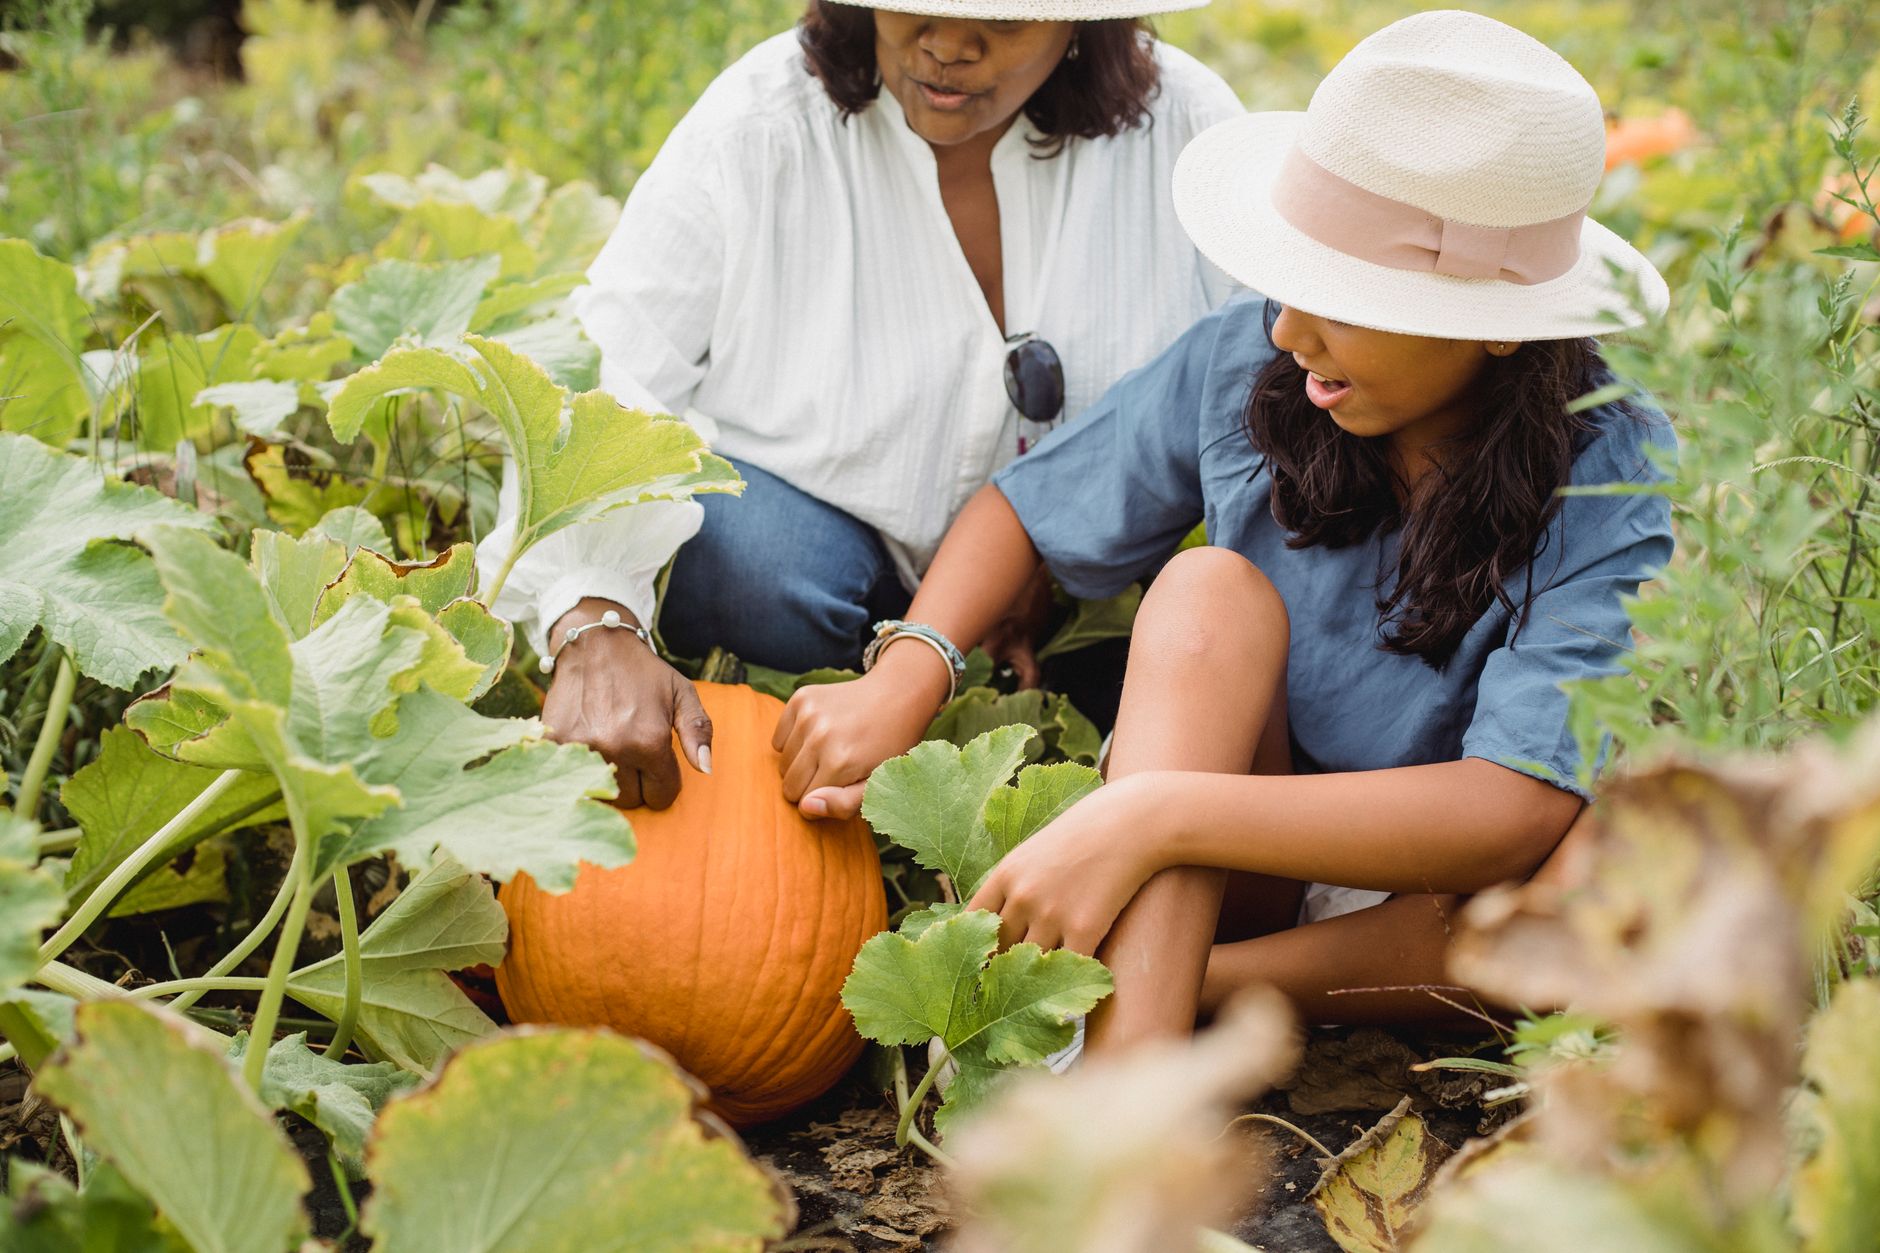
Pumpkins come in three main types: carving, pie, and decorative. For a patch, pick varieties that suit your goal and your growing season. In short-season areas (zones 3-4), choose fast-maturing types (under 100 days). In long-season areas (zones 5-9), you have more options.
| Variety | Type | Days to maturity | Best for |
|---|---|---|---|
| ‘Howden’ | Carving | 110-120 | Classic large carving, good yields |
| ‘Sugar Pie’ | Pie | 100-105 | Small, sweet flesh for baking |
| ‘Jack Be Little’ | Decorative | 95-100 | Tiny pumpkins for crafts |
| ‘Connecticut Field’ | Carving | 110-120 | Heirloom, large, reliable |
| ‘Baby Boo’ | Decorative | 95-100 | White, small, popular for fall |
| ‘Cinderella’ (Rouge Vif d’Etampes) | Decorative/Pie | 100-110 | Deep orange, flattened, French heirloom |
For a U-pick patch, mix carving and decorative varieties t
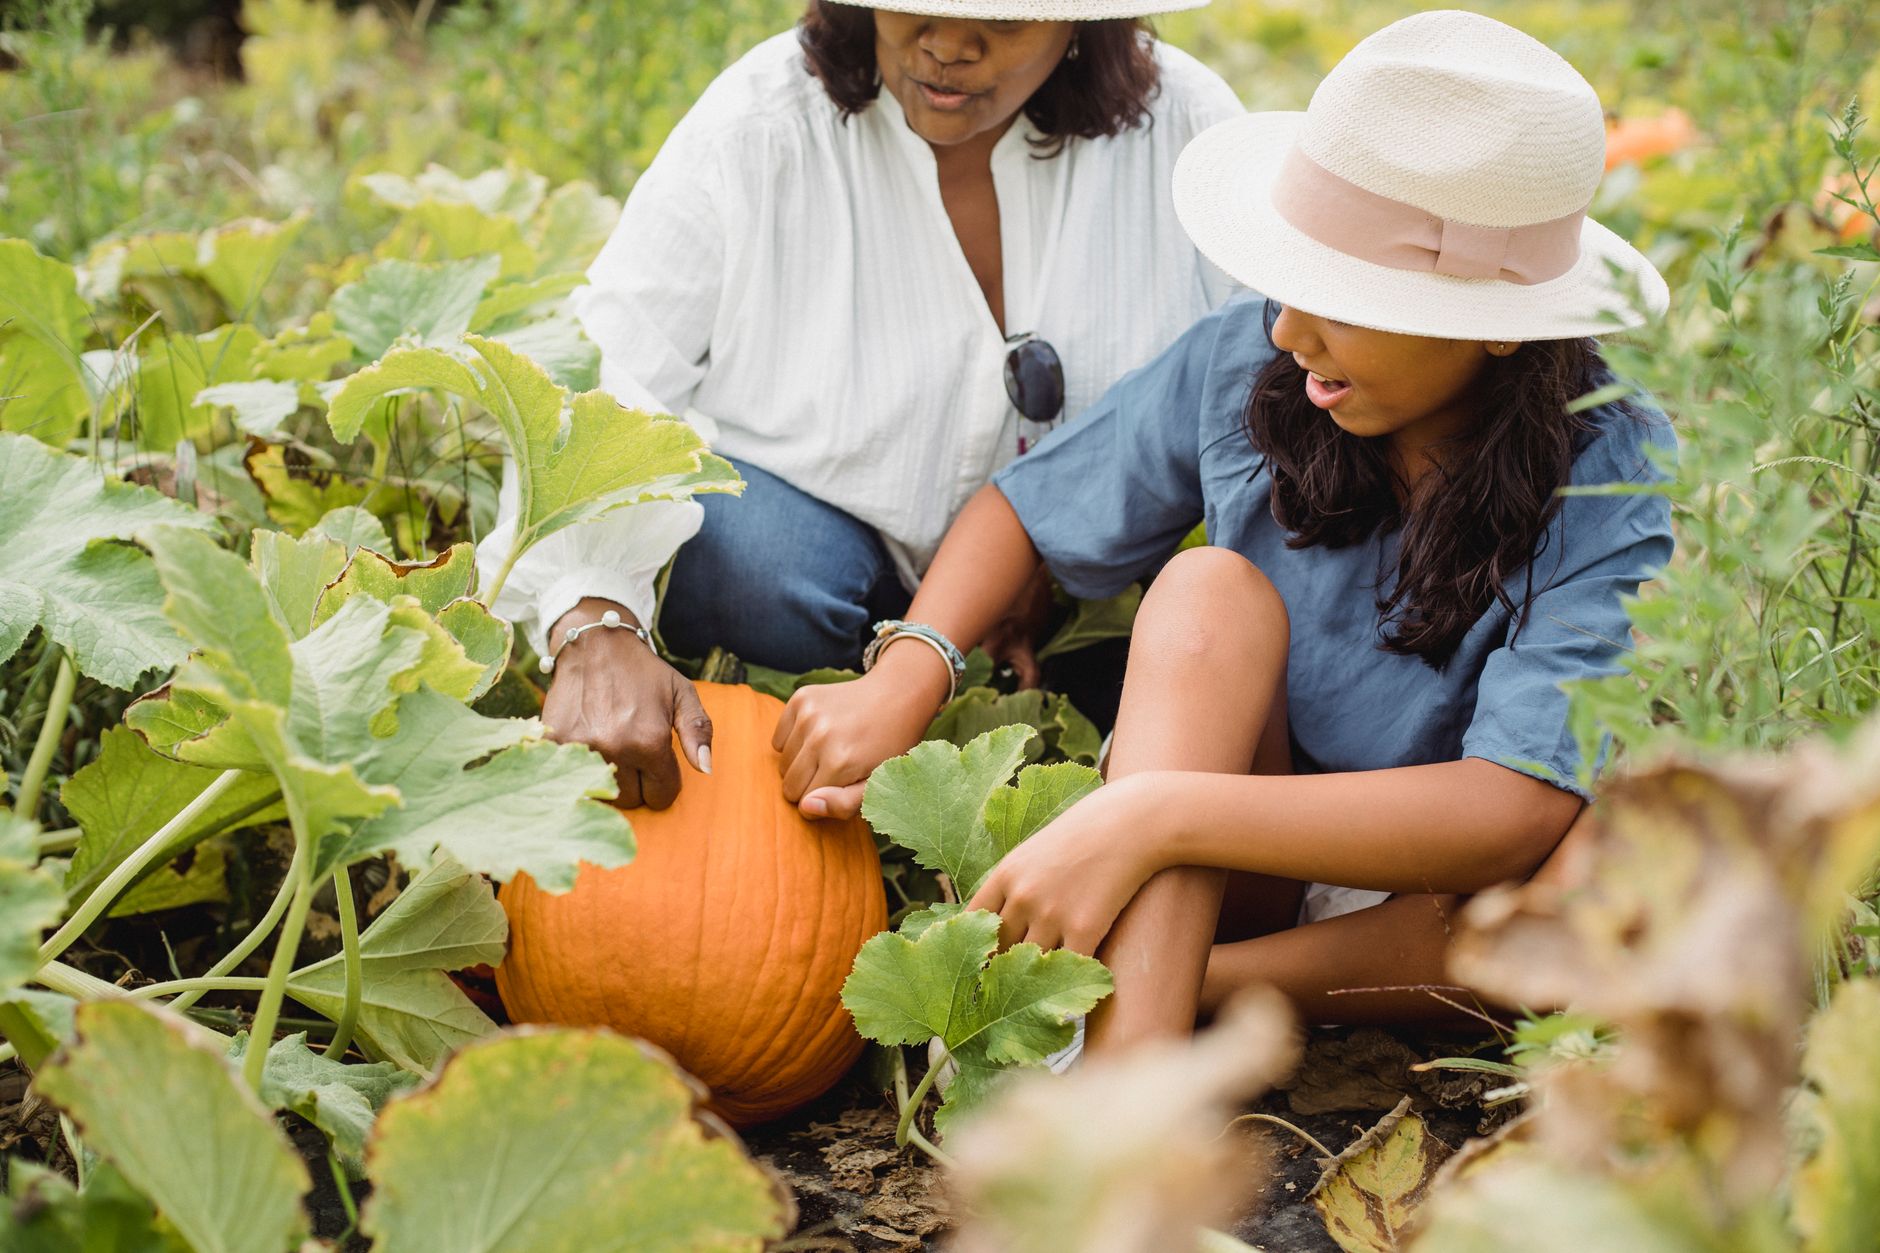 o appeal to customers. For personal use, ‘Sugar Pie’ and ‘Howden’ cover most needs.
When to plant: timing by zone
Pumpkins are warm-season crops; they need soil at least 60°F and no frost. Plant after the last frost date in spring. Count back from your expected first fall frost to determine the latest safe planting date, using the variety’s days to maturity plus about 2 weeks for harvest.
| USDA Zone | Last frost (spring) | First frost (fall) | Safe planting window |
|---|---|---|---|
| 3 | May 15-30 | Sep 1-15 | May 20 - Jun 10 |
| 4 | May 1-15 | Sep 15-30 | May 10 - Jun 20 |
| 5 | Apr 15-30 | Oct 1-15 | Apr 25 - Jun 25 |
| 6 | Apr 1-15 | Oct 15-30 | Apr 10 - Jul 1 |
| 7 | Mar 15-30 | Nov 1-15 | Mar 20 - Jul 10 |
| 8 | Feb 15 - Mar 15 | Nov 15-30 | Mar 1 - Jul 15 |
| 9 | Jan 15 - Feb 15 | Dec 1-15 | Feb 1 - Jul 20 |
If you are in a short-season zone, start seeds indoors 3-4 weeks before the last frost to get a head start. Use biodegradable pots to avoid root disturbance.
Preparing the soil and planting
Pumpkins are heavy feeders. They need fertile, well-drained soil with a pH between 6.0 and 7.0. Test your soil; if pH is off, amend with lime (to raise) or sulfur (to lower) according to the test results.
- Choose a sunny spot: at least 6-8 hours of direct sun daily.
- Clear weeds and debris: remove rocks and break up soil to a depth of 12 inches.
- Amend with compost: spread 2-3 inches of compost over the planting area and till it in.
- Add fertilizer: apply a balanced fertilizer (10-10-10) at a rate of 1 pound per 100 square feet, or use a vegetable-specific organic fertilizer. Work it into the top 6 inches.
Planting method:
- Direct sow: plant seeds 1 inch deep, 2-3 seeds per hill. Space hills 6-8 feet apart in rows that are 8-10 feet apart. Thin to the strongest seedling per hill when they have two true leaves.
- Transplant: if you started indoors, plant the biodegradable pot whole, burying it so the top edge is level with the soil. Space transplants at the same distances.
Water thoroughly after planting. Keep the soil consistently moist but not waterlogged.
Caring for the patch through the season
Watering: pumpkins need about 1-2 inches of water per week. Water at the base of the plant, not overhead, to reduce disease. Use drip irrigation or a soaker hose for efficiency. In hot, dry spells, increase watering.
Mulching: apply a 2-3 inch layer of straw or shredded leaves around the plants to retain moisture and suppress weeds. Keep mulch a few inches away from the stems to prevent rot.
Fertilizing: side-dress with a nitrogen-rich fertilizer (like blood meal or fish emulsion) when vines start to run, then switch to a phosphorus-potassium fertilizer (like bone meal or 5-10-10) when flowers appear to encourage fruit set.
Pest and disease control:
- Squash vine borers: look for sawdust-like frass near the base. Inject BT (Bacillus thuringiensis) into the stem or slit the stem and remove the larvae.
- Squash bugs: handpick eggs and adults, or use insecticidal soap. Keep the area free of debris.
- Powdery mildew: ensure good air circulation, water at the base, and apply a fungicide (sulfur or neem oil) at first signs.
- Cucumber beetles: use row covers until flowering, then remove to allow pollination.
Pollination: pumpkins need bees. If you have few pollinators, hand-pollinate by transferring male pollen (from the flower with a straight stem) to the female flower (with a small swelling at the base). Do this in the morning.
Harvesting and storing
Pumpkins are ready when the rind is hard (you cannot pierce it with a fingernail) and the stem has started to dry and turn brown. Cut the stem with a sharp knife, leaving 3-4 inches attached. Do not carry the pumpkin by the stem; it can break.
Cure pumpkins in the sun for 10-14 days at 80-85°F to harden the skin and improve storage. Then store in a cool, dry place (50-60°F) with good air circulation. Properly cured pumpkins can last 2-3 months.
Yields: a well-maintained patch can produce 1-2 pumpkins per vine for large varieties, and 3-5 for smaller ones. Expect 1,000-2,000 pounds per acre for large carving pumpkins, but for a home patch, plan on 1-2 pumpkins per plant.
Costs and tools (2026 prices)
Starting a pumpkin patch on a small scale (say, 1000 square feet) costs roughly $50-$150 for seeds, compost, and fertilizer. Here is a breakdown:
- Seeds: $3-$5 per packet (about 30 seeds). For a quarter-acre, you might need 2-3 ounces of seed, costing $20-$40.
- Compost: $3-$5 per bag, or free if you have your own.
- Fertilizer: $10-$20 for a 10-pound bag of organic fertilizer.
- Drip irrigation kit: $30-$60 for a basic setup.
- Tools: if you need a tiller, expect $50-$100 per day rental, or use a hand fork for small areas.
Frequently asked questions
Can I grow pumpkins in containers? Yes, but only small varieties like ‘Jack Be Little’ or ‘Baby Boo’ in containers at least 10-15 gallons. You will need to water daily and provide support for the vines.
Why are my pumpkins rotting on the vine? This is often due to excess moisture or poor pollination. Place a board or straw under developing fruit to keep it off wet soil, and ensure bees are active. If rot persists, check for blossom end rot, which is a calcium deficiency.
How do I know when to pick pumpkins? The rind should be hard, and the stem should be dry and brown. Also, the pumpkin should sound hollow when tapped. Do not pick too early; they will not ripen off the vine.
Can I save seeds from my pumpkins? Yes, but only if you are growing open-pollinated varieties (not hybrids). Rinse the seeds, dry them, and store in a cool, dry place. They will be viable for up to 6 years.
The bottom line
Growing a pumpkin patch is a rewarding project that requires planning, space, and patience. Choose the right varieties for your zone, plant after the last frost, give them rich soil and consistent water, and watch for pests. With a little effort, you will have a patch full of pumpkins for carving, cooking, or selling. Start small, learn from each season, and adjust your approach next year. The key is to match the variety to your climate and give the plants what they need. Happy growing.